DIY: Ping Pong Lights

I love a good DIY. But ever come across those projects that seem like a good idea until you realize they either cost you a fortune, took forever, ended up looking like shit…or worse, all the above?

Thankfully, this is not one of those projects.

IMG_3527.JPG
IMG_3339.JPG

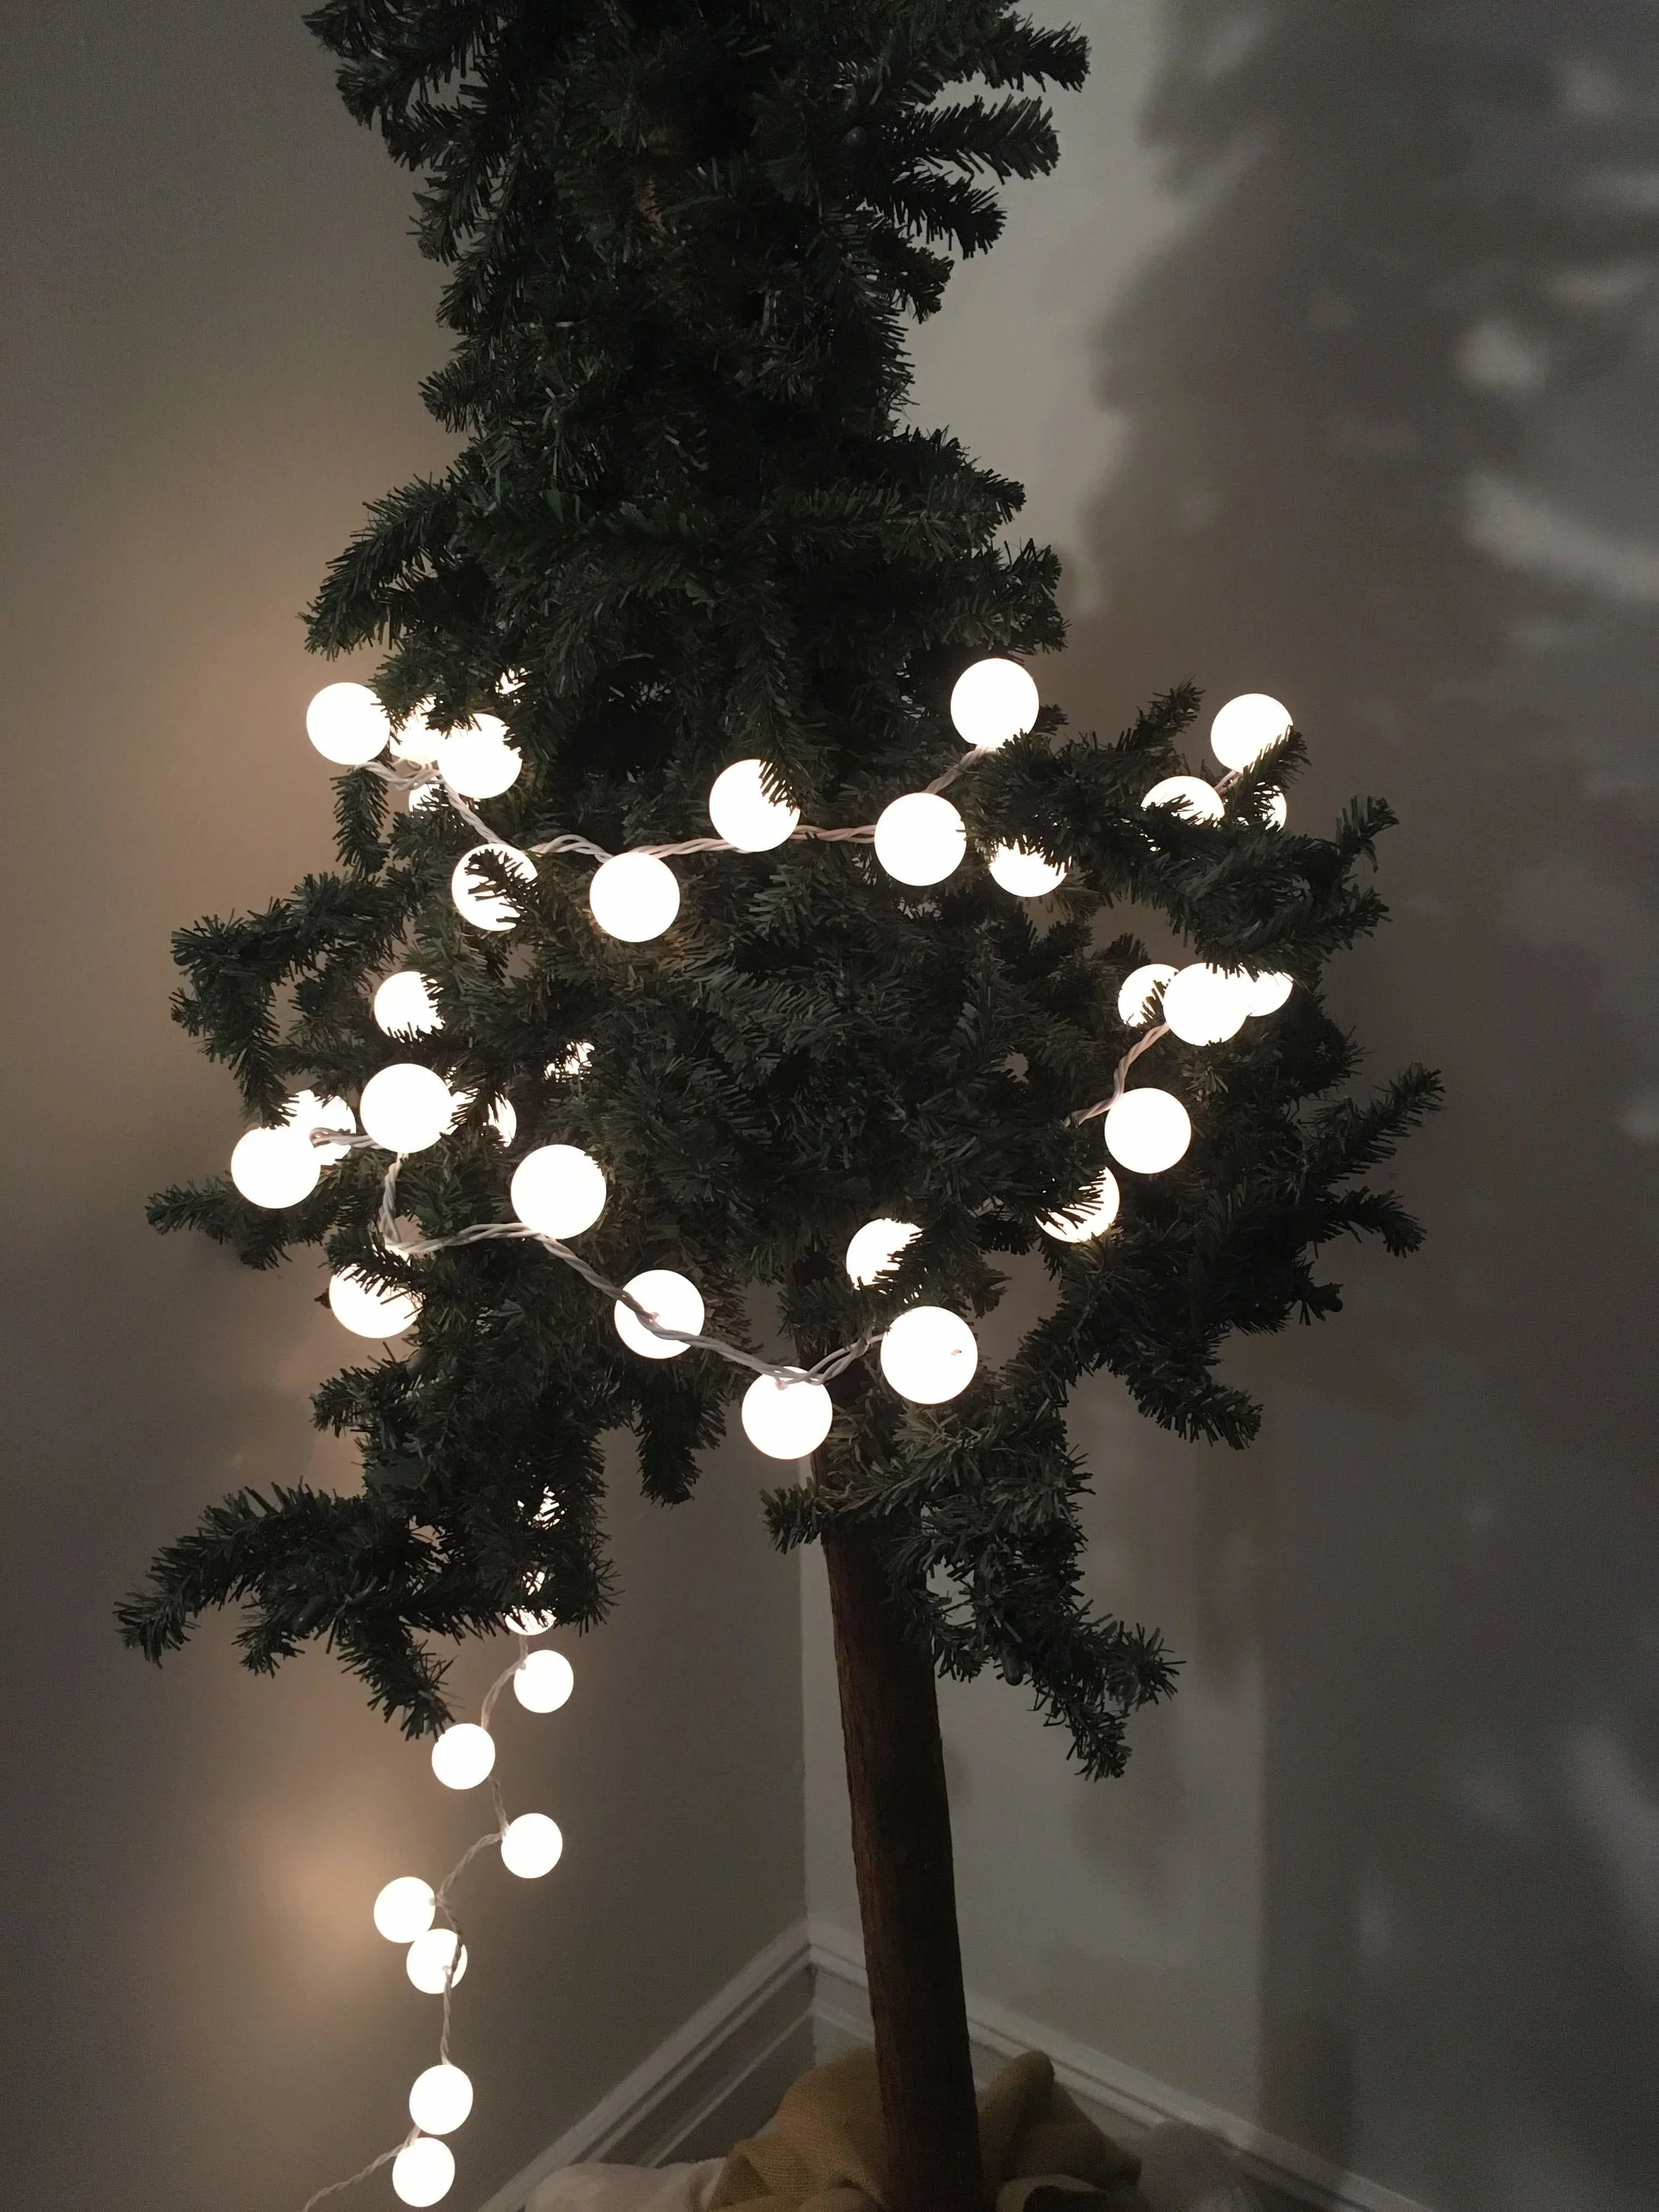
The whole thing costs around $10 and can be done in just as many minutes. Similar products out there cost at least double that. Not to mention, you get only a fraction of the lights and zero of the satisfaction that comes with telling everyone you made them yourself.

IMG_3325.JPG

What You’ll Need:

-String Lights

-Ping Pong Balls

-Scalpel or X-ACTO Knife

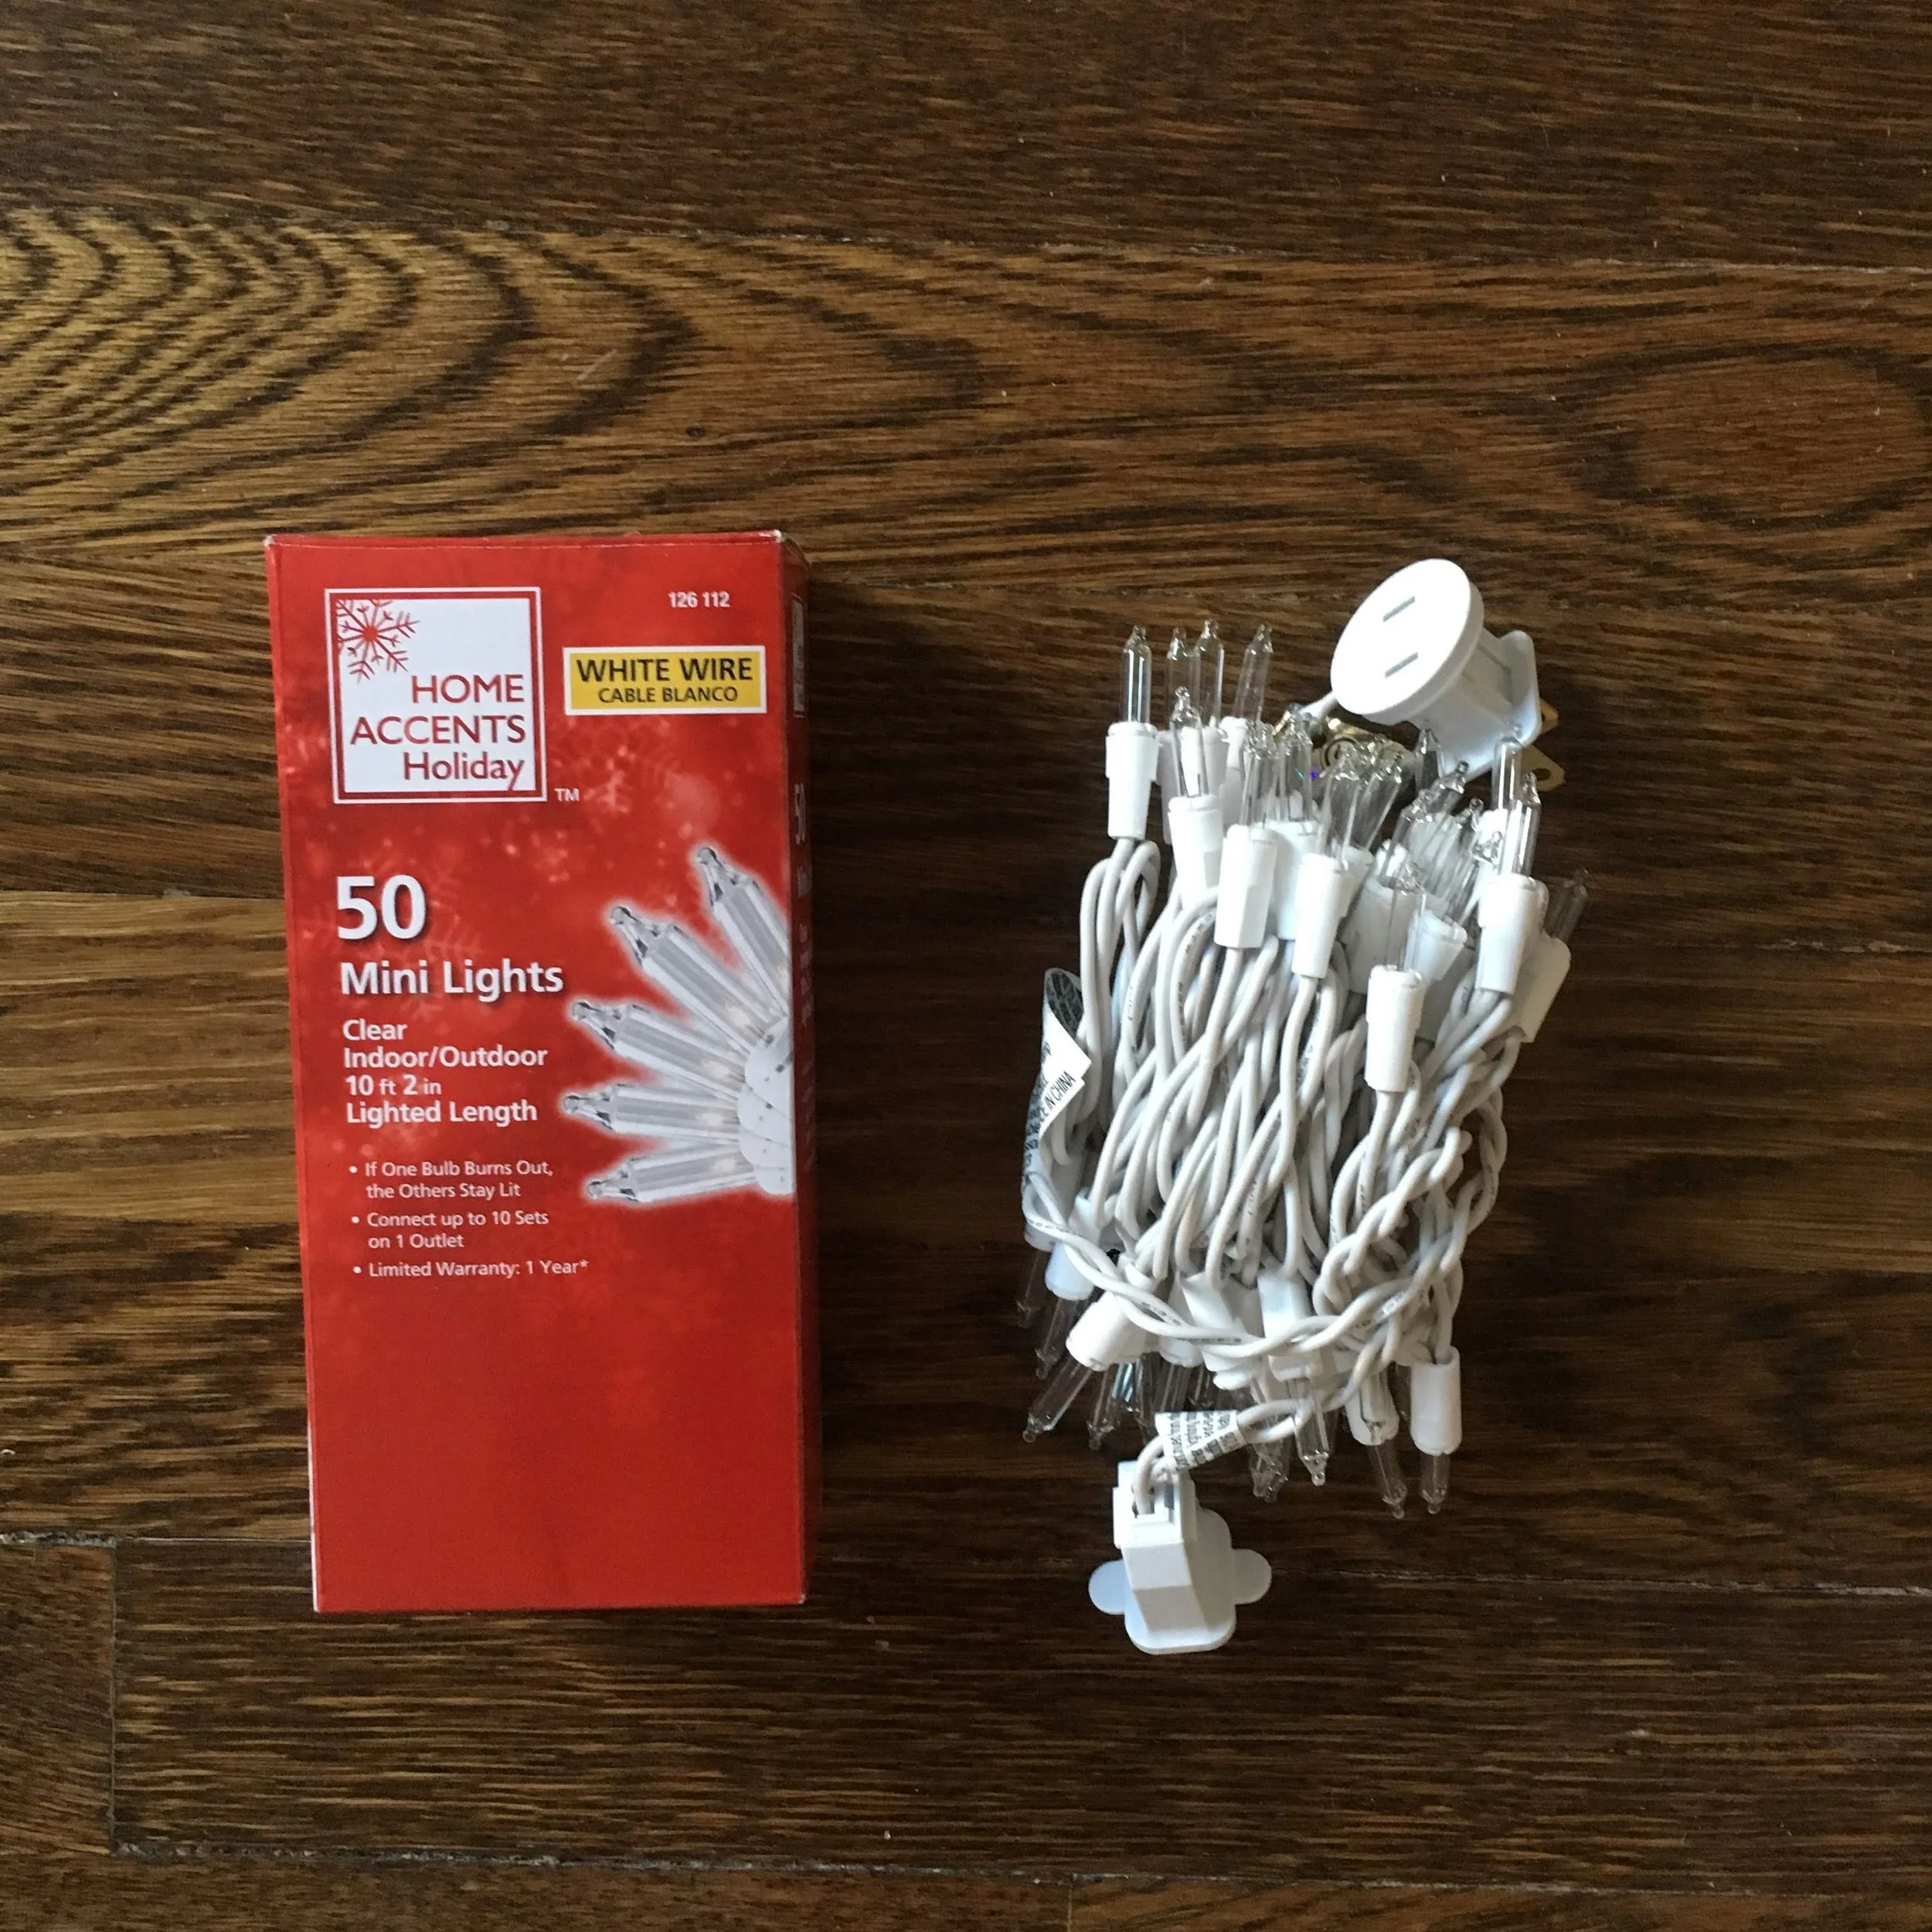
String Lights

While you can get these lights pretty much anywhere around Christmas time, I found the big box hardware stores like Lowes and Home Depot have them for cheapest. I got mine at Lowes- they have a string of 100 lights for just under $2. They have a choice of green or white wire, depending on how you plan to string your lights. (Green will blend into your Christmas tree.)

IMG_3444.JPG

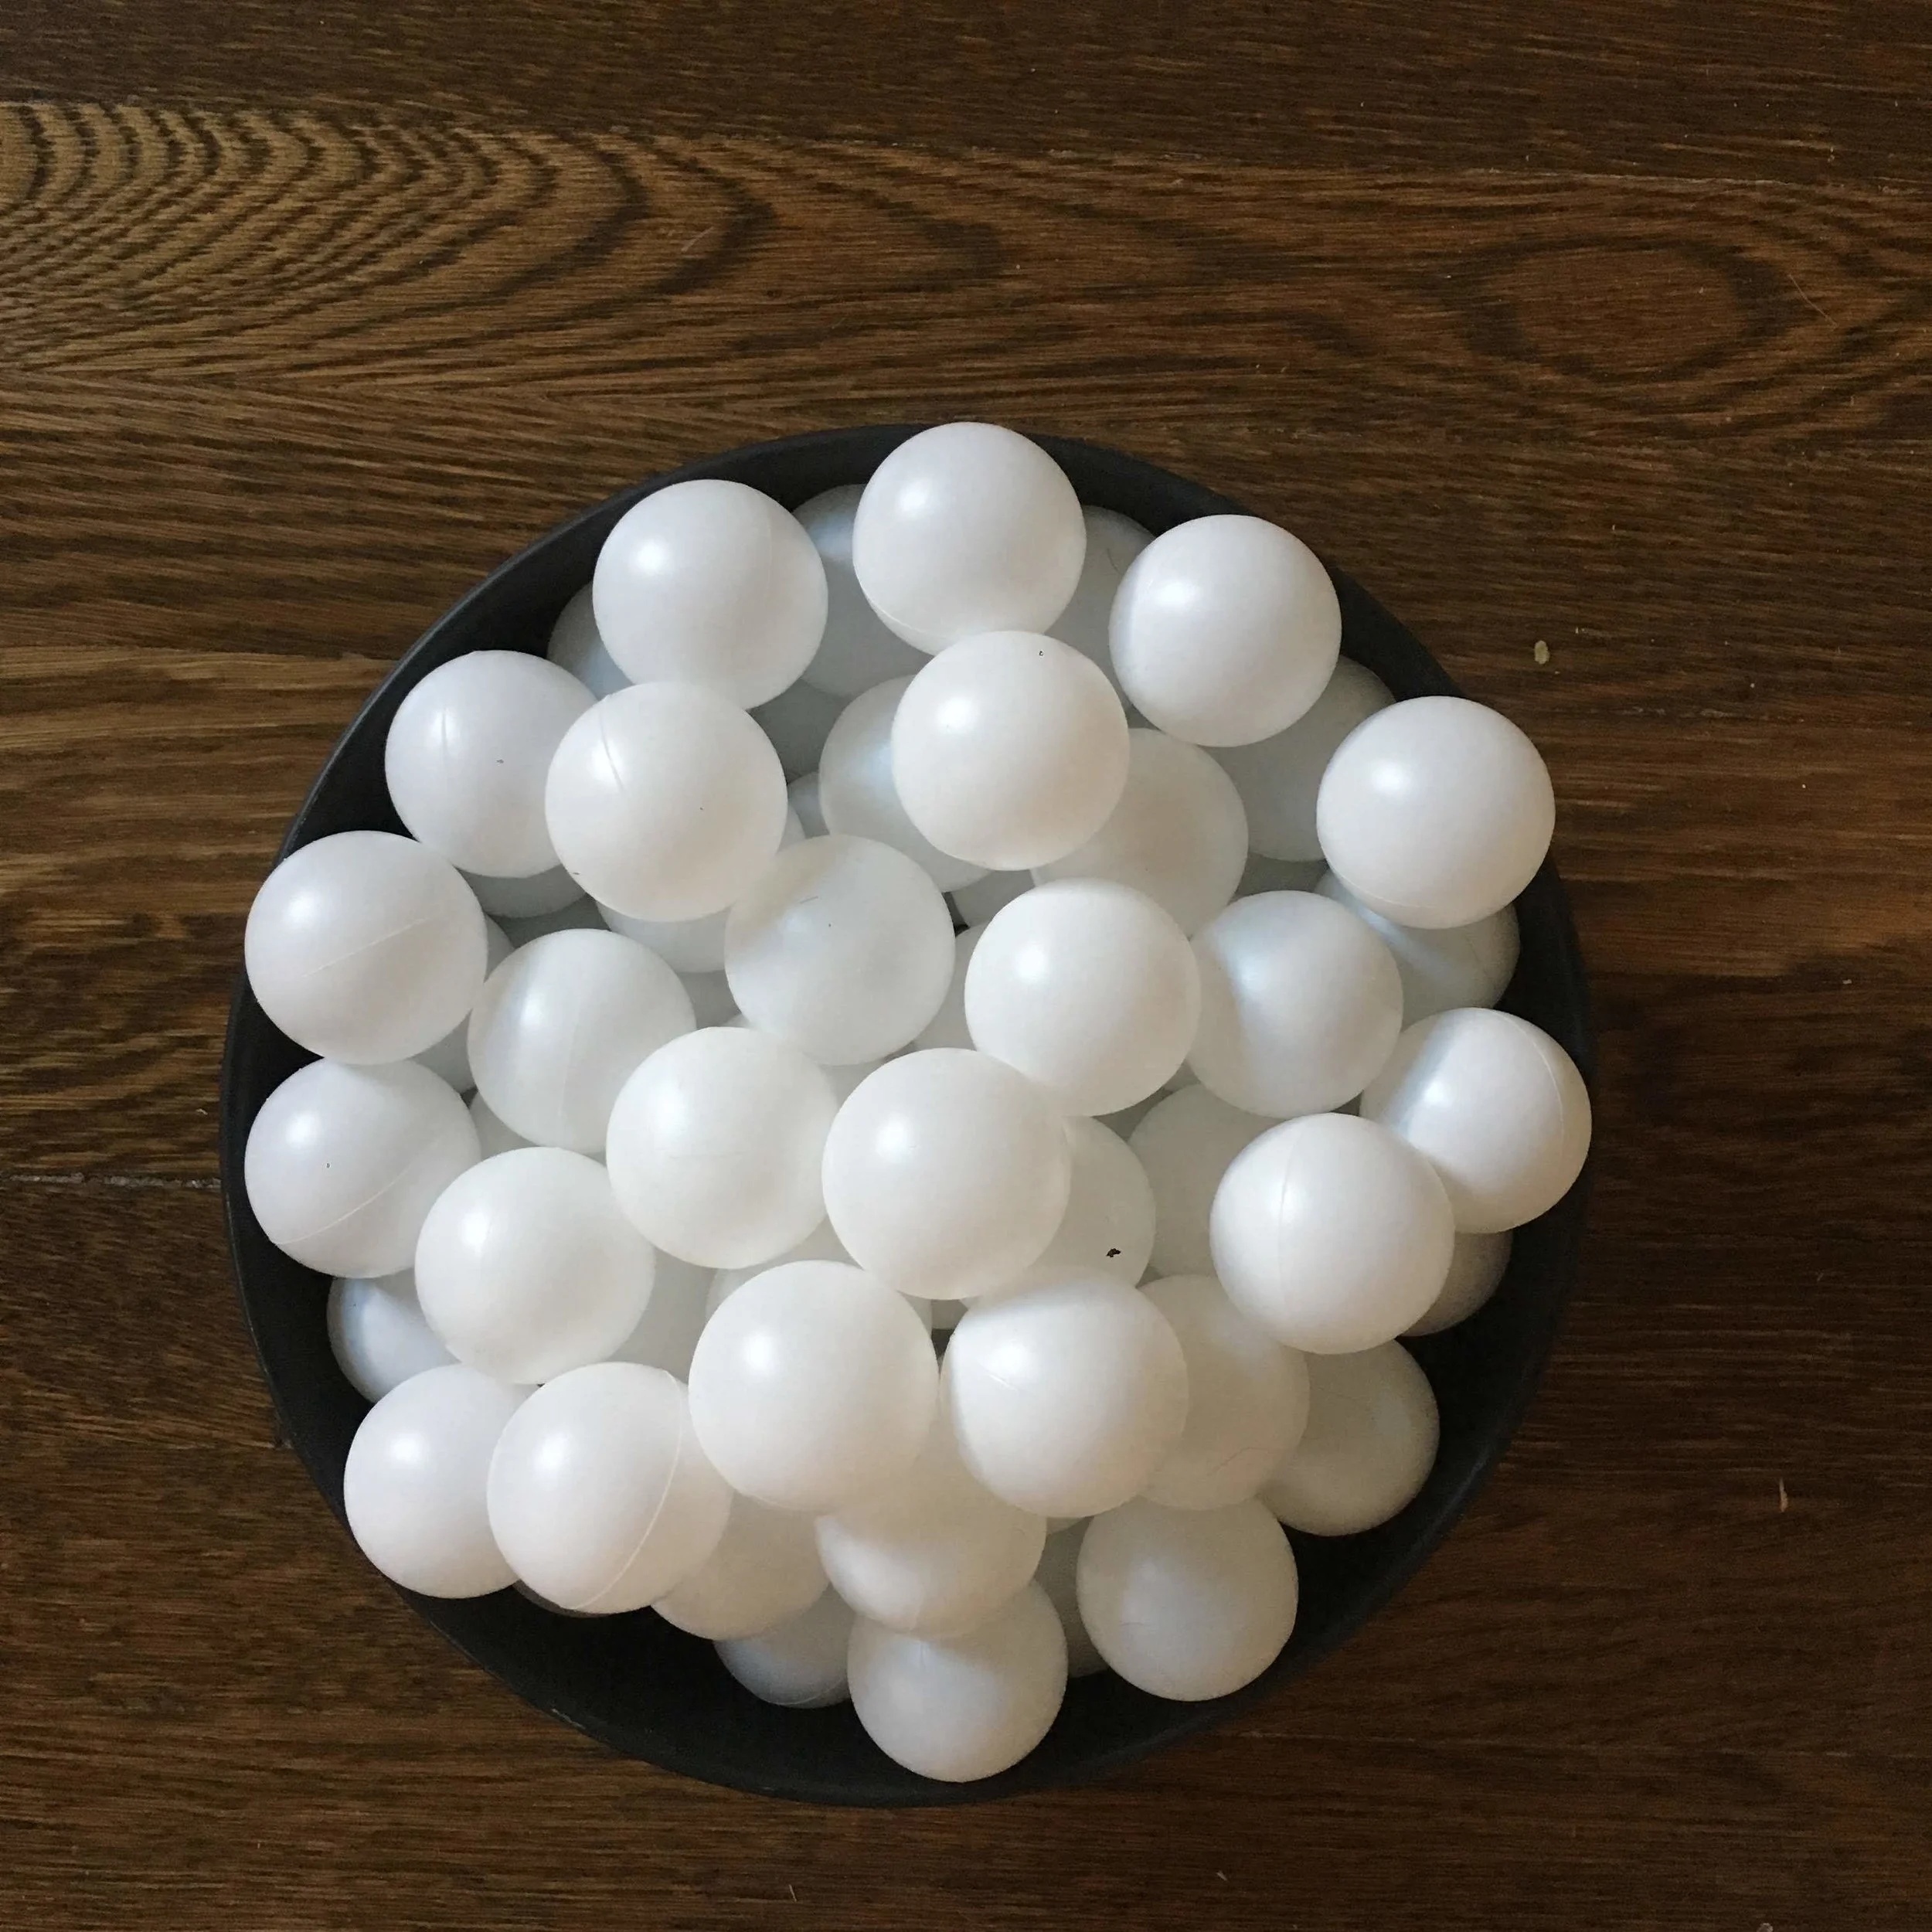
Ping Pong Balls

The beauty of this project is the cheaper the quality of the ping pong balls, the better. Thinner plastic just means more light shining through. You can’t beat Amazon who has 144 of them for $8.

IMG_3441.JPG

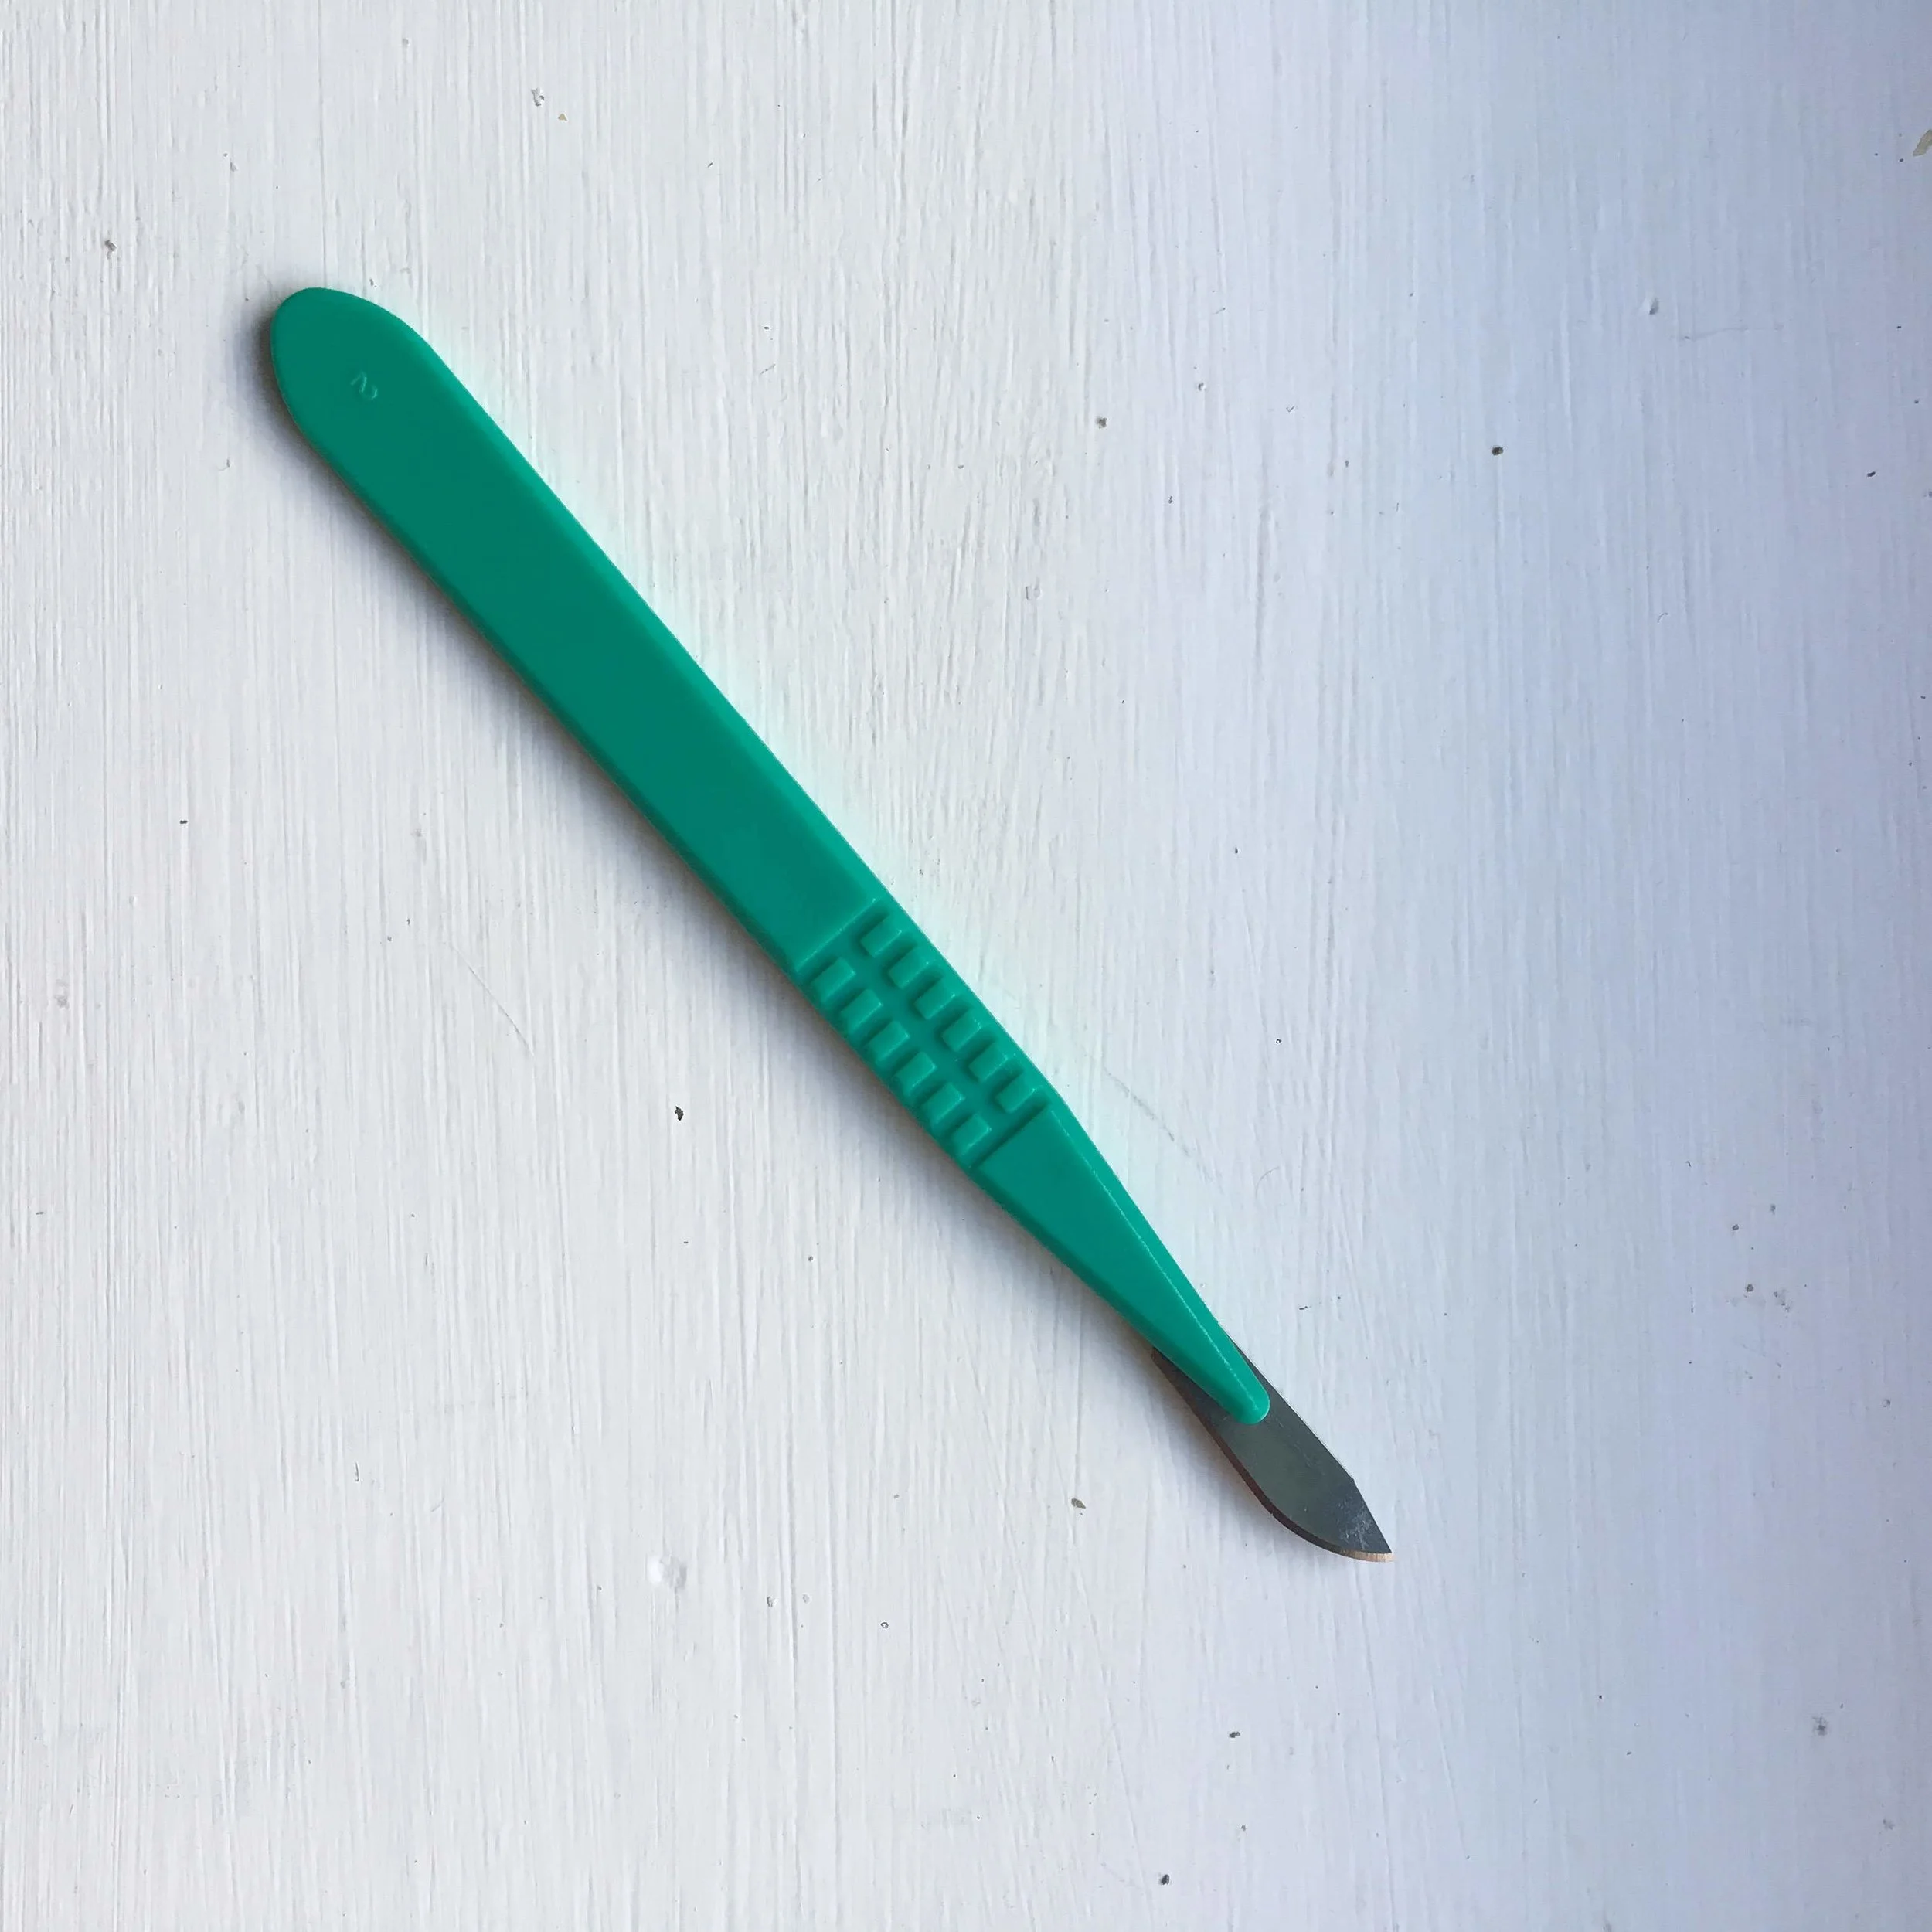
Scalpel or X-acto Knife

I happened to have a surgical scalpel laying around that worked perfectly, but any sharp knife will really do. Keep in mind, the smaller and sharper the blade, the easier the project will be. An X-ACTO knife would be ideal. With the 40% off coupon on the Michaels app, you can get yourself one for around $3. Worth it.

IMG_3443.JPG

How To:

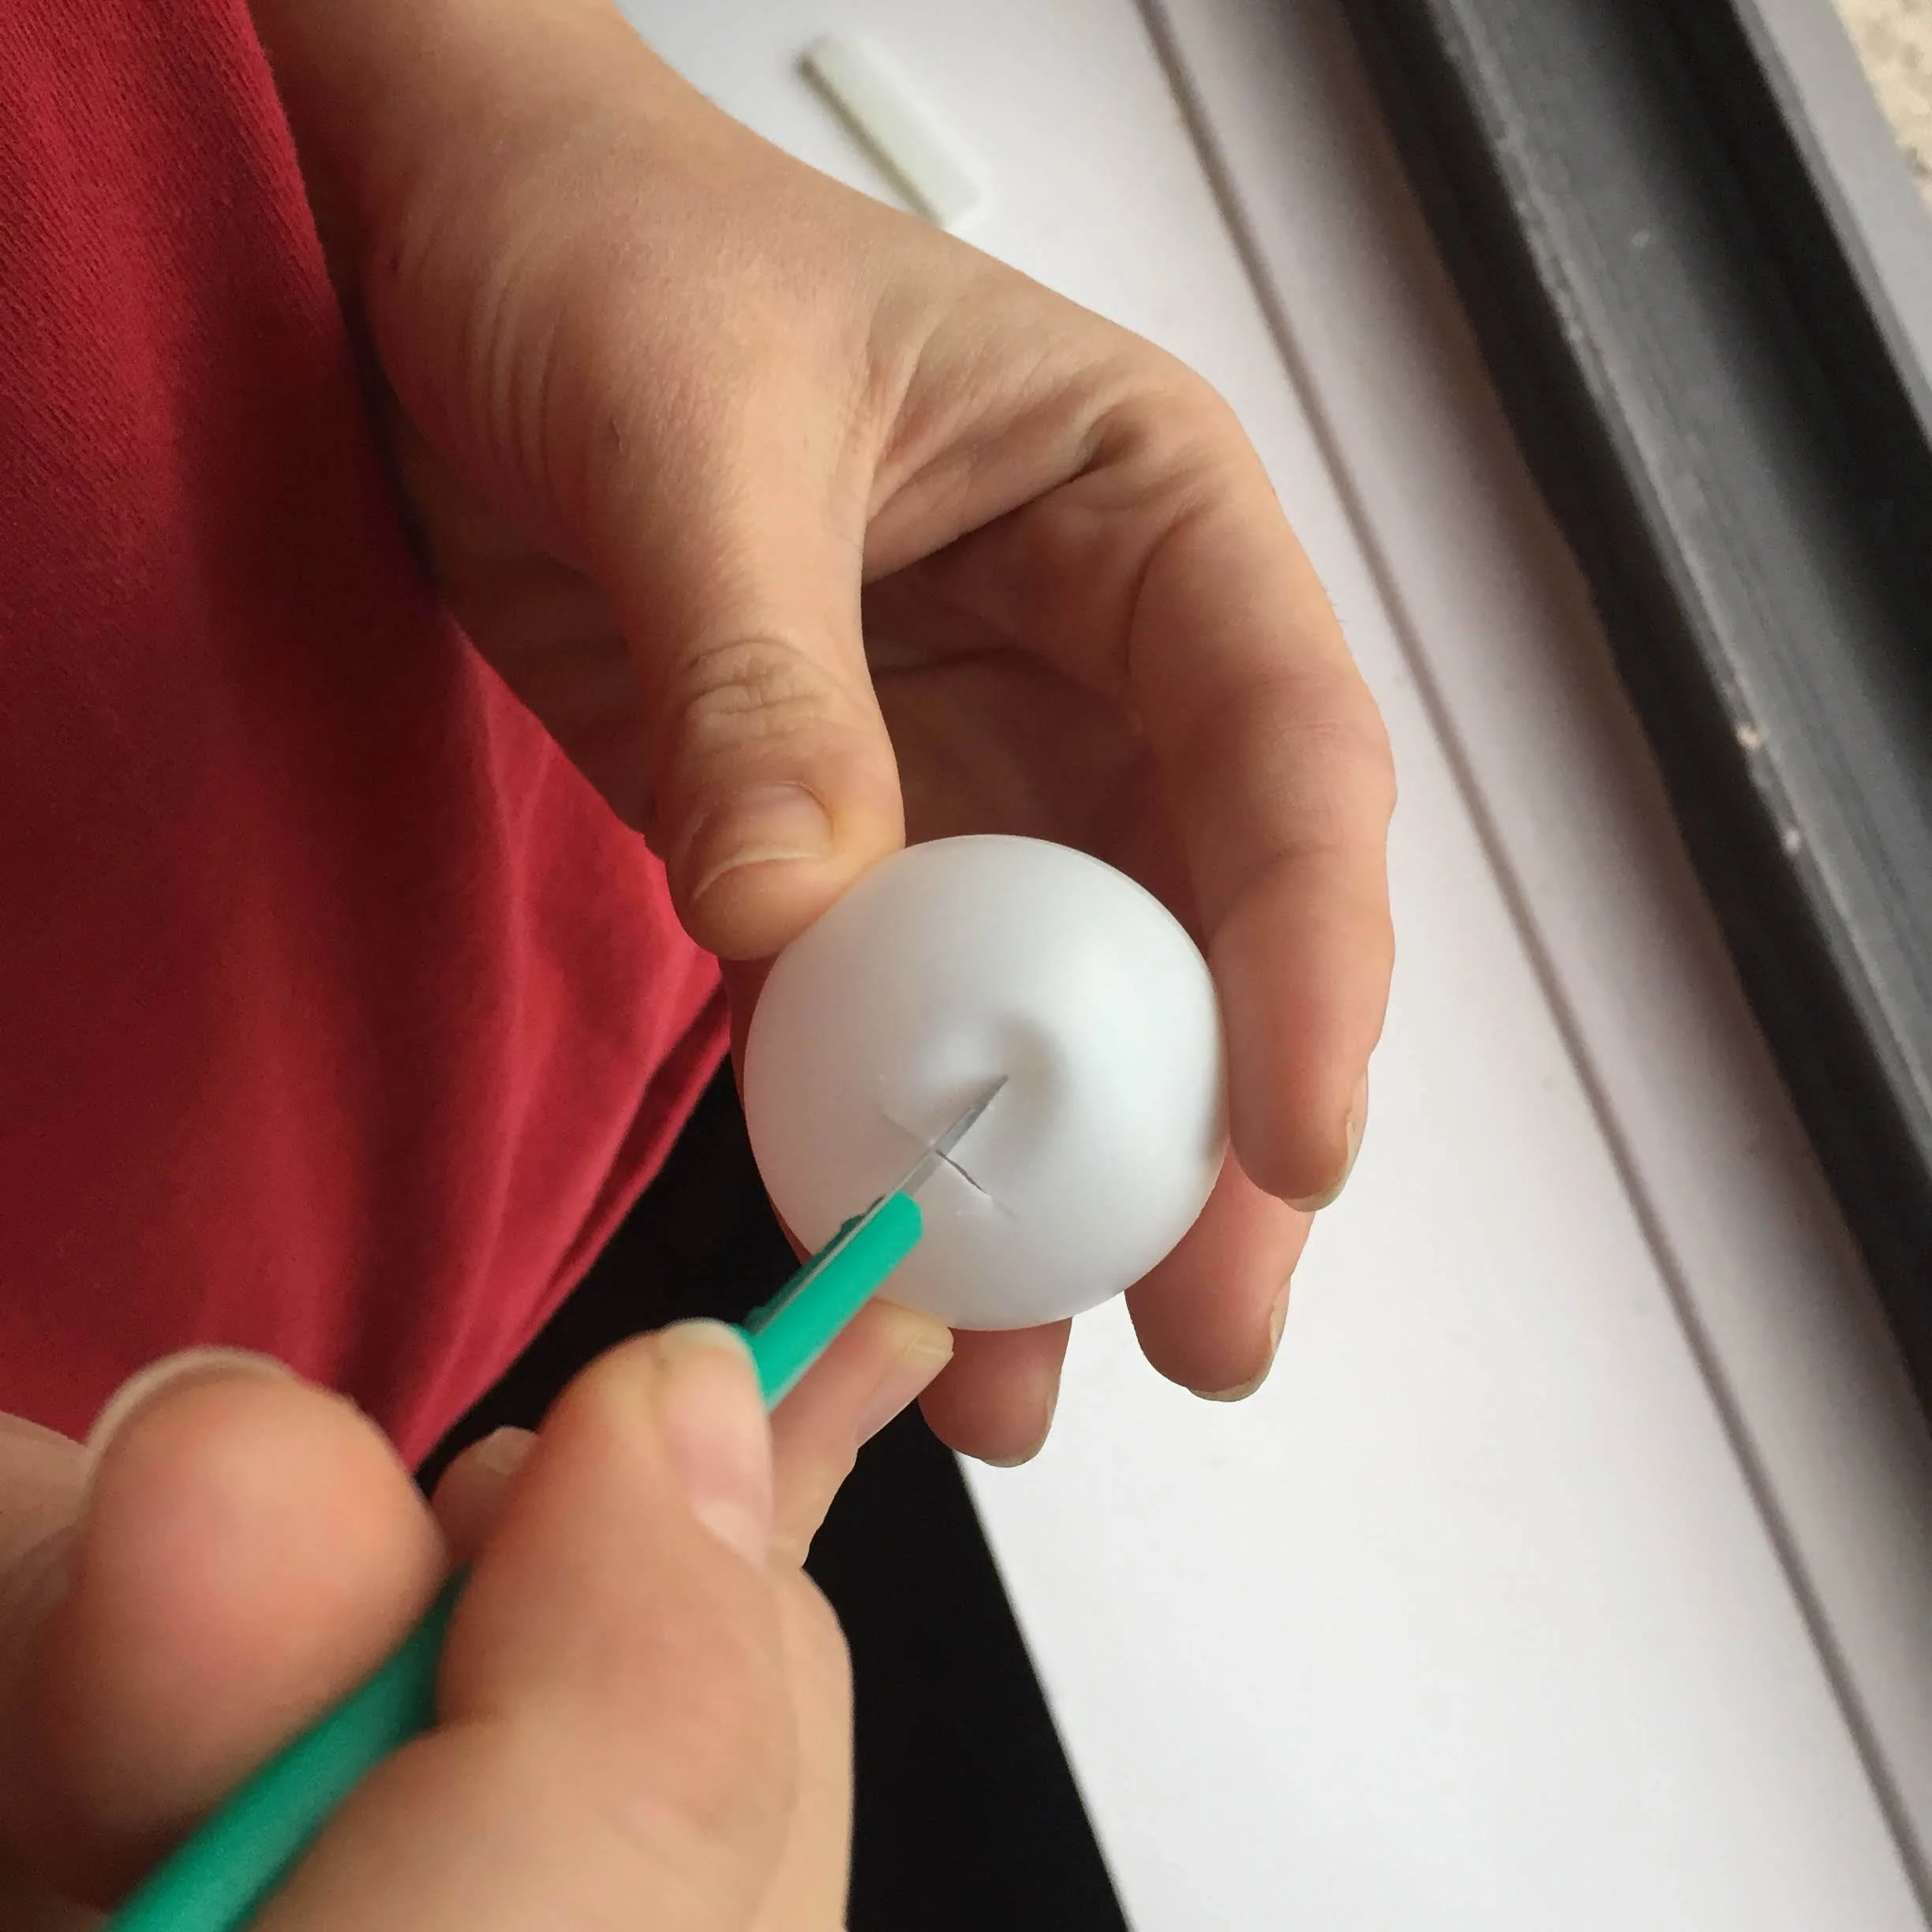
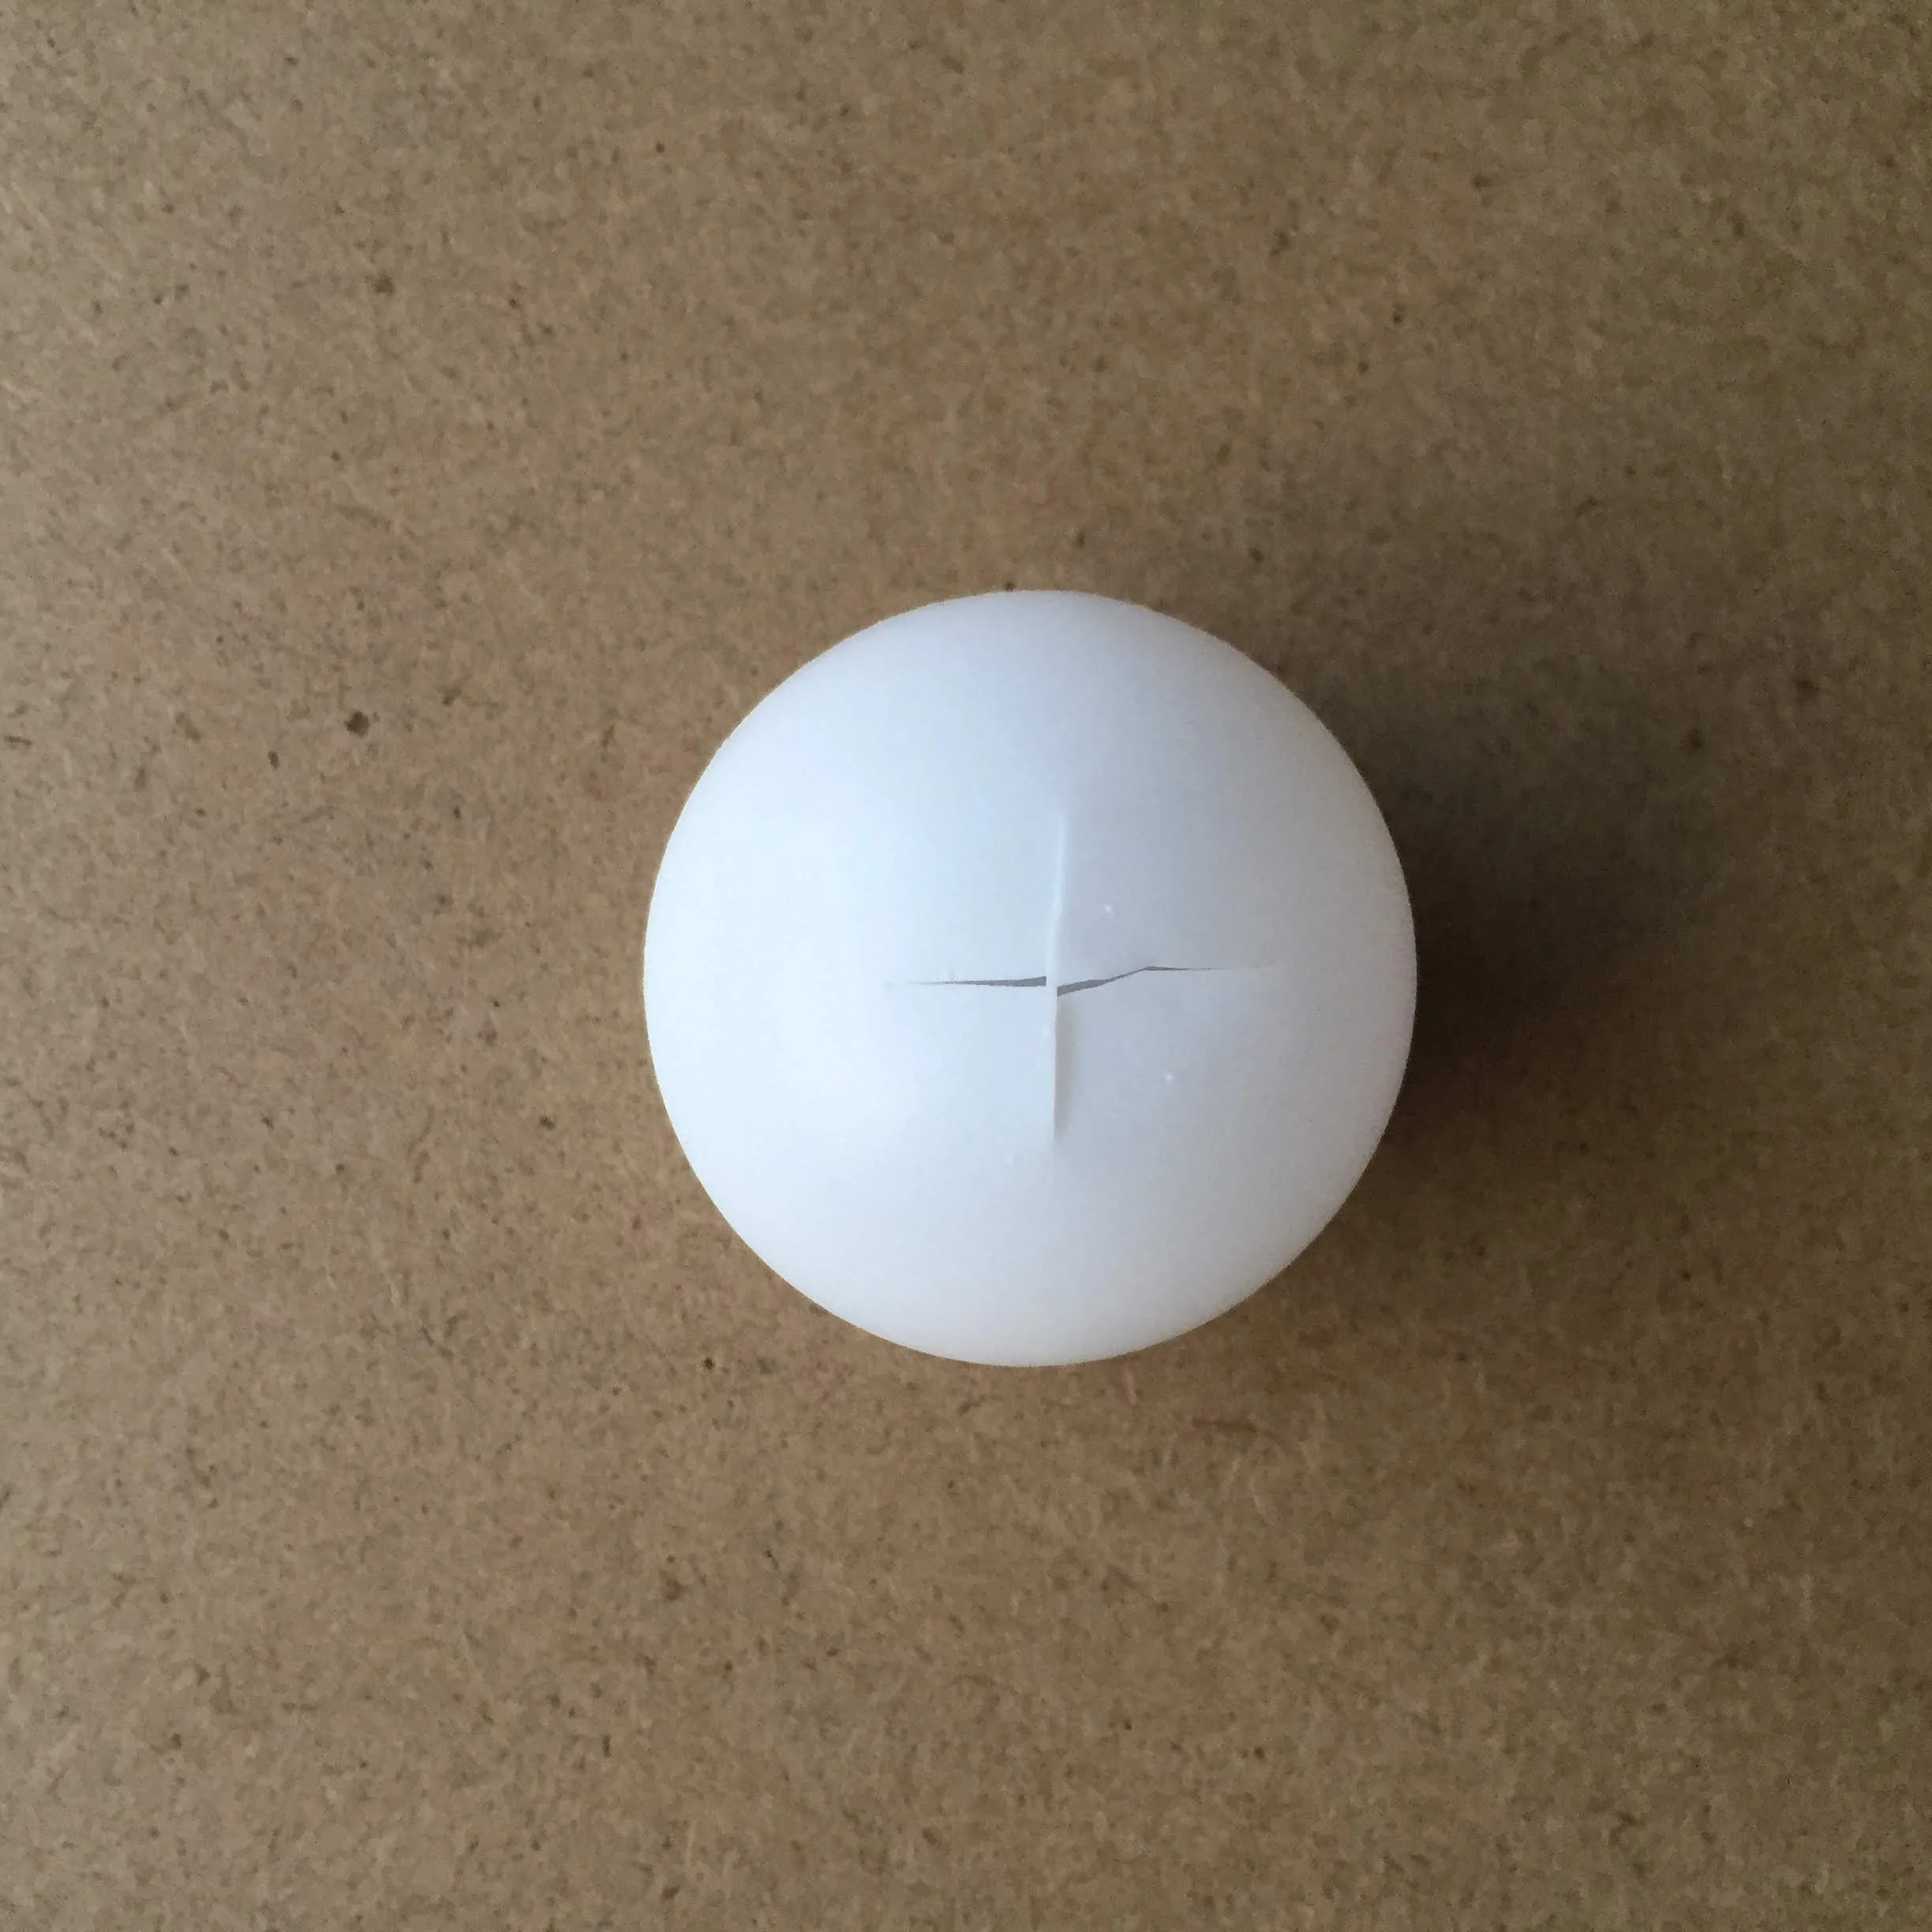
The process of making these lights couldn’t be easier. Just use the knife to score a small “x“ into the ping pong ball, then slide the light bulb right in. I suggest for the sake of efficiency, making all your X’s in the balls first before stringing them. If you make your X too small the bulb won’t fit, too big and the ping pong balls will slide off. Once you get the hang of it, the whole string shouldn’t take more than a few minutes.

IMG_5944.JPG
IMG_5948.JPG

inspiration:

Try these lights on your tree- either by themselves or add some contrast by stringing them up with smaller traditional lights.

IMG_3508.JPG

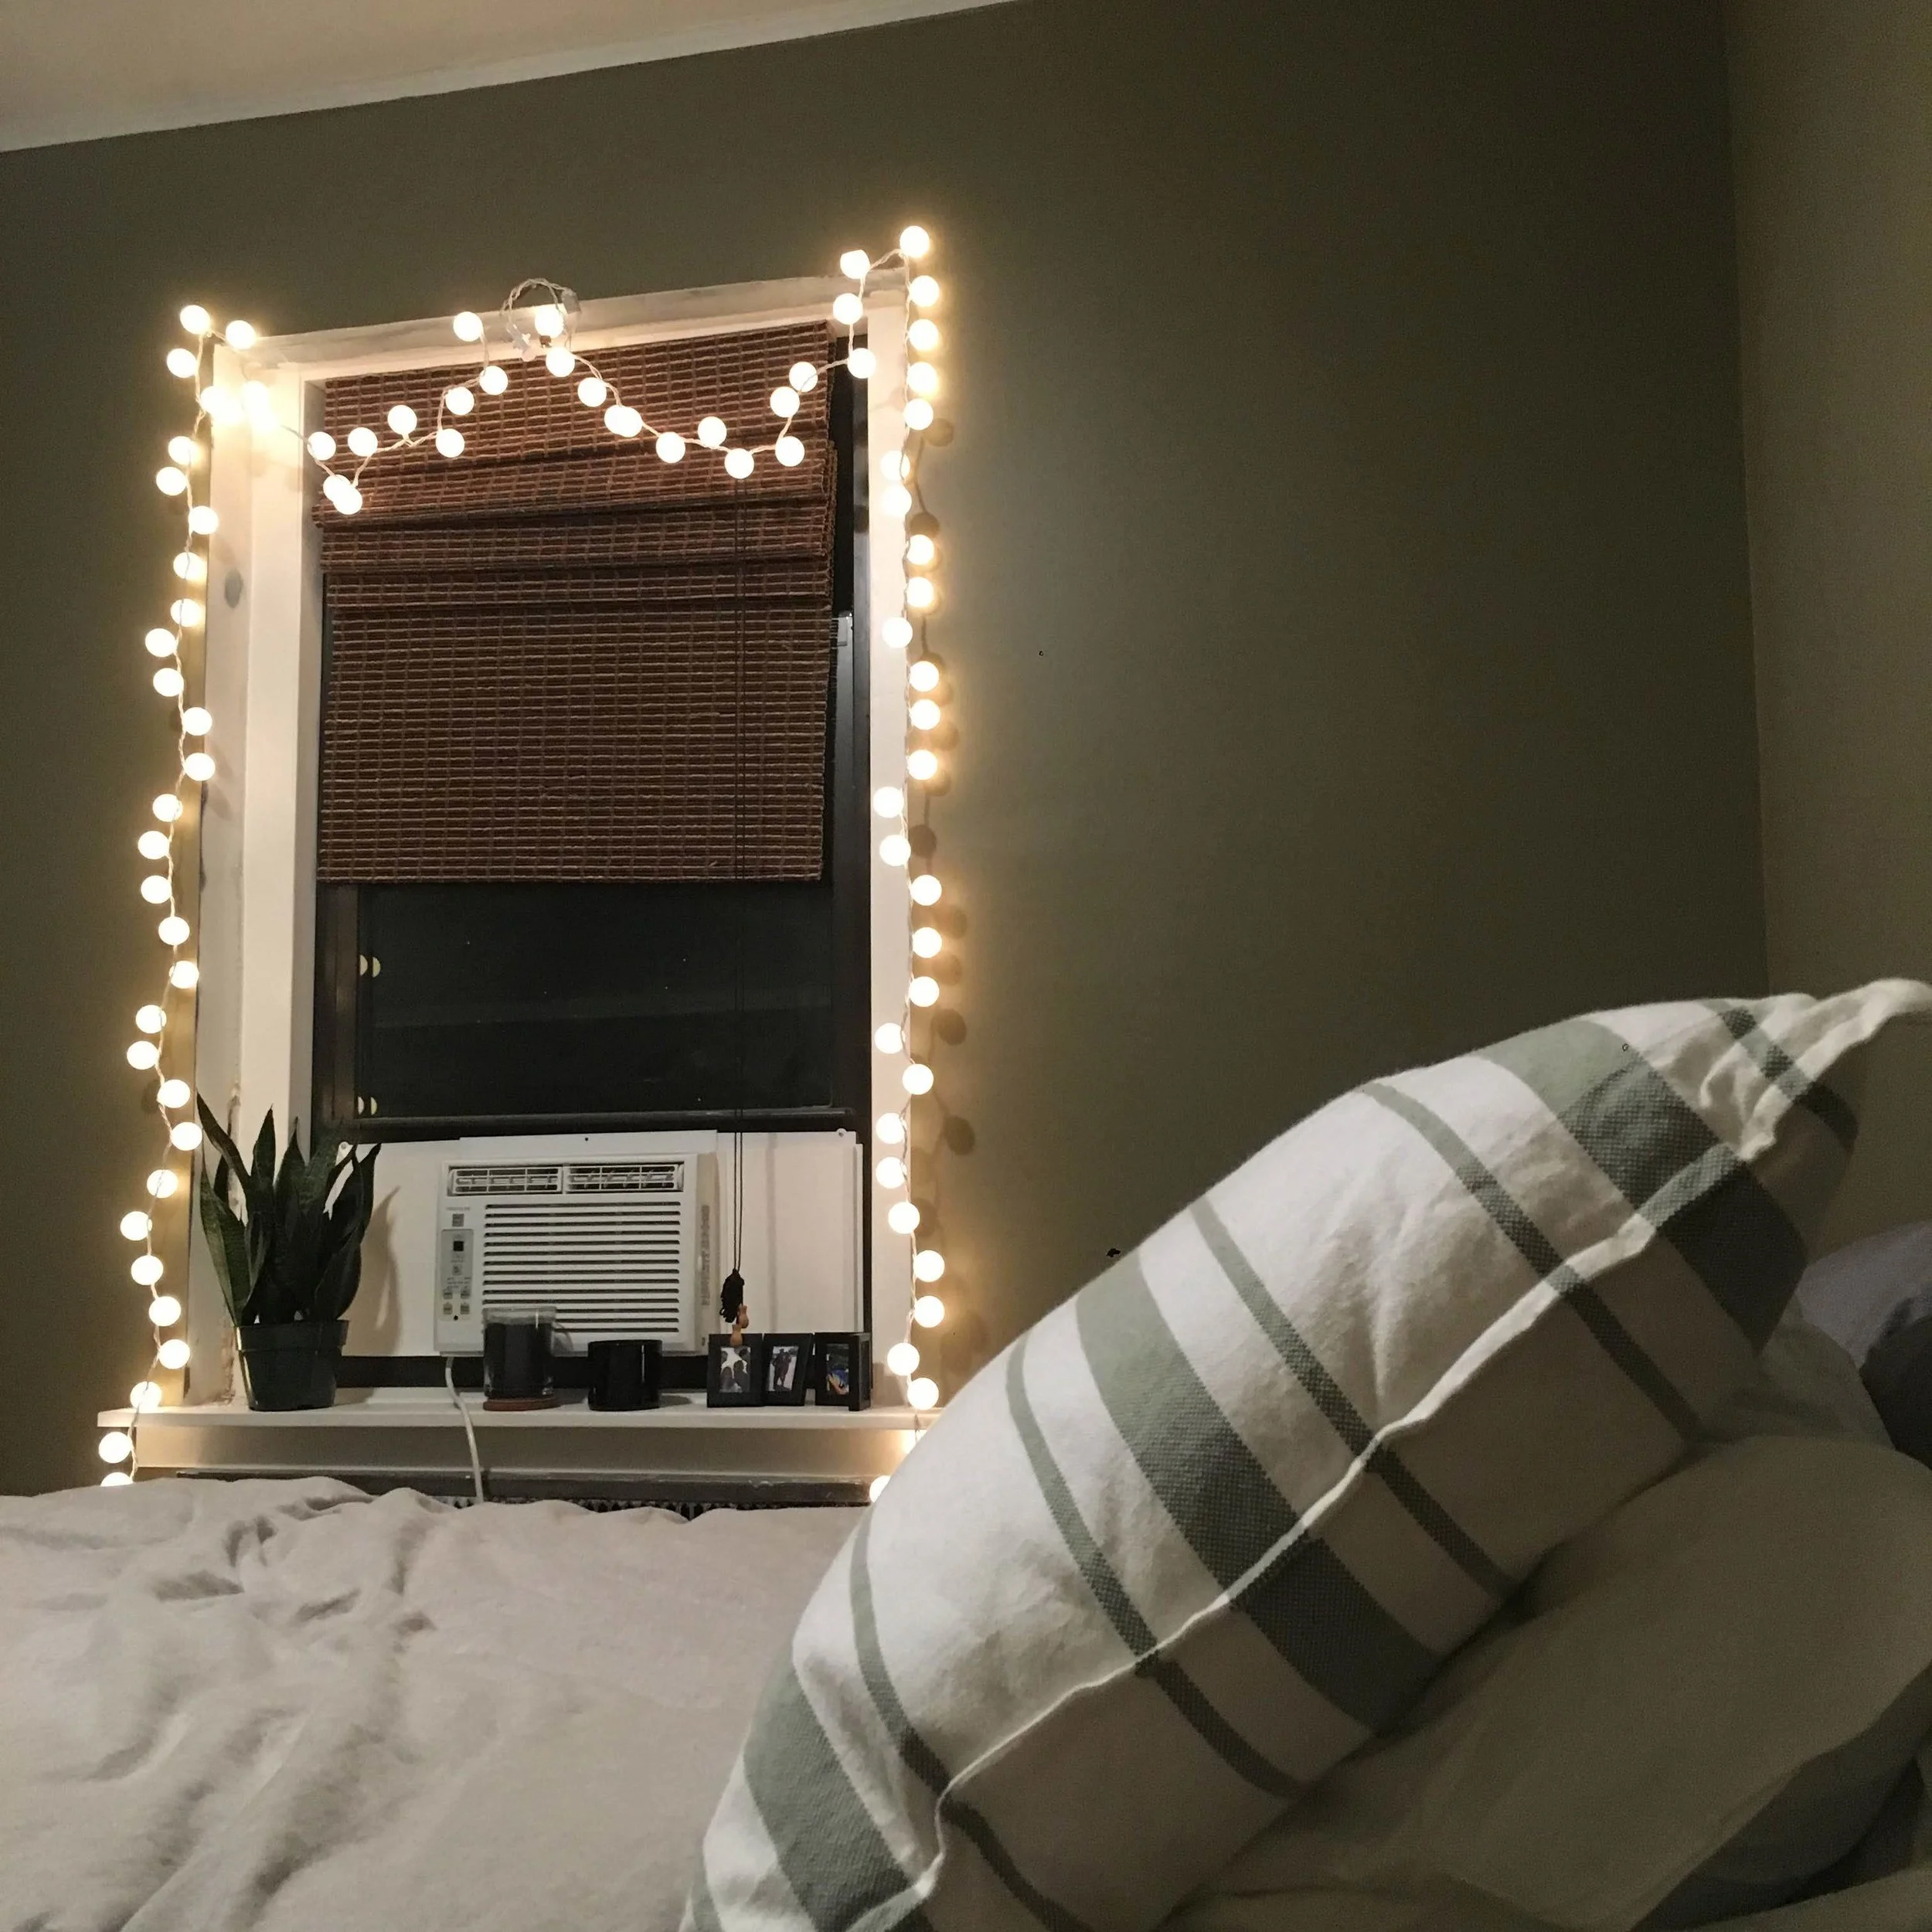
While these lights beg to be used as Christmas decorations, don’t stop there. The possibilities are endless and can add character to any space year round.

IMG_3350.JPG
IMG_3527.JPG

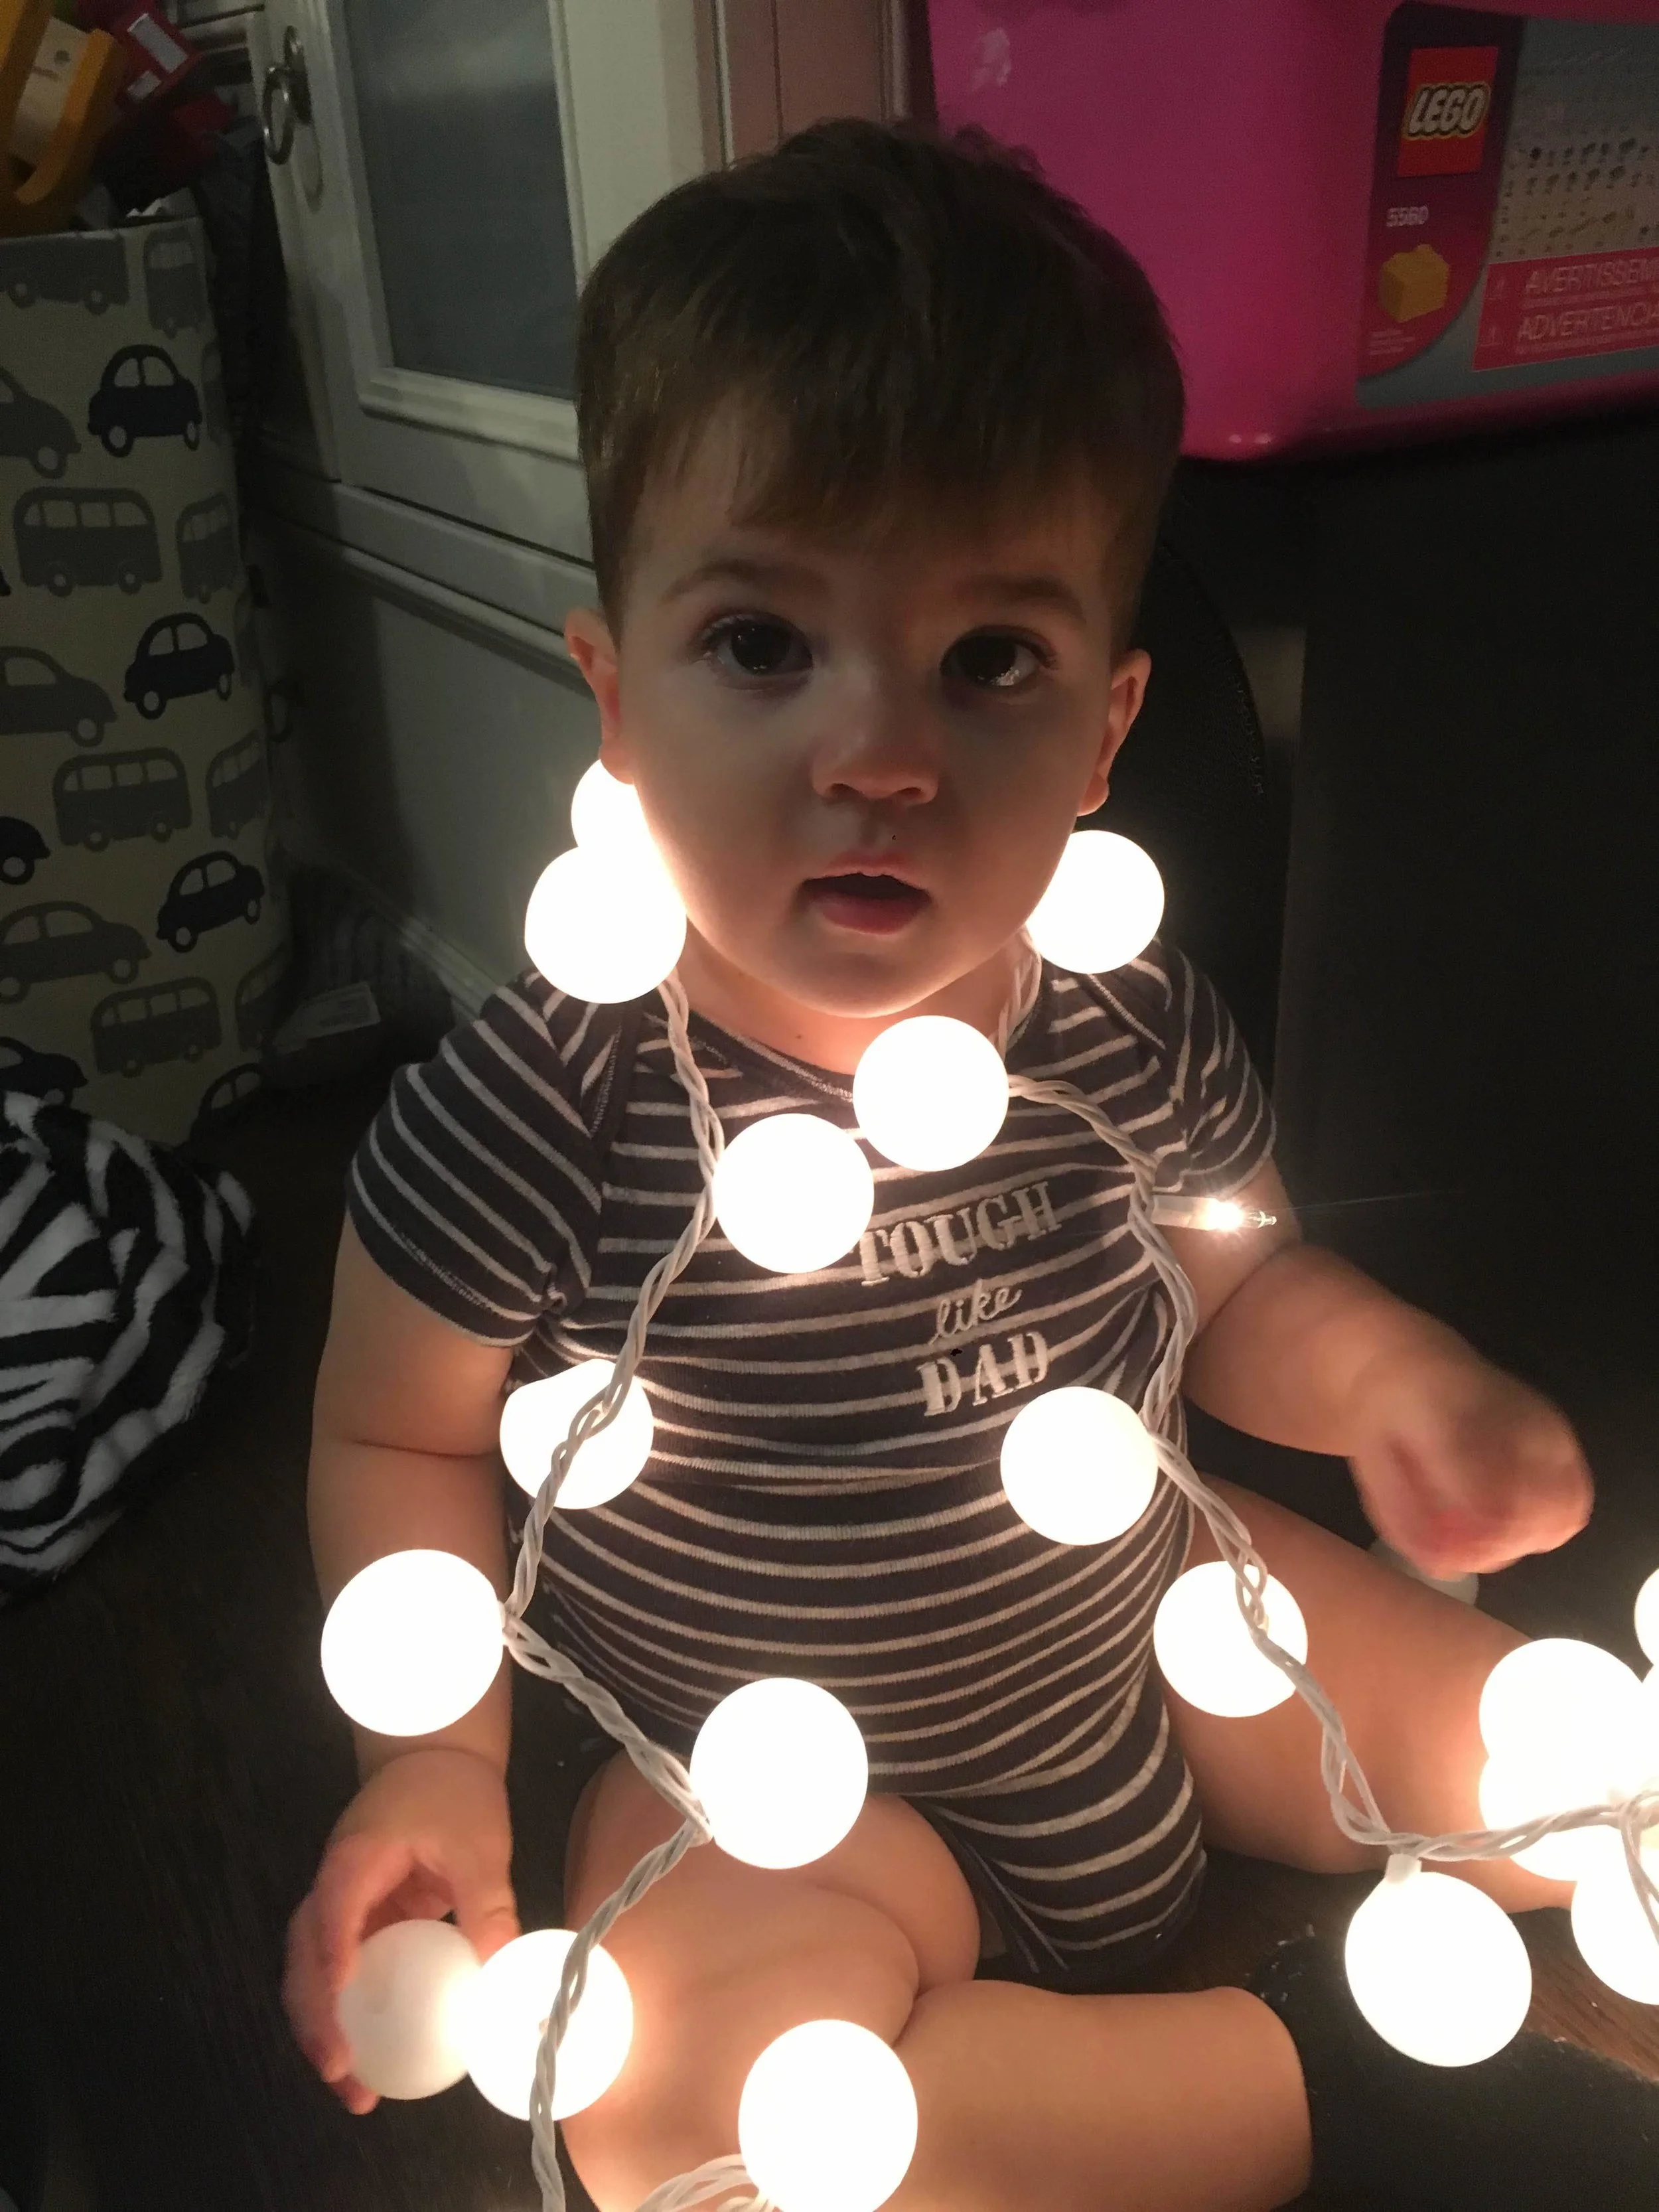
They even act as a great prop for impromptu photoshoots.

My lights, but not my child.

My lights, but not my child.

Give it a go, leave me a comment or send me pictures of how you they turned out!


Brick House (Brick Veneer Wall)

Much like bacon, brick just makes everything better. 

Unfortunately I have a little bit of a "champagne taste on a beer budget" type of situation here, and buildings with brick tend to fall a ways out of our current price range.

DSC_0062.JPG

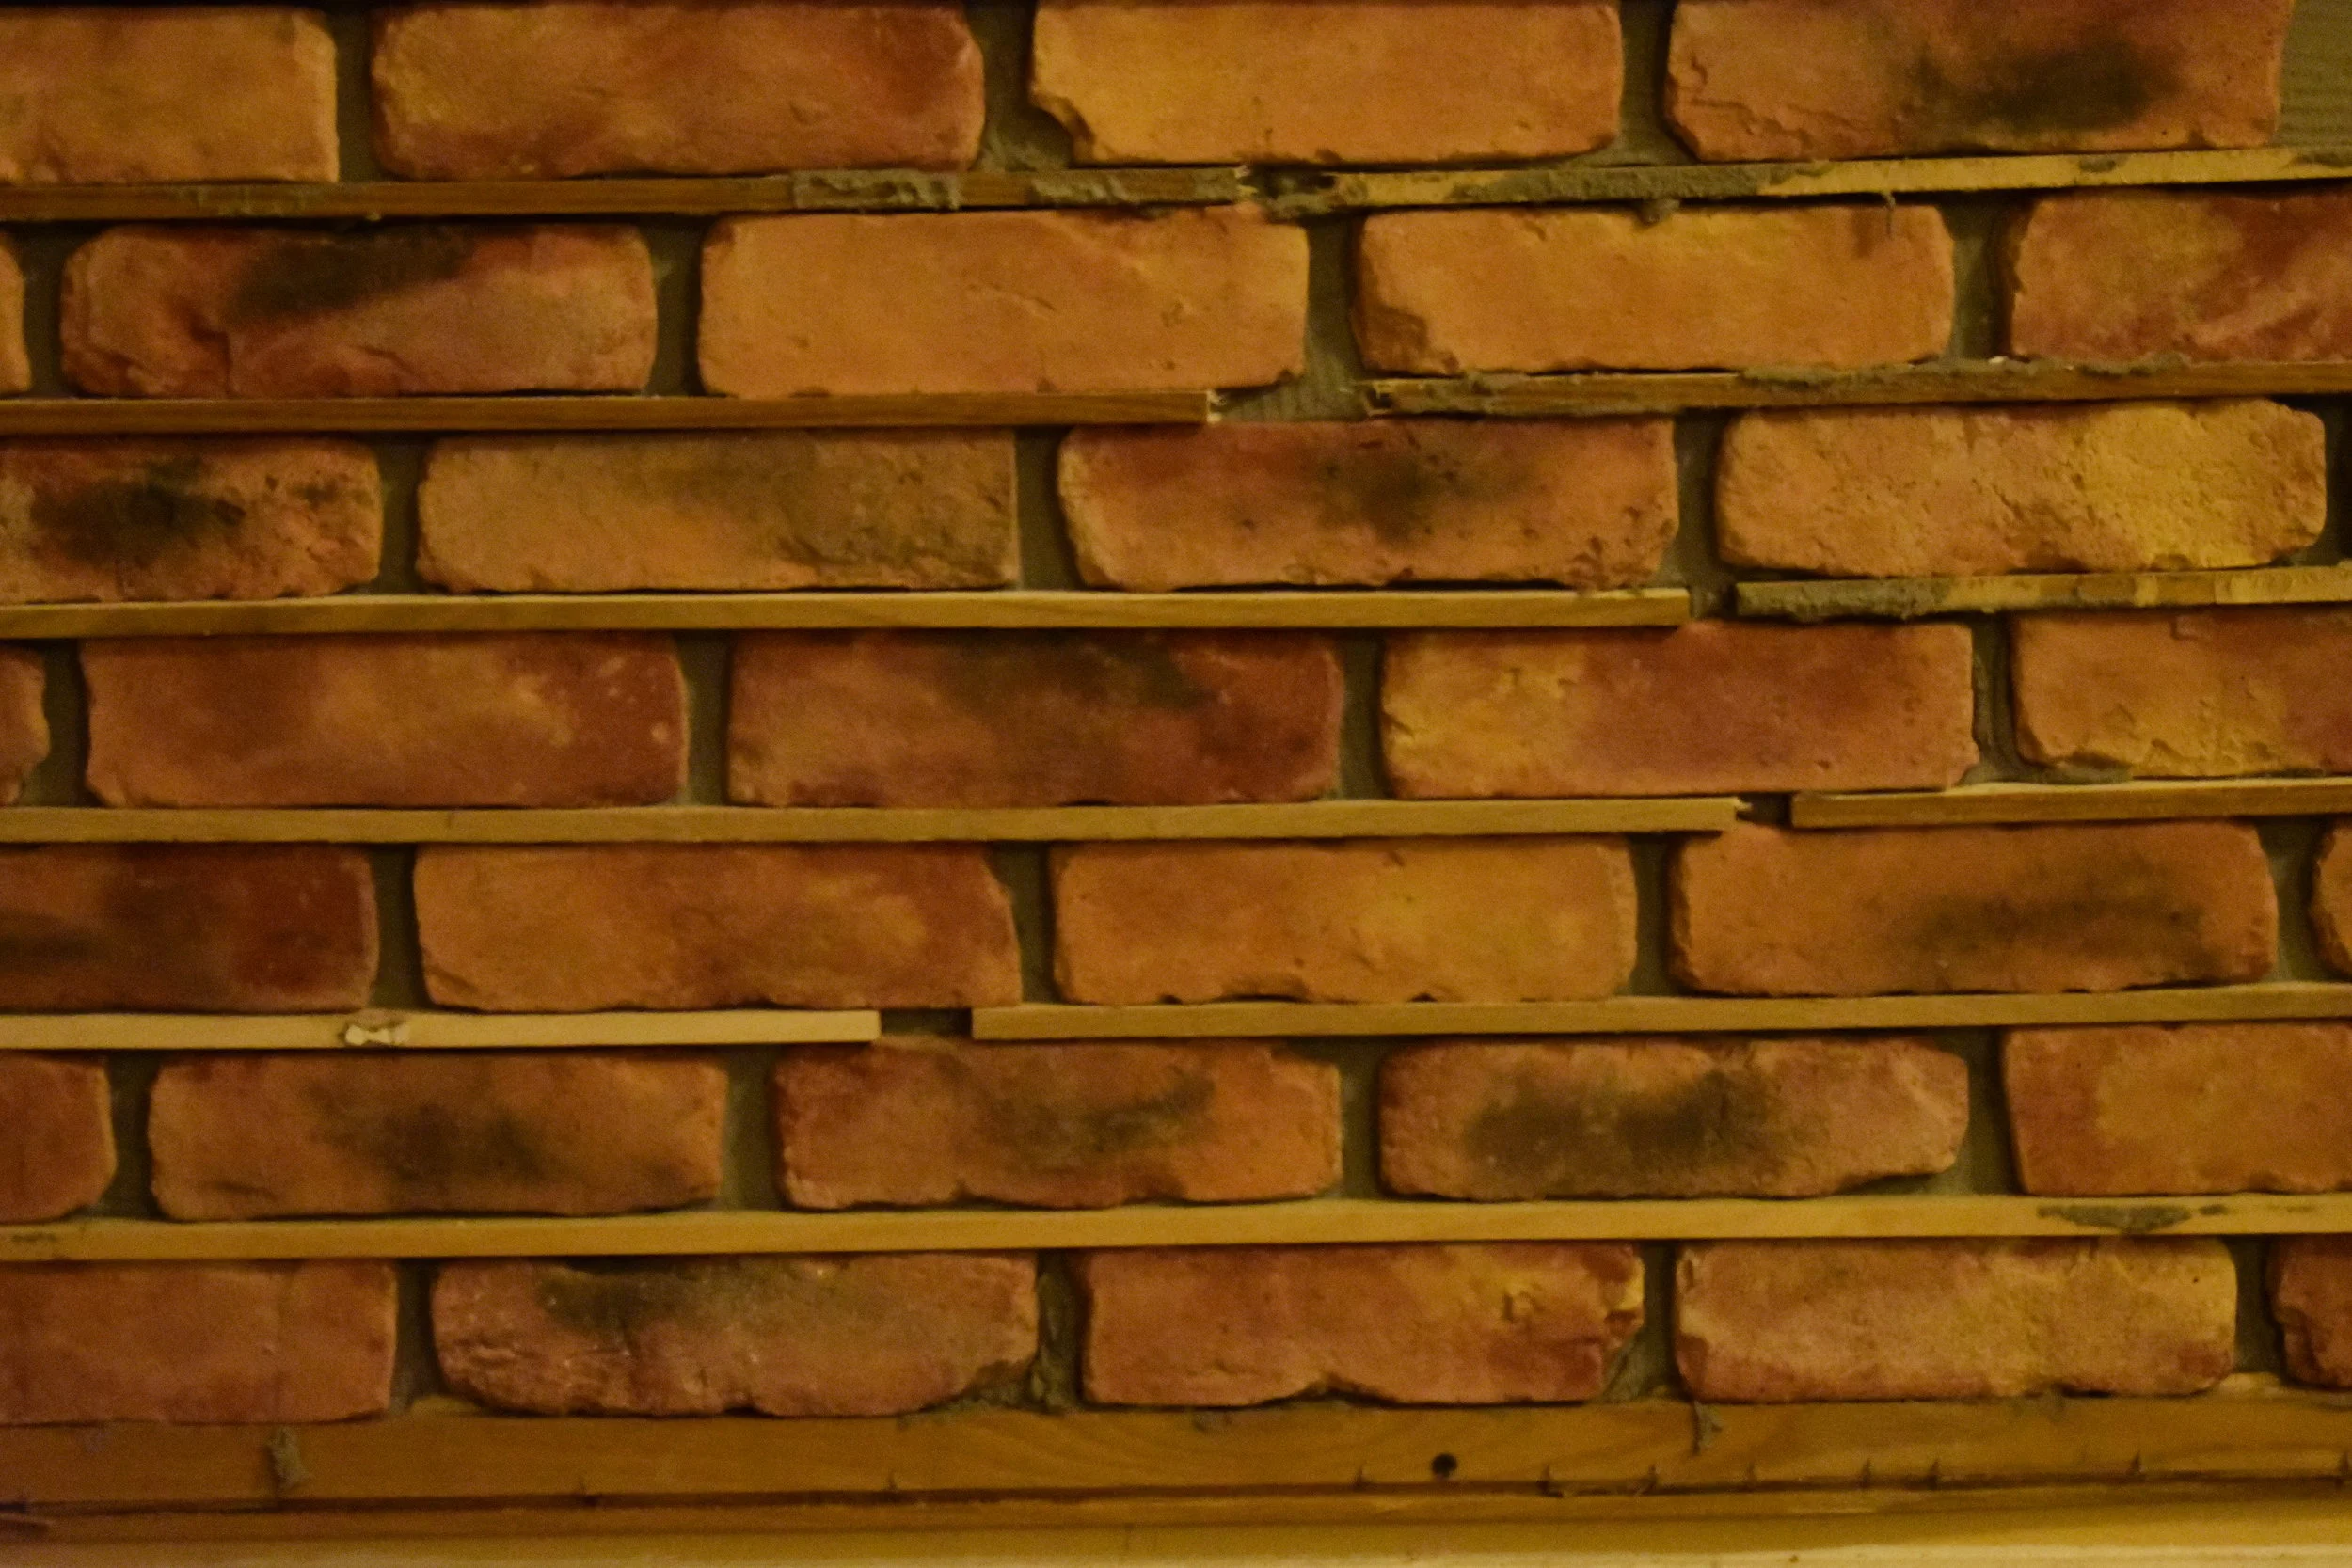
Lucky there's hope for us all. It's called brick veneer

*Thin Brick Image*

What you end up getting is all the charm and benefits of brick with  ̶n̶o̶ less hassle. They're basically the Budlight of brick- lighter, cheaper, and they get the job done. 

DSC_0047.JPG

It's exceedingly rare to find a project that is not only forgiving of imperfections and fuck-ups, but will actually enhance it. 

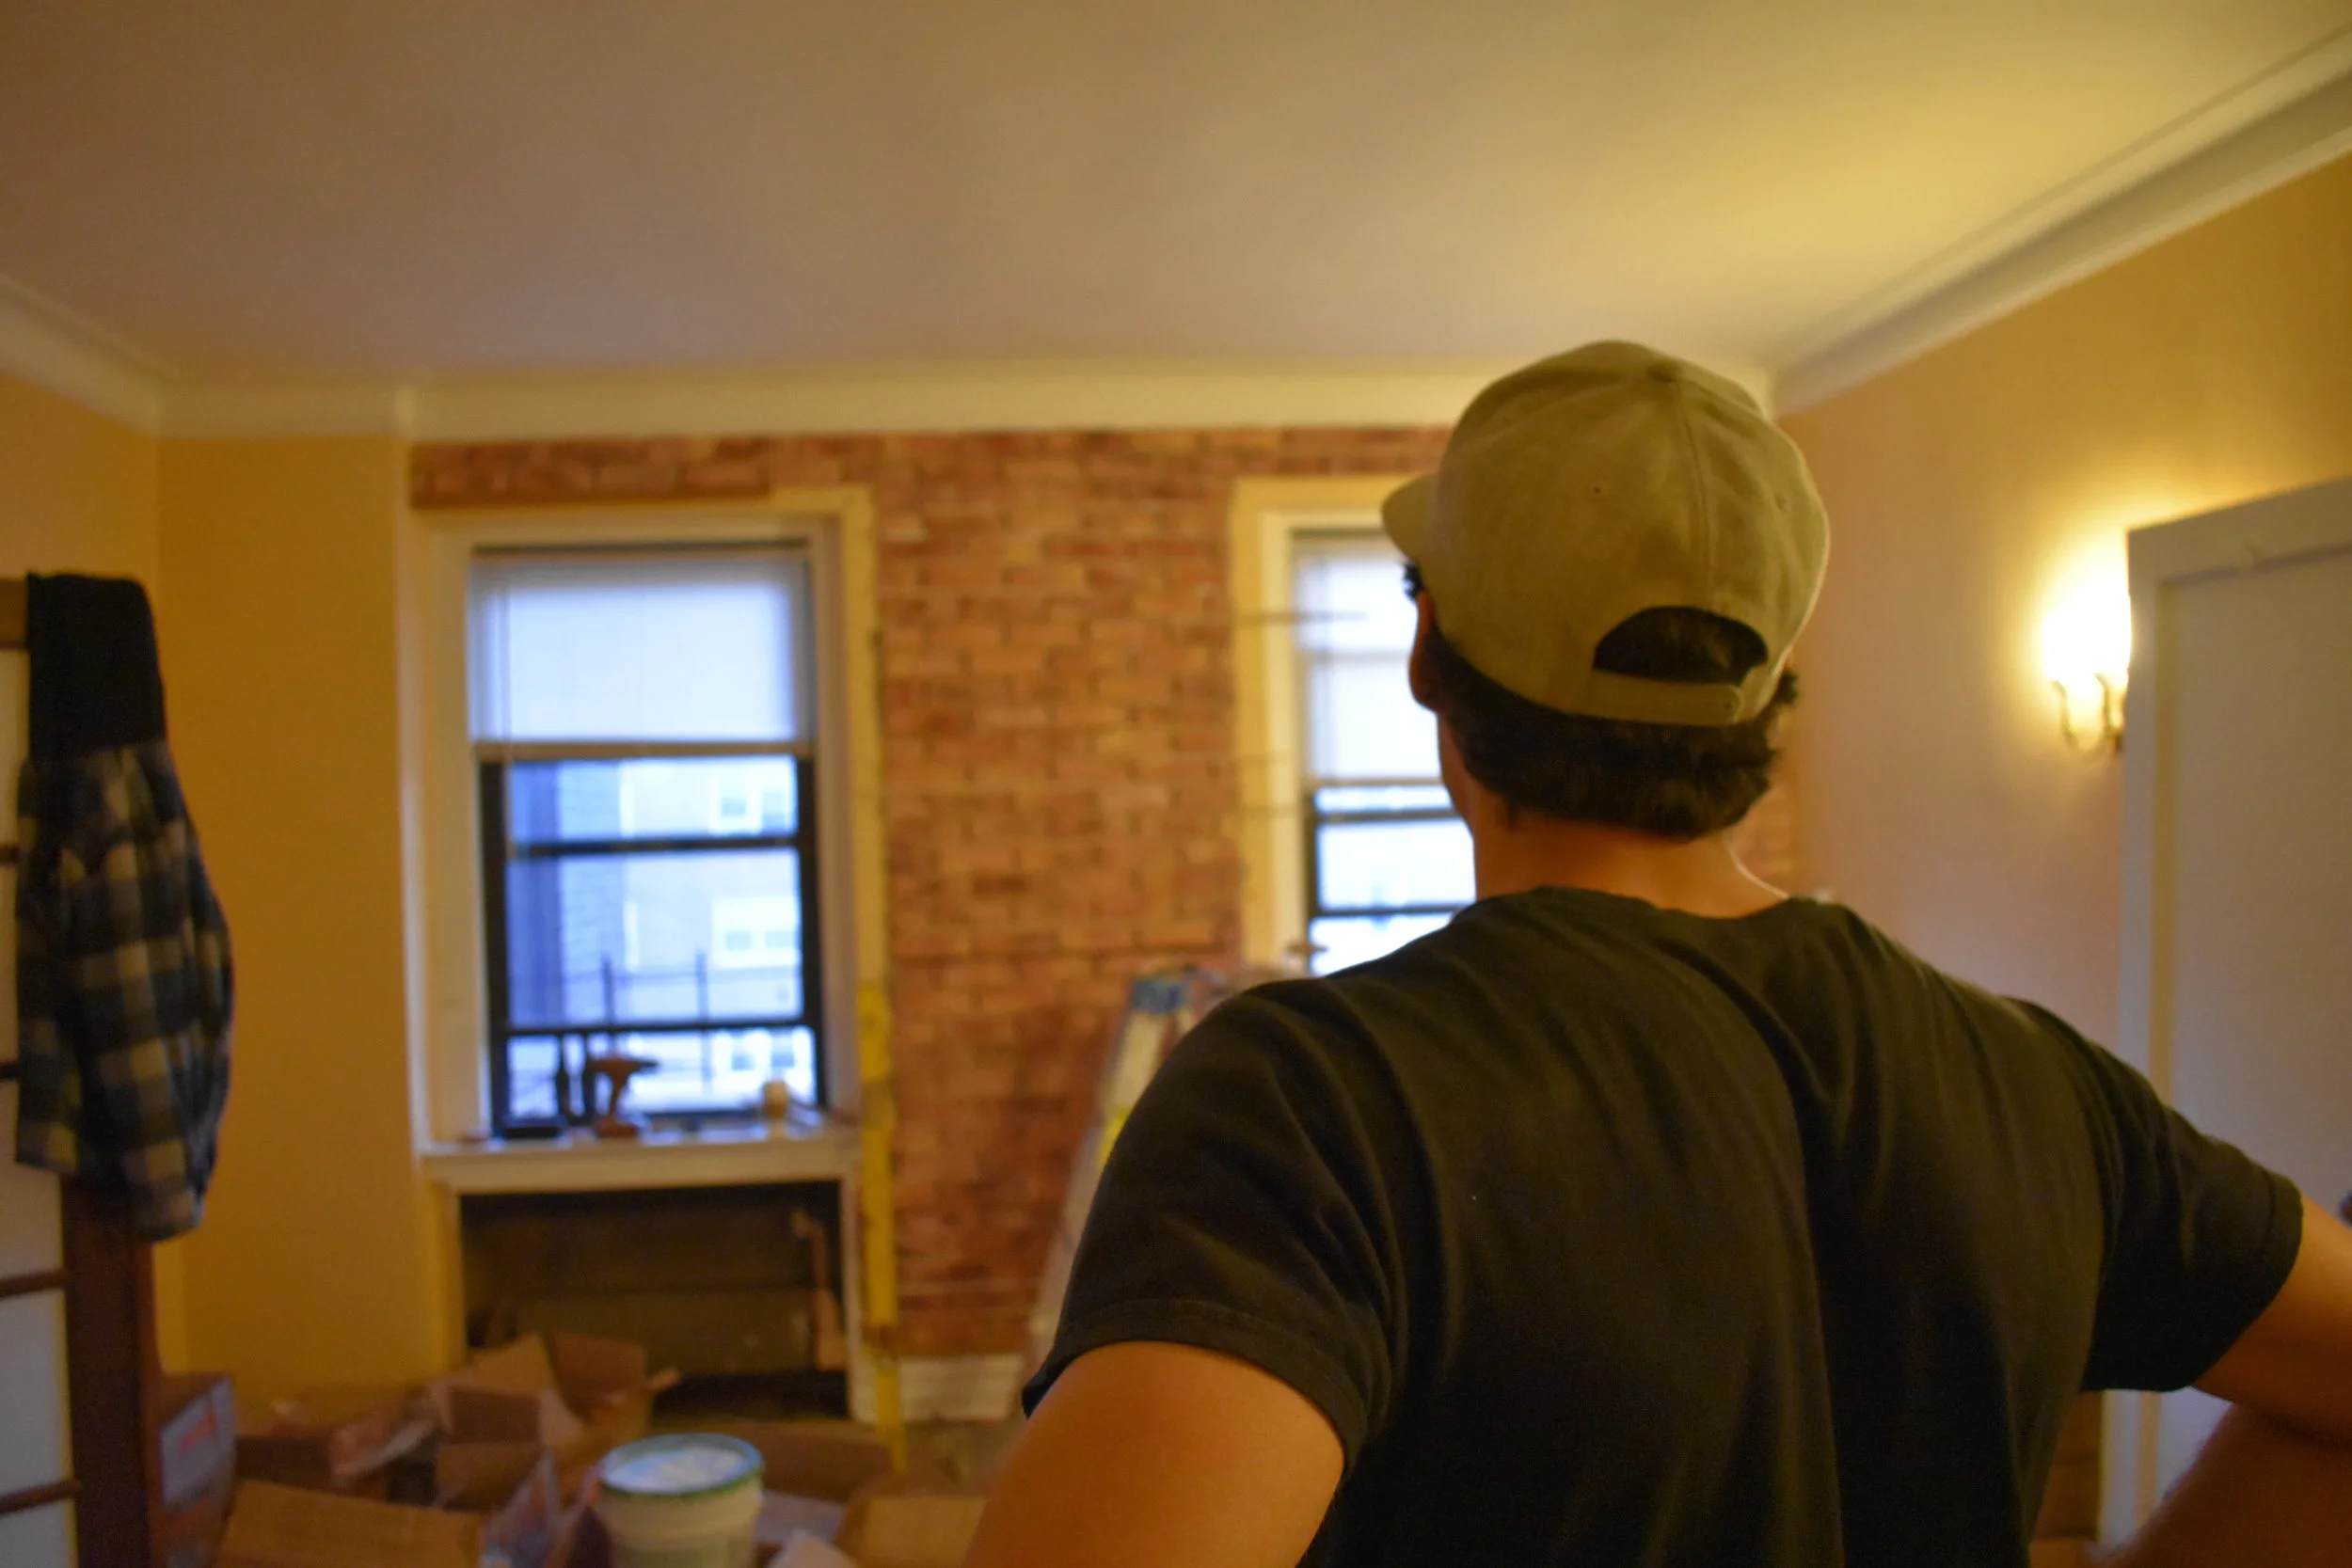
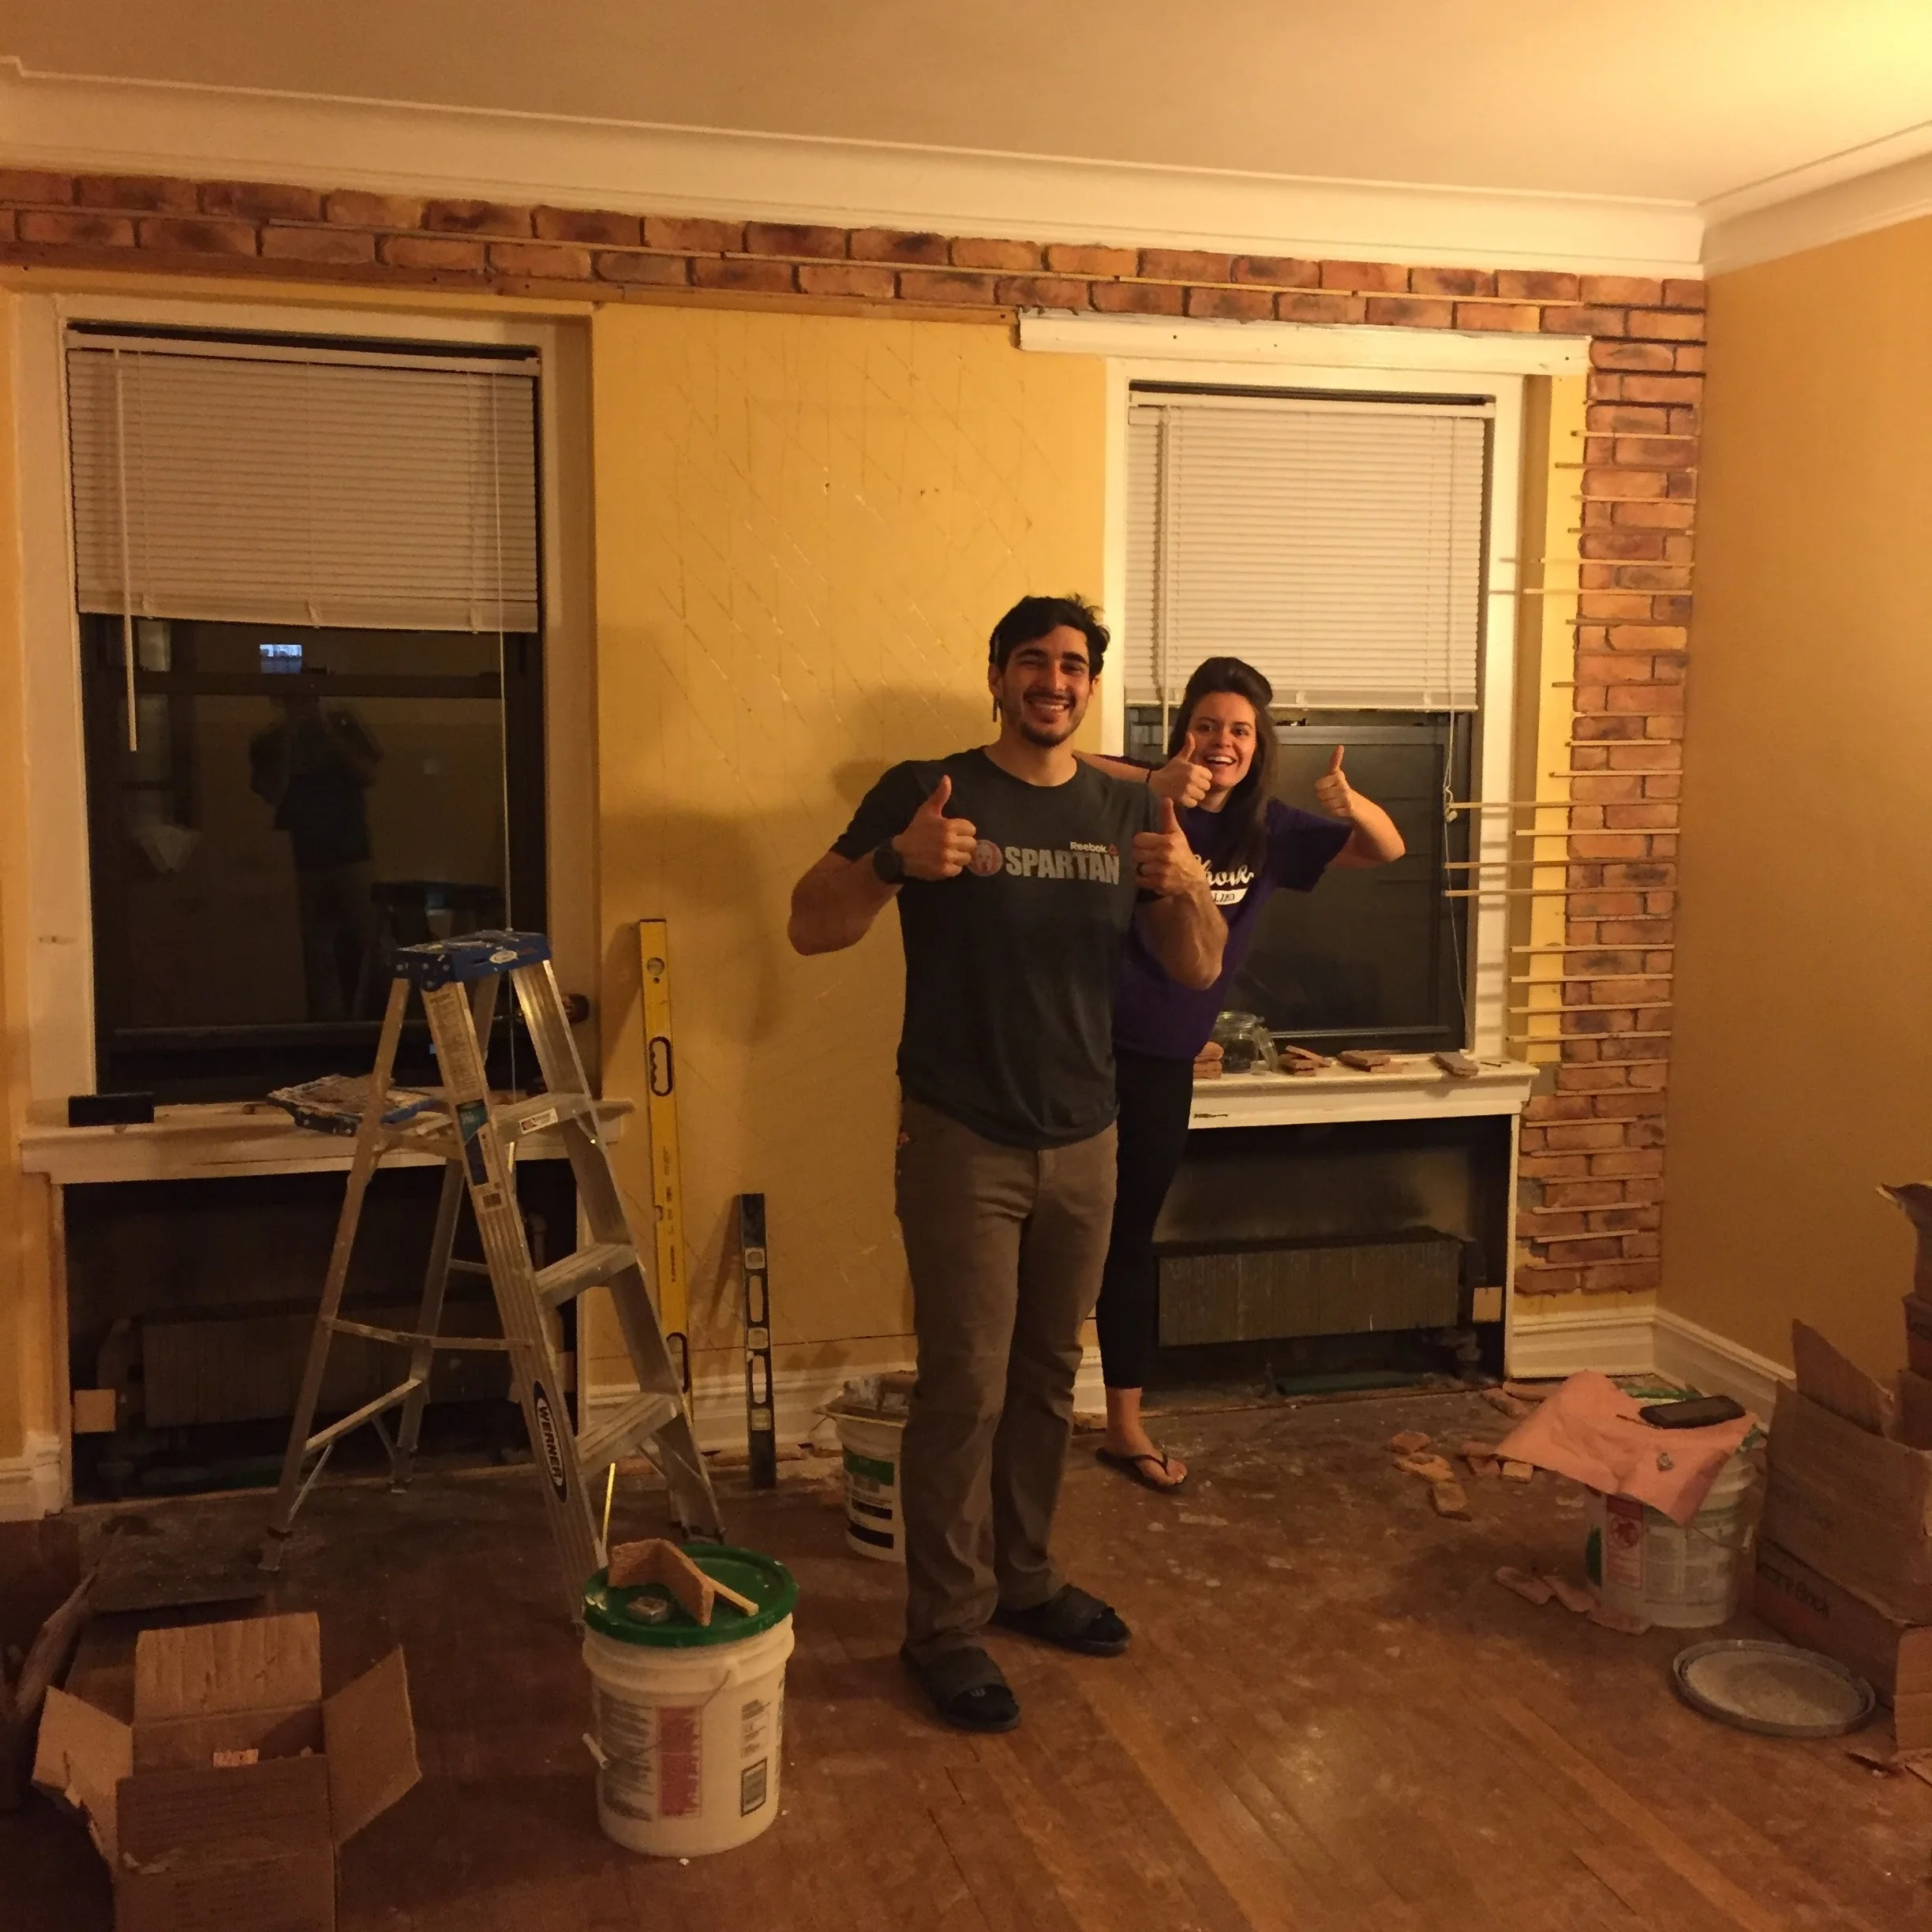
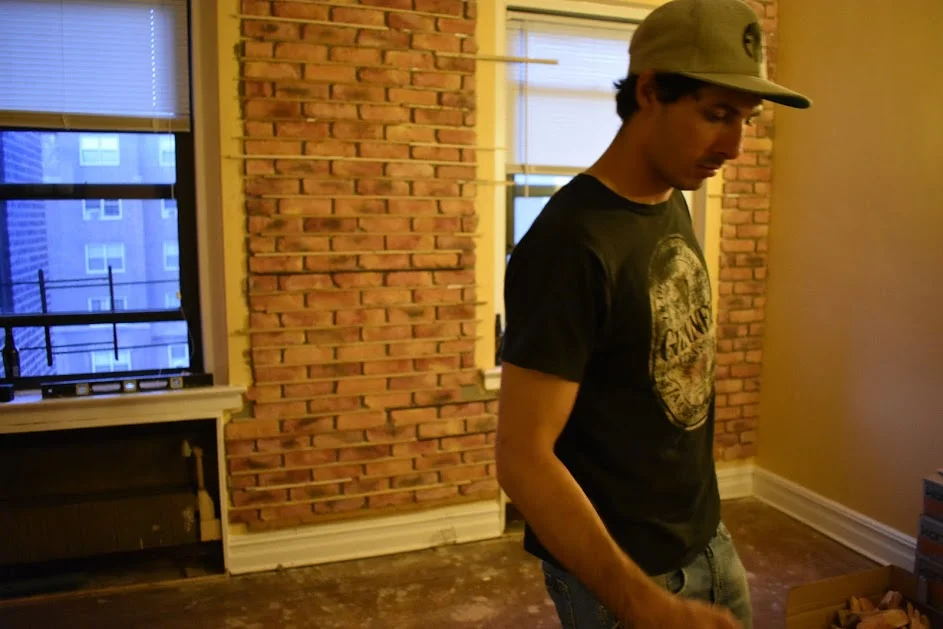
The beauty of this project is any idiot with a wall and a free weekend can do it. Take us for example. 

IMG_8368.JPG

You'll also need mortar, a troewl or two, wood spacers, tile saw, and beer. Lots of beer. 

  1. Order Brick. After shopping around a bit, we went with the Old Chicago Rosse brick from Home Depot. Taking into account price + square foot coverage per box, this made the most sense. *Koni Box Image*

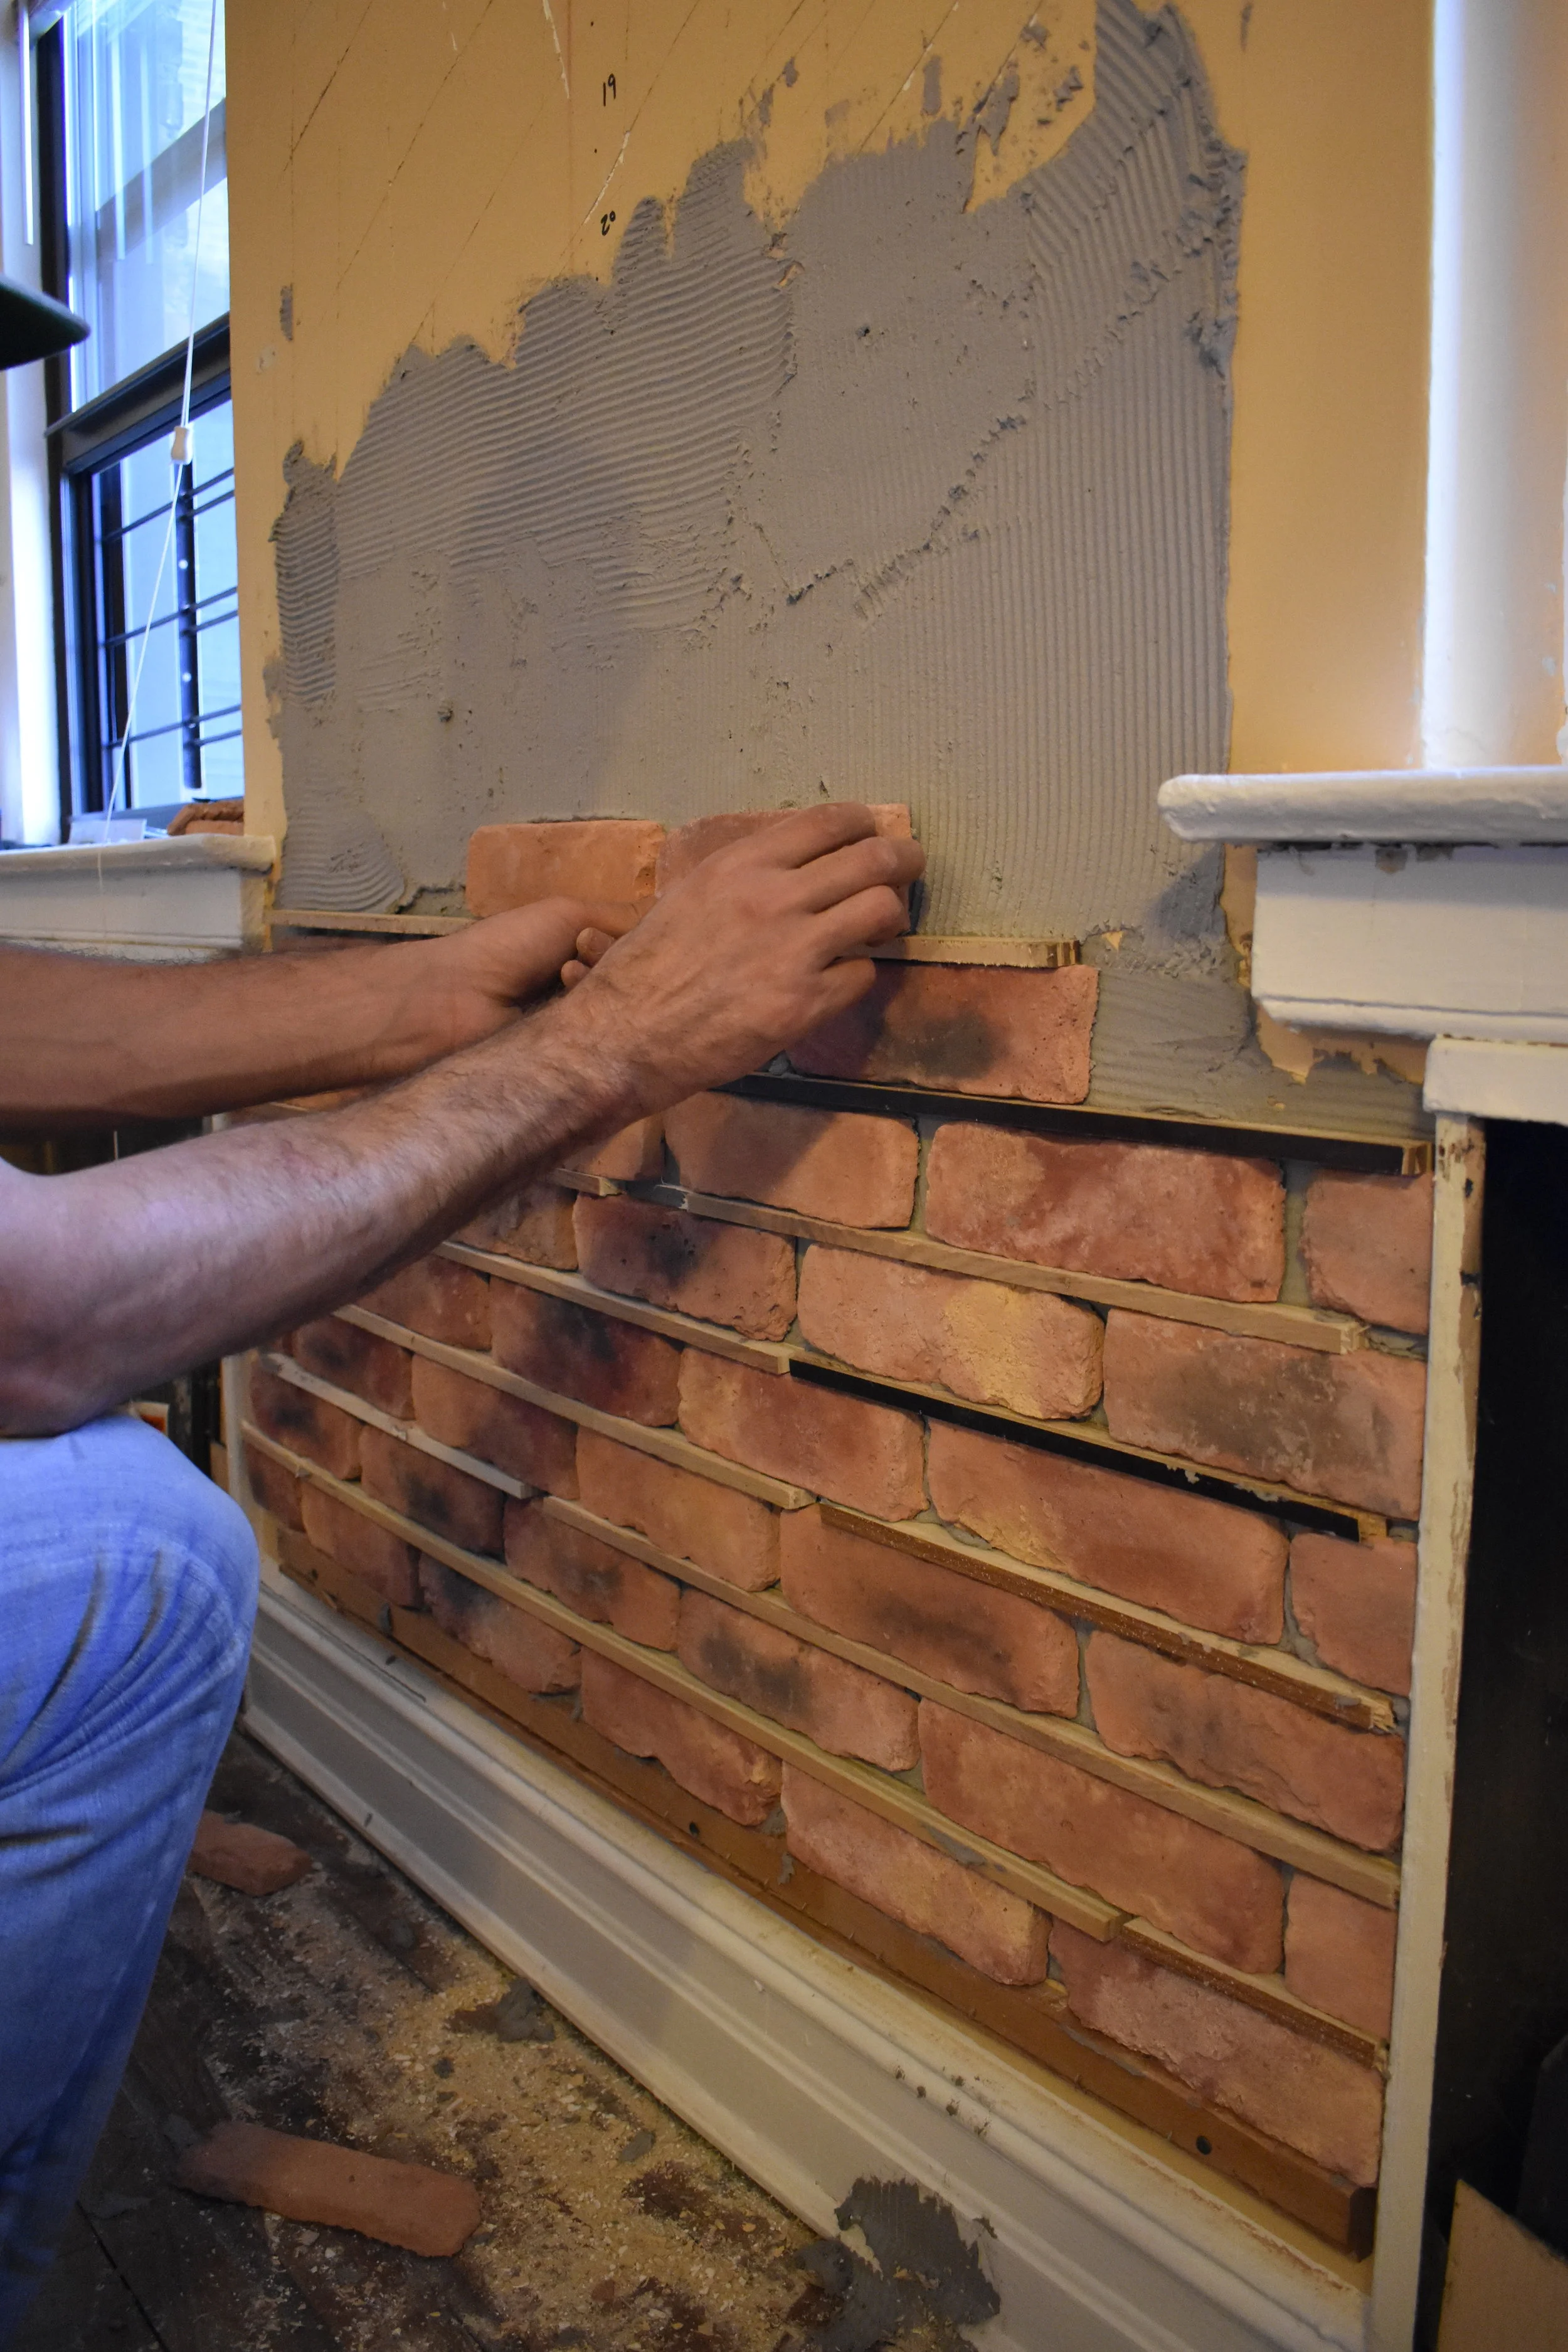
  2. Lay out pattern, cut brick. This was the most time consuming part. After choosing your pattern, measure and lay out a few rows of brick.

  3. Apply Mortar. Excepteur sint occaecat cupidatat non proident, sunt in culpa qui officia deserunt mollit anim id est laborum.

  4. Lay Brick.

  5. Grout.


Ut enim ad minim veniam, quis nostrud exercitation ullamco laboris nisi ut aliquip ex ea commodo consequat. Duis aute irure dolor in reprehenderit in voluptate velit esse cillum dolore eu fugiat nulla pariatur. Excepteur sint occaecat cupidatat non proident, sunt in culpa qui officia deserunt mollit anim id est laborum.

Duis aute irure dolor in reprehenderit in voluptate velit esse cillum dolore eu fugiat nulla pariatur. Excepteur sint occaecat cupidatat non proident, sunt in culpa qui officia deserunt mollit anim id est laborum.

IMG_8350.JPG

Here's the wall before. Thoroughly underwhelming, no?

DSC_0003.JPG
DSC_0065.JPG

"Lorem ipsum dolor sit amet, consectetur adipiscing elit, sed do eiusmod tempor incididunt ut labore et dolore magna aliqua. Ut enim ad minim veniam, quis nostrud exercitation ullamco laboris nisi ut aliquip ex ea commodo consequat. Duis aute irure dolor in reprehenderit in voluptate velit esse cillum dolore eu fugiat nulla pariatur. Excepteur sint occaecat cupidatat non proident, sunt in culpa qui officia deserunt mollit anim id est laborum.

Duis aute irure dolor in reprehenderit in voluptate velit esse cillum dolore eu fugiat nulla pariatur. Excepteur sint occaecat cupidatat non proident, sunt in culpa qui officia deserunt mollit anim id est laborum