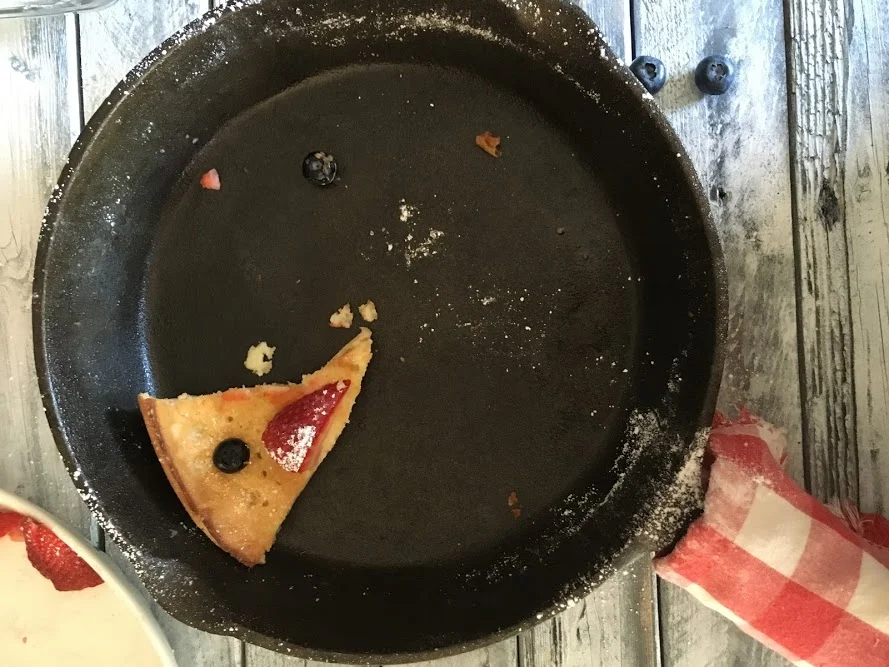
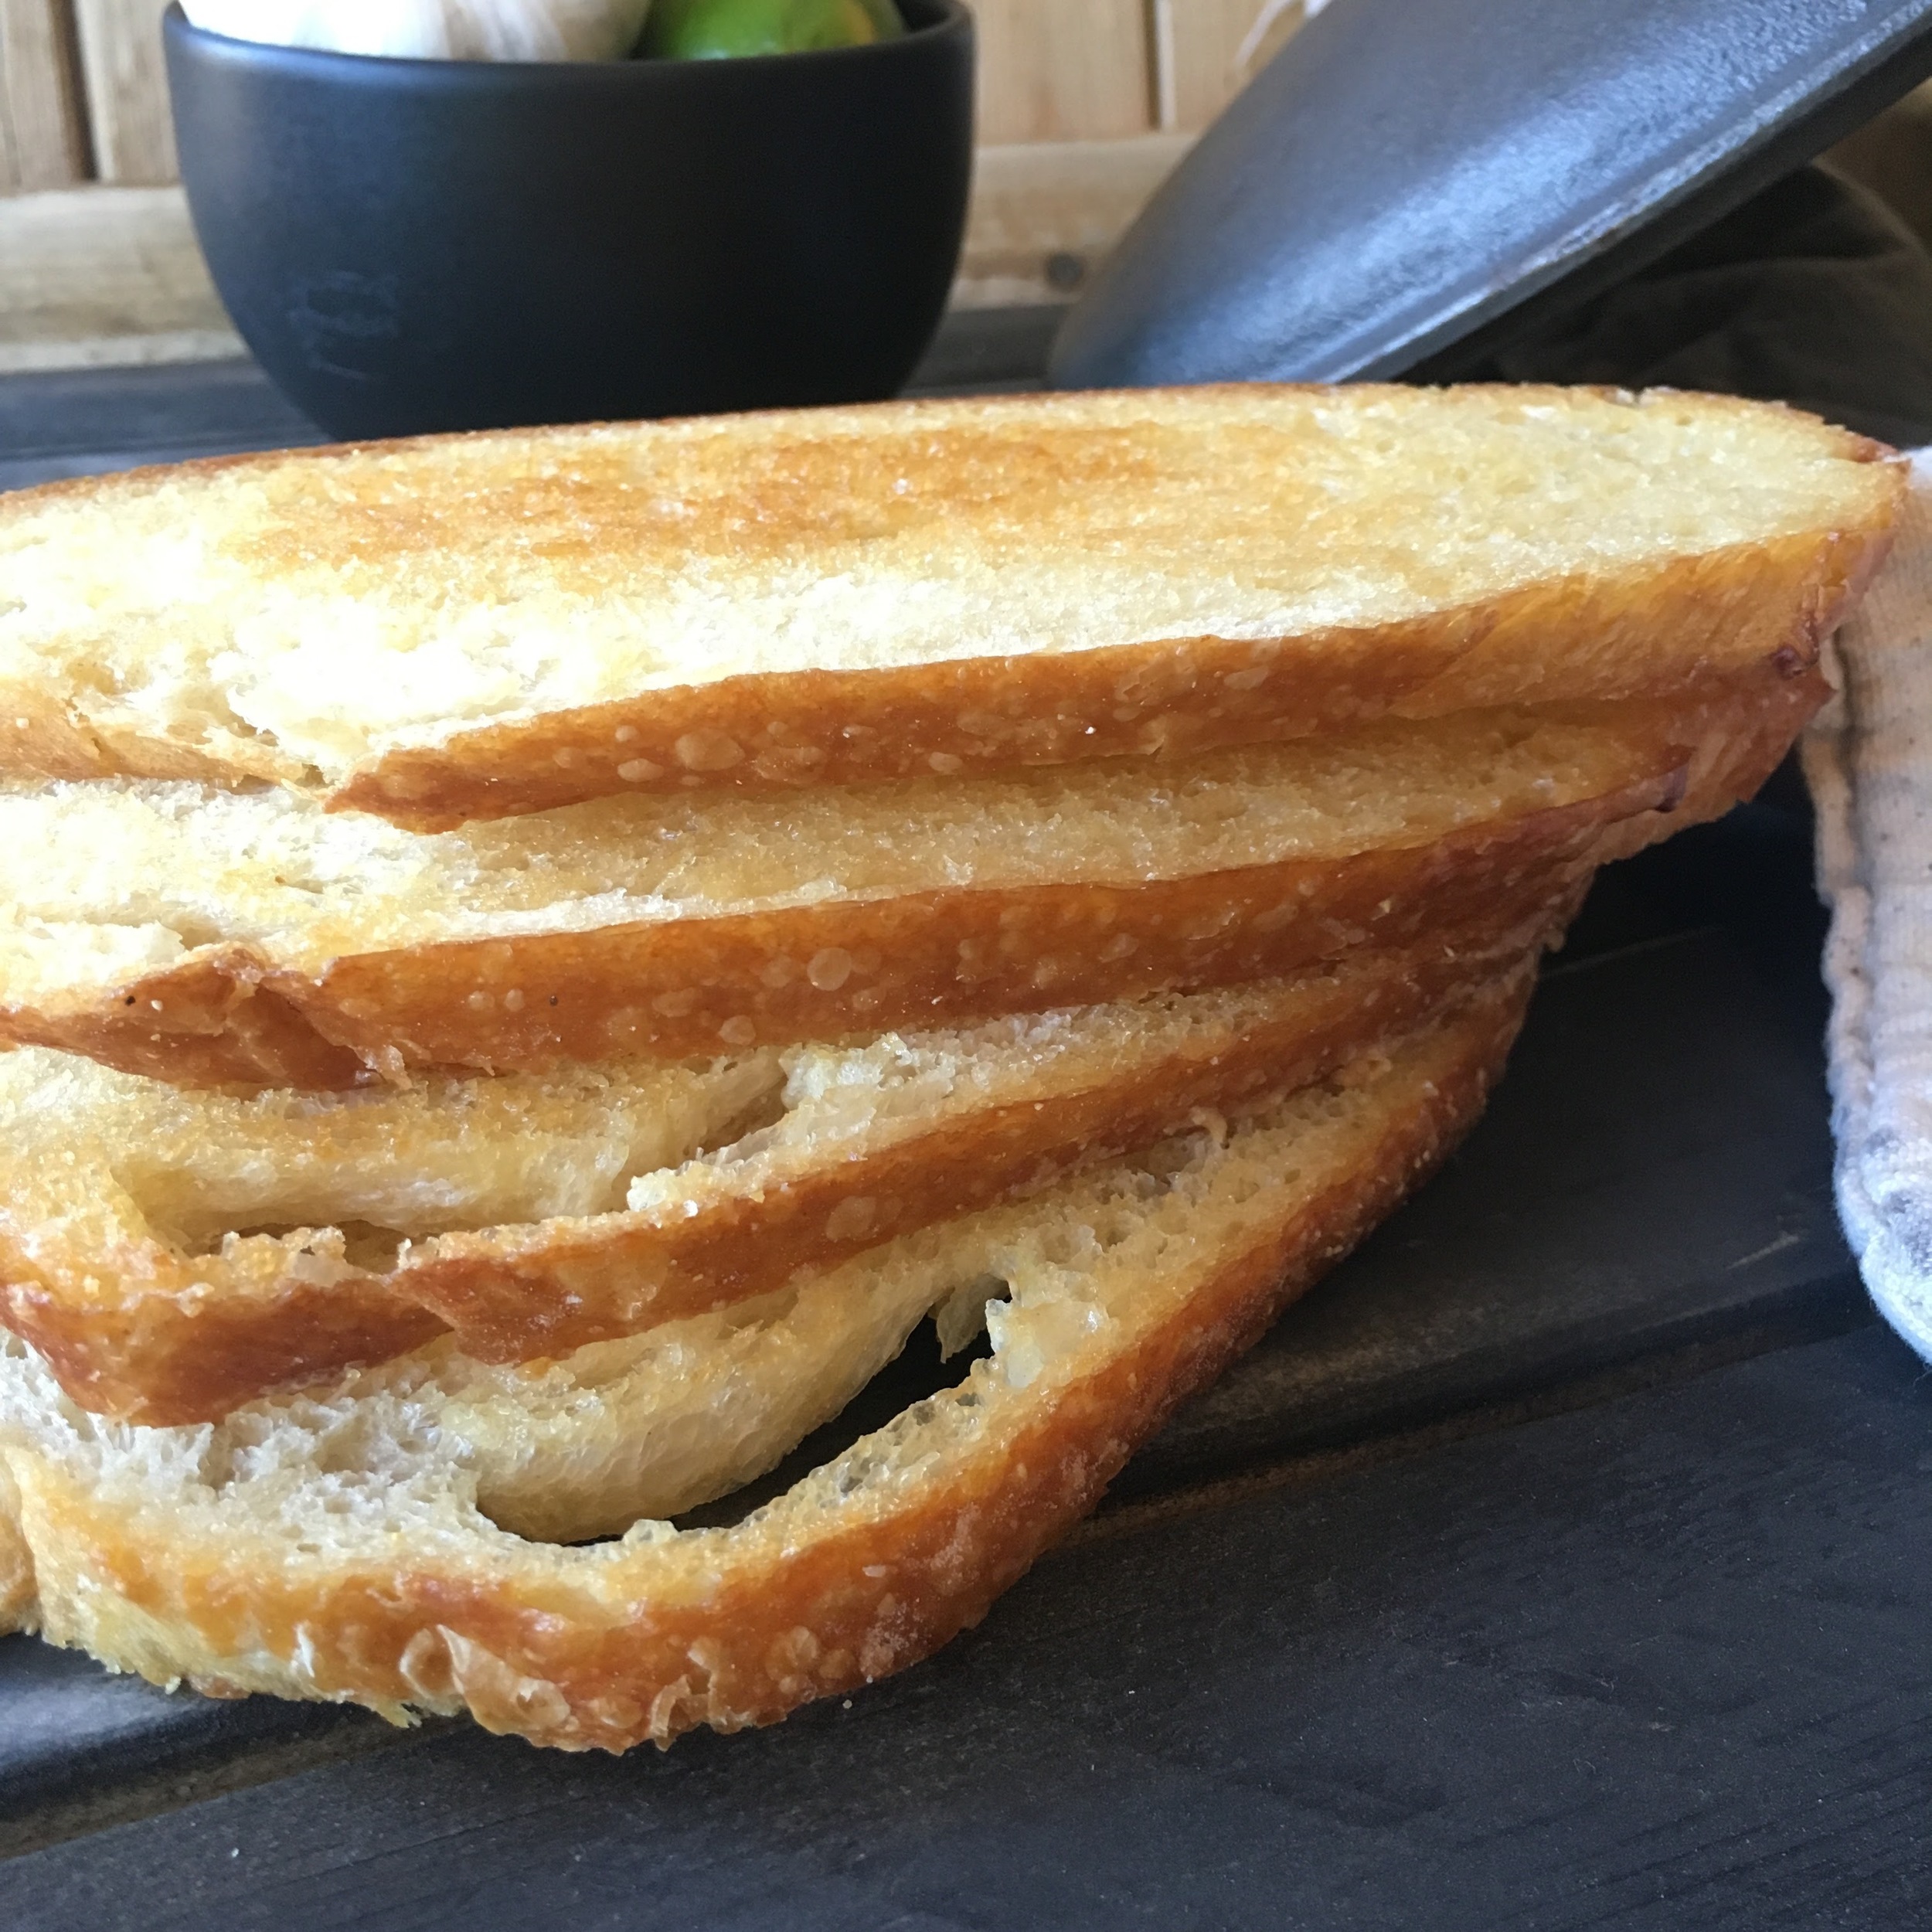
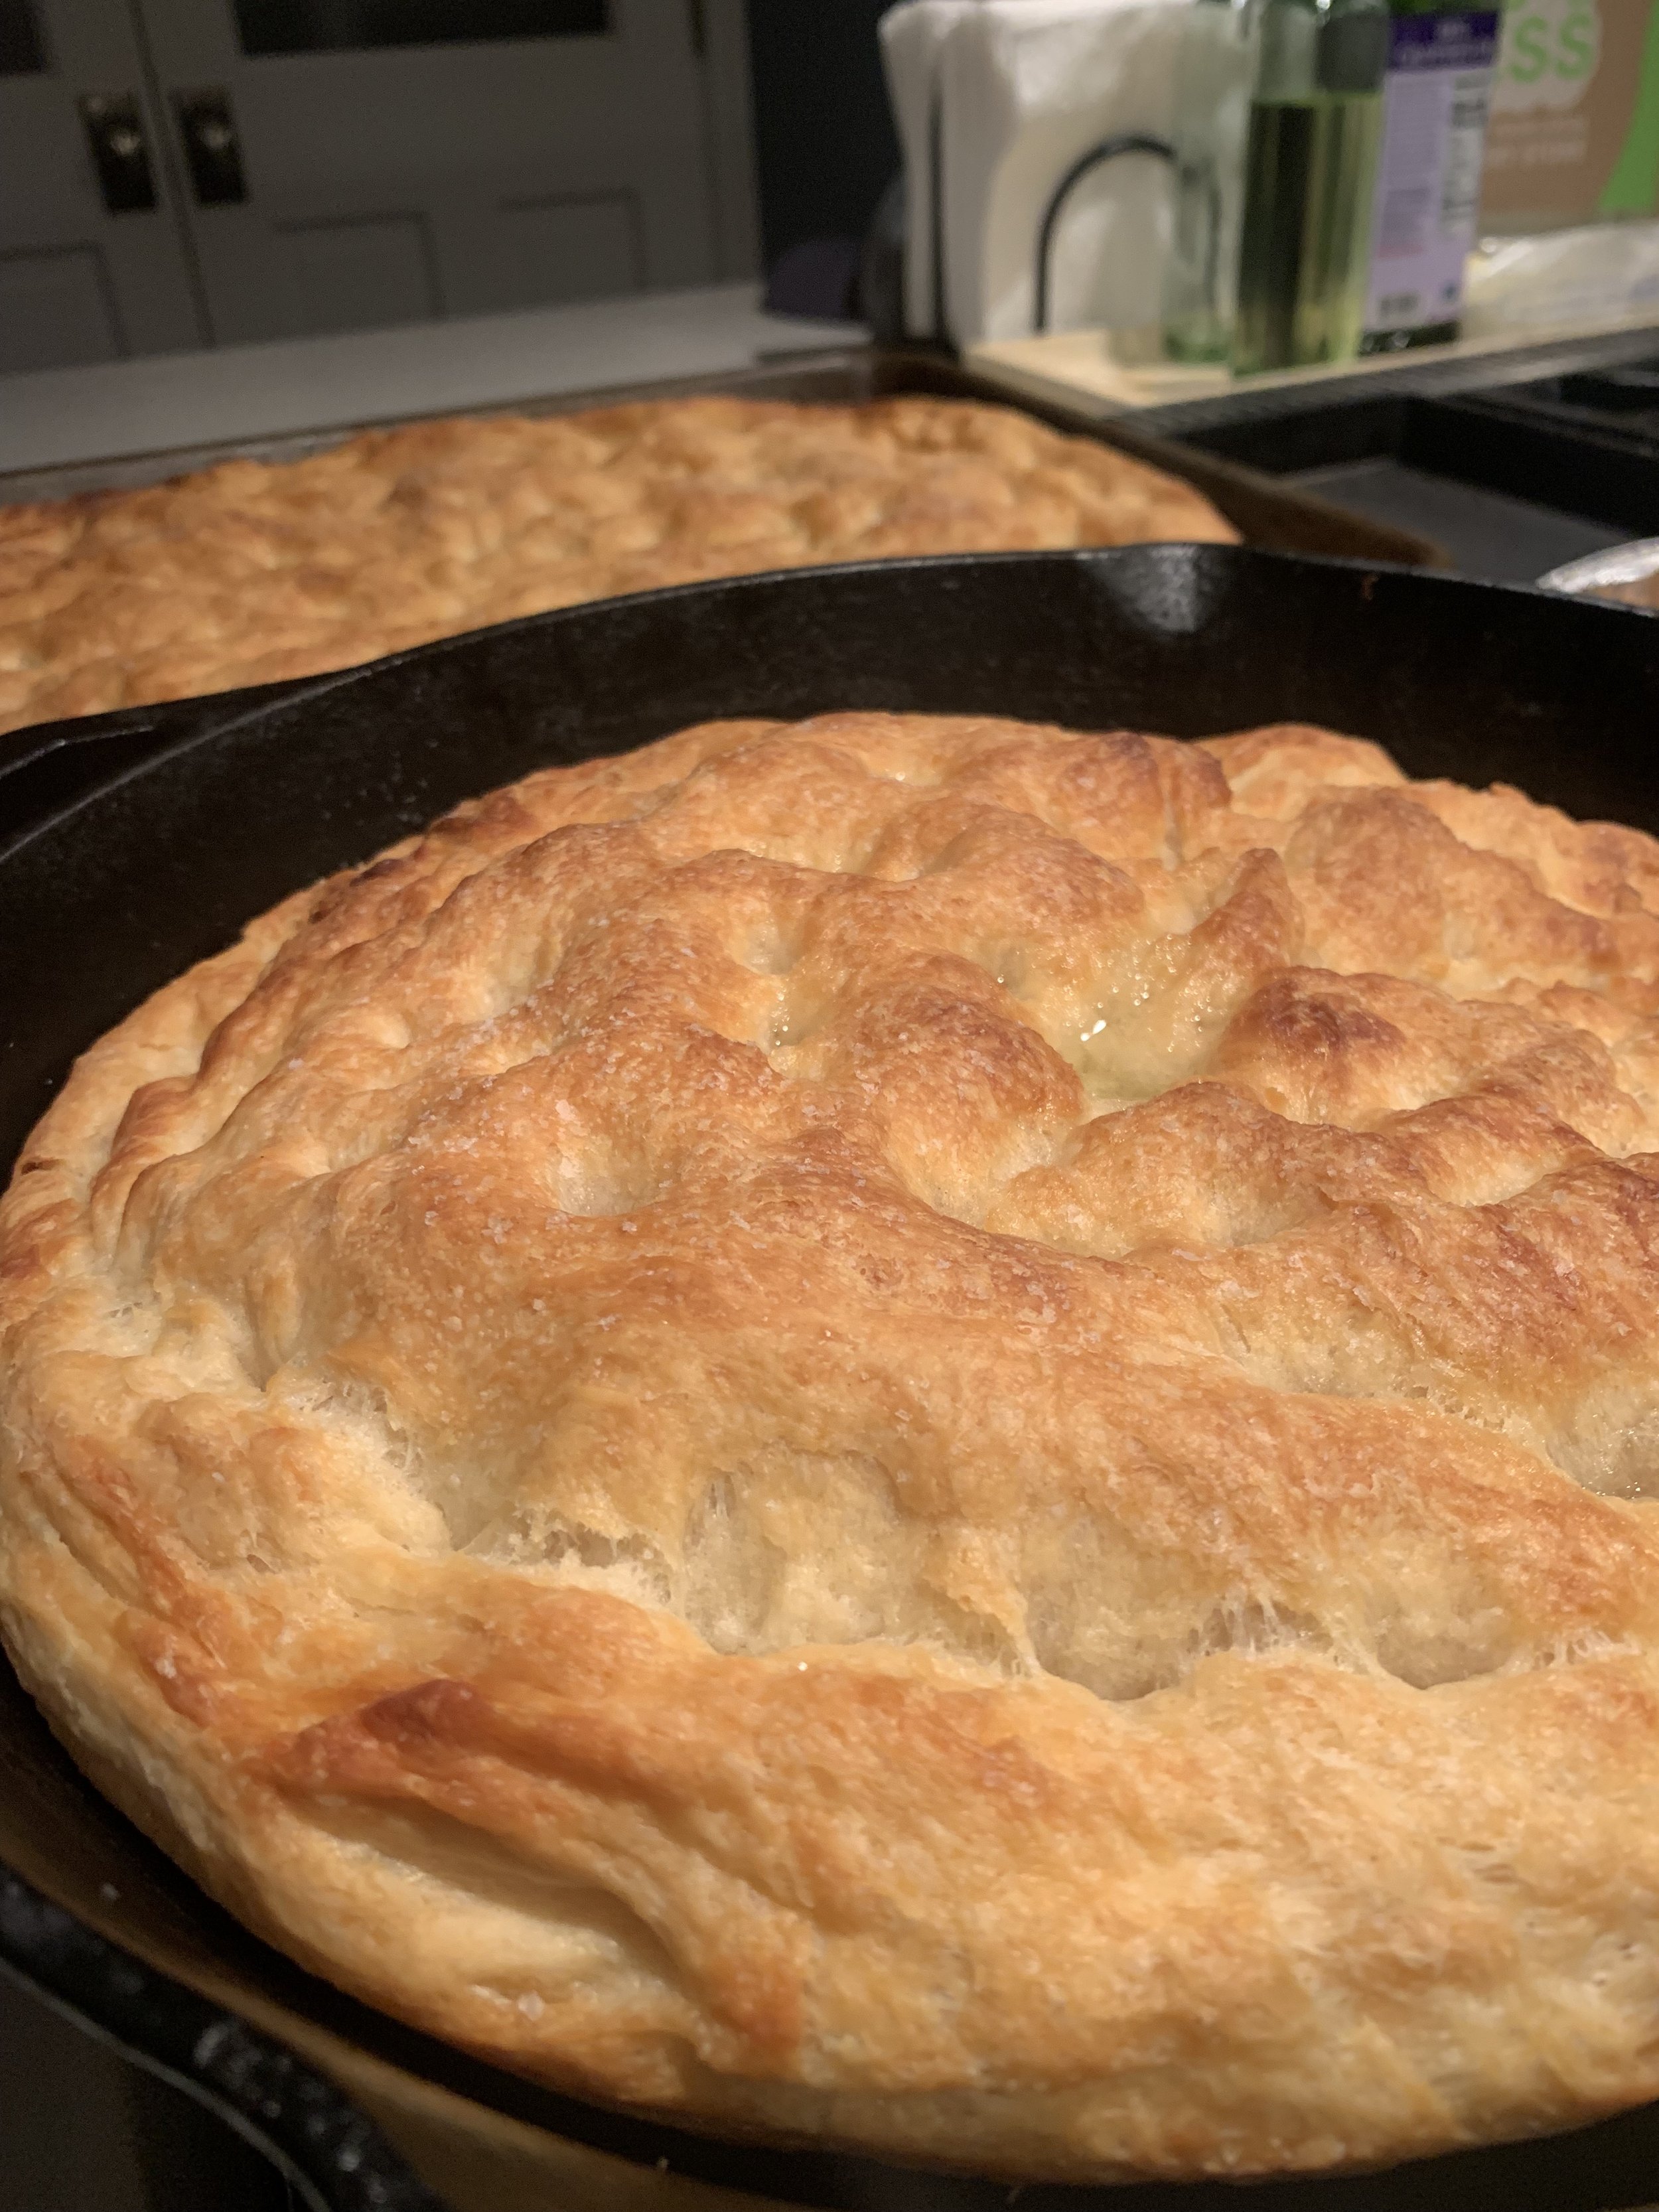
Focaccia Pizza
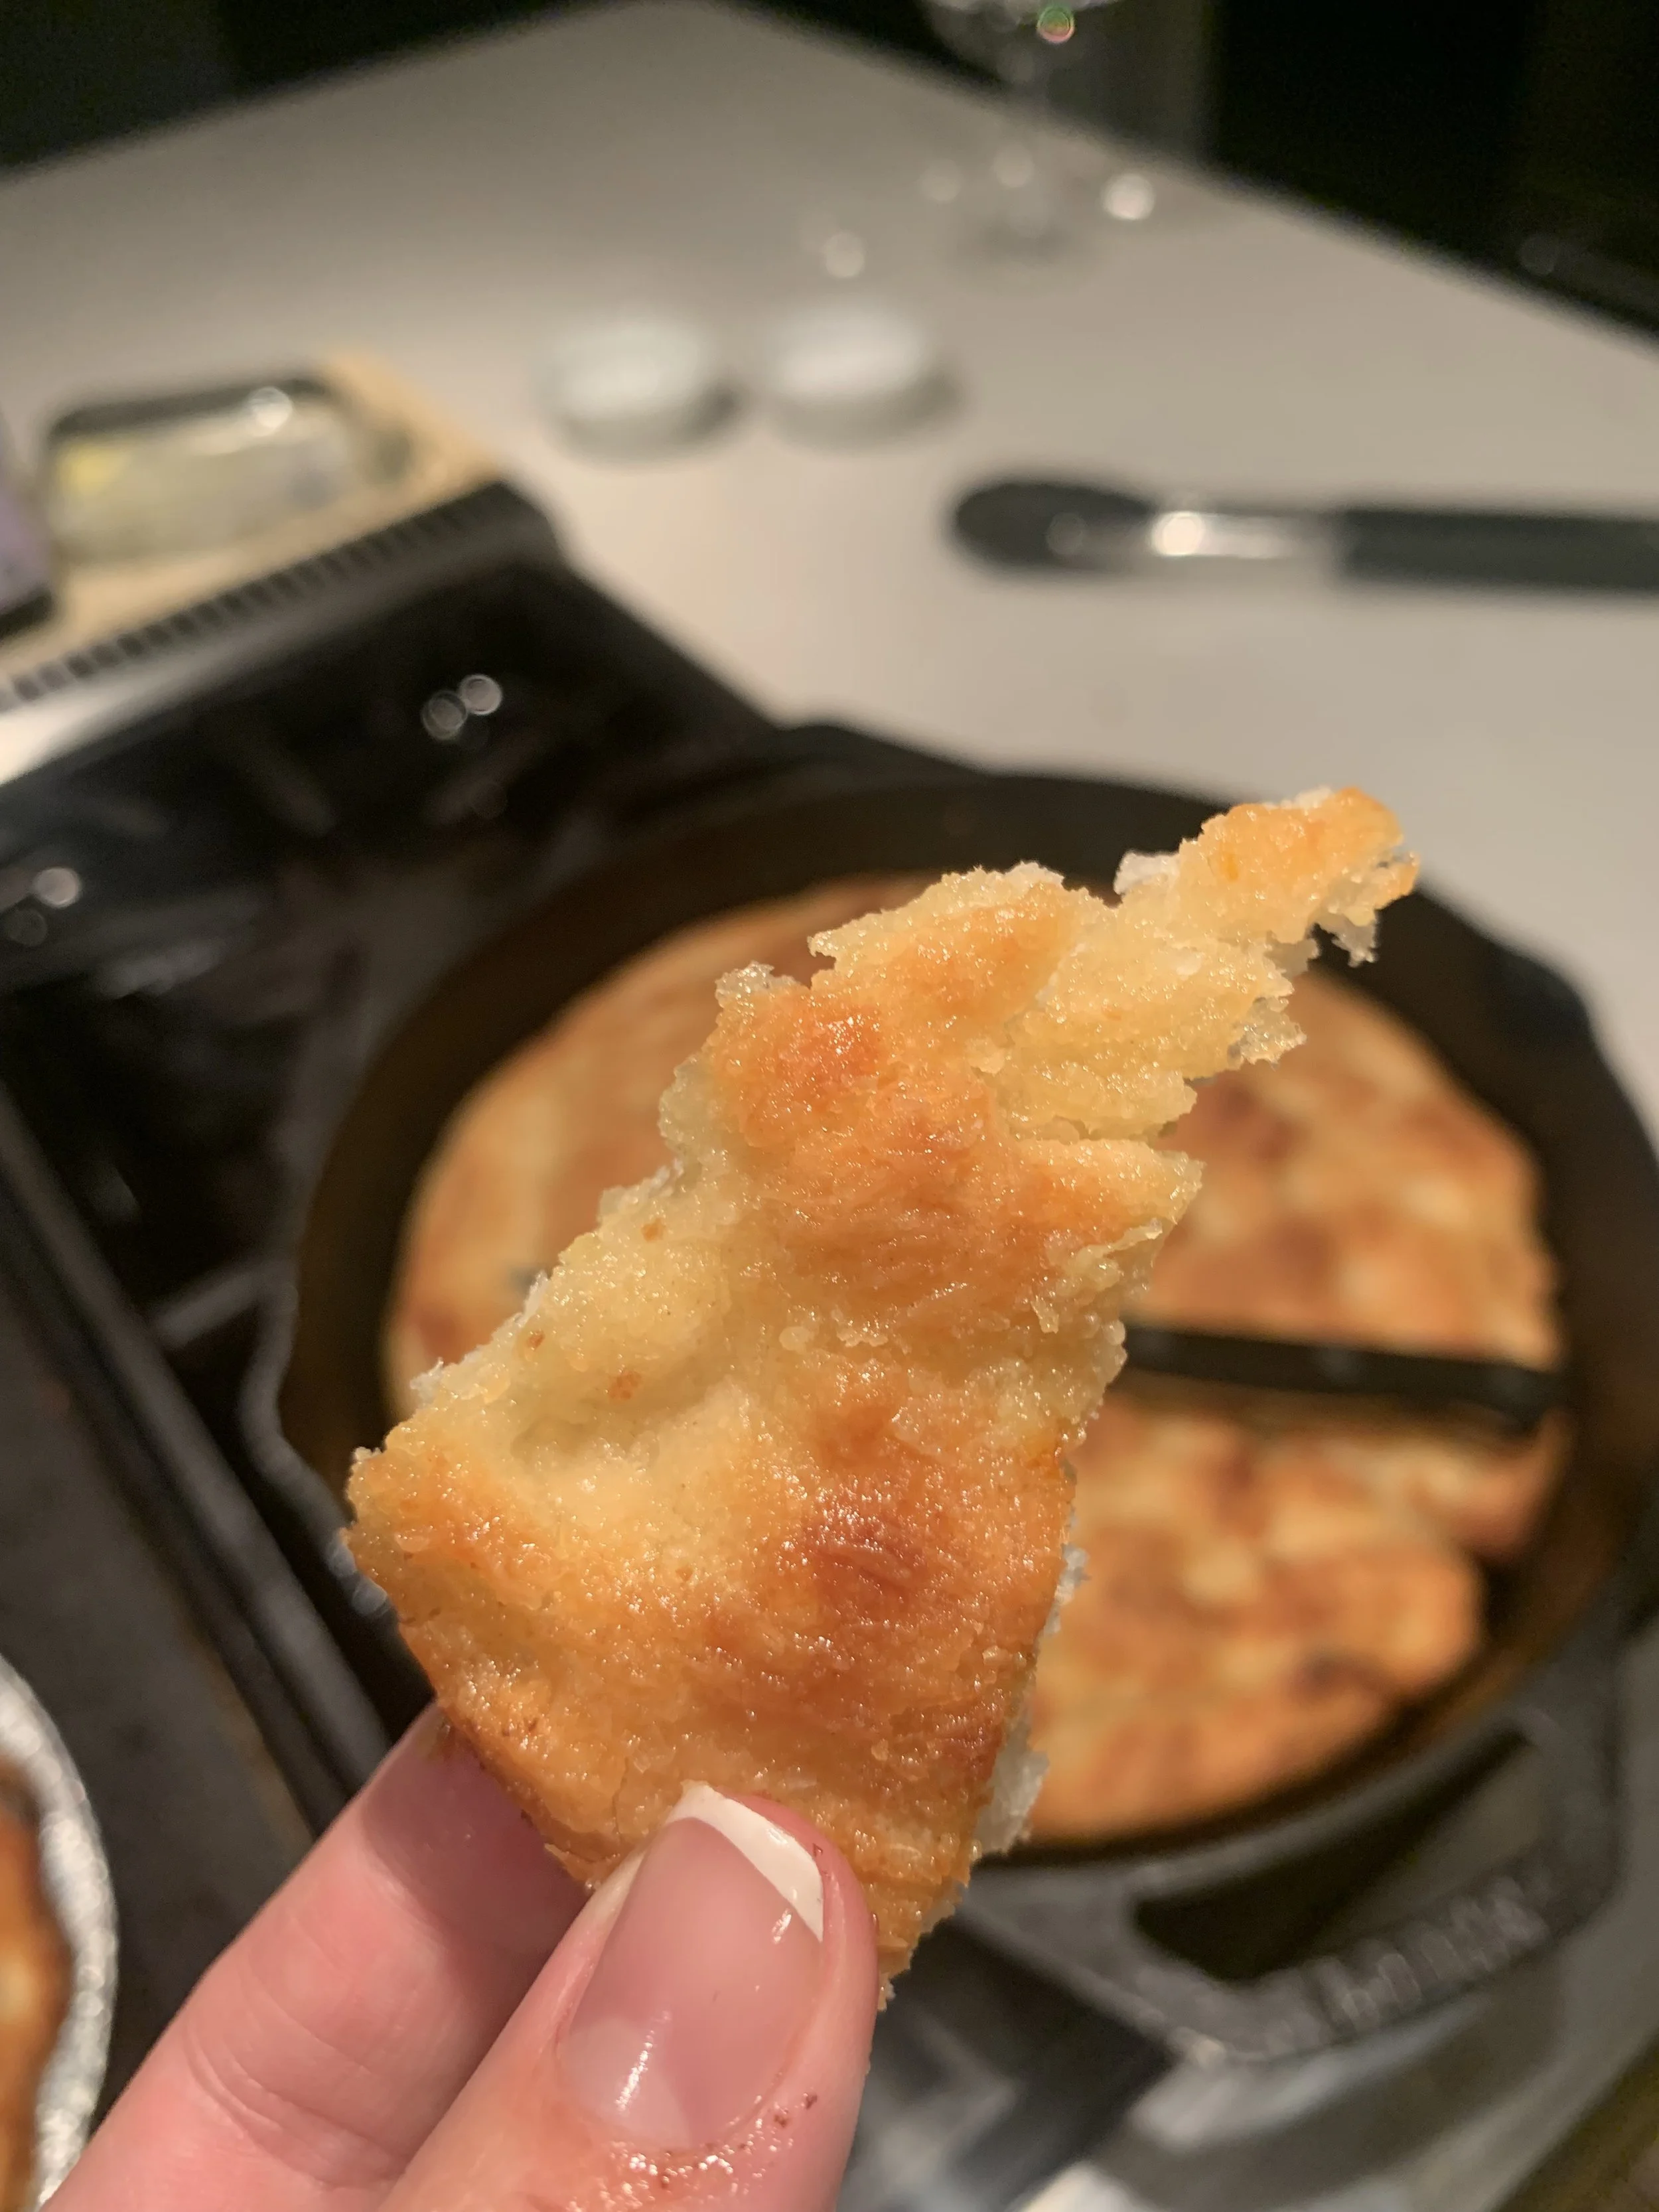
Like all good pizza- this one started with the dough.
Baking is not my strong suit, but the Shockingly Easy No-Knead Focaccia recipe from Bon Appétit was calling my name. What could go wrong.
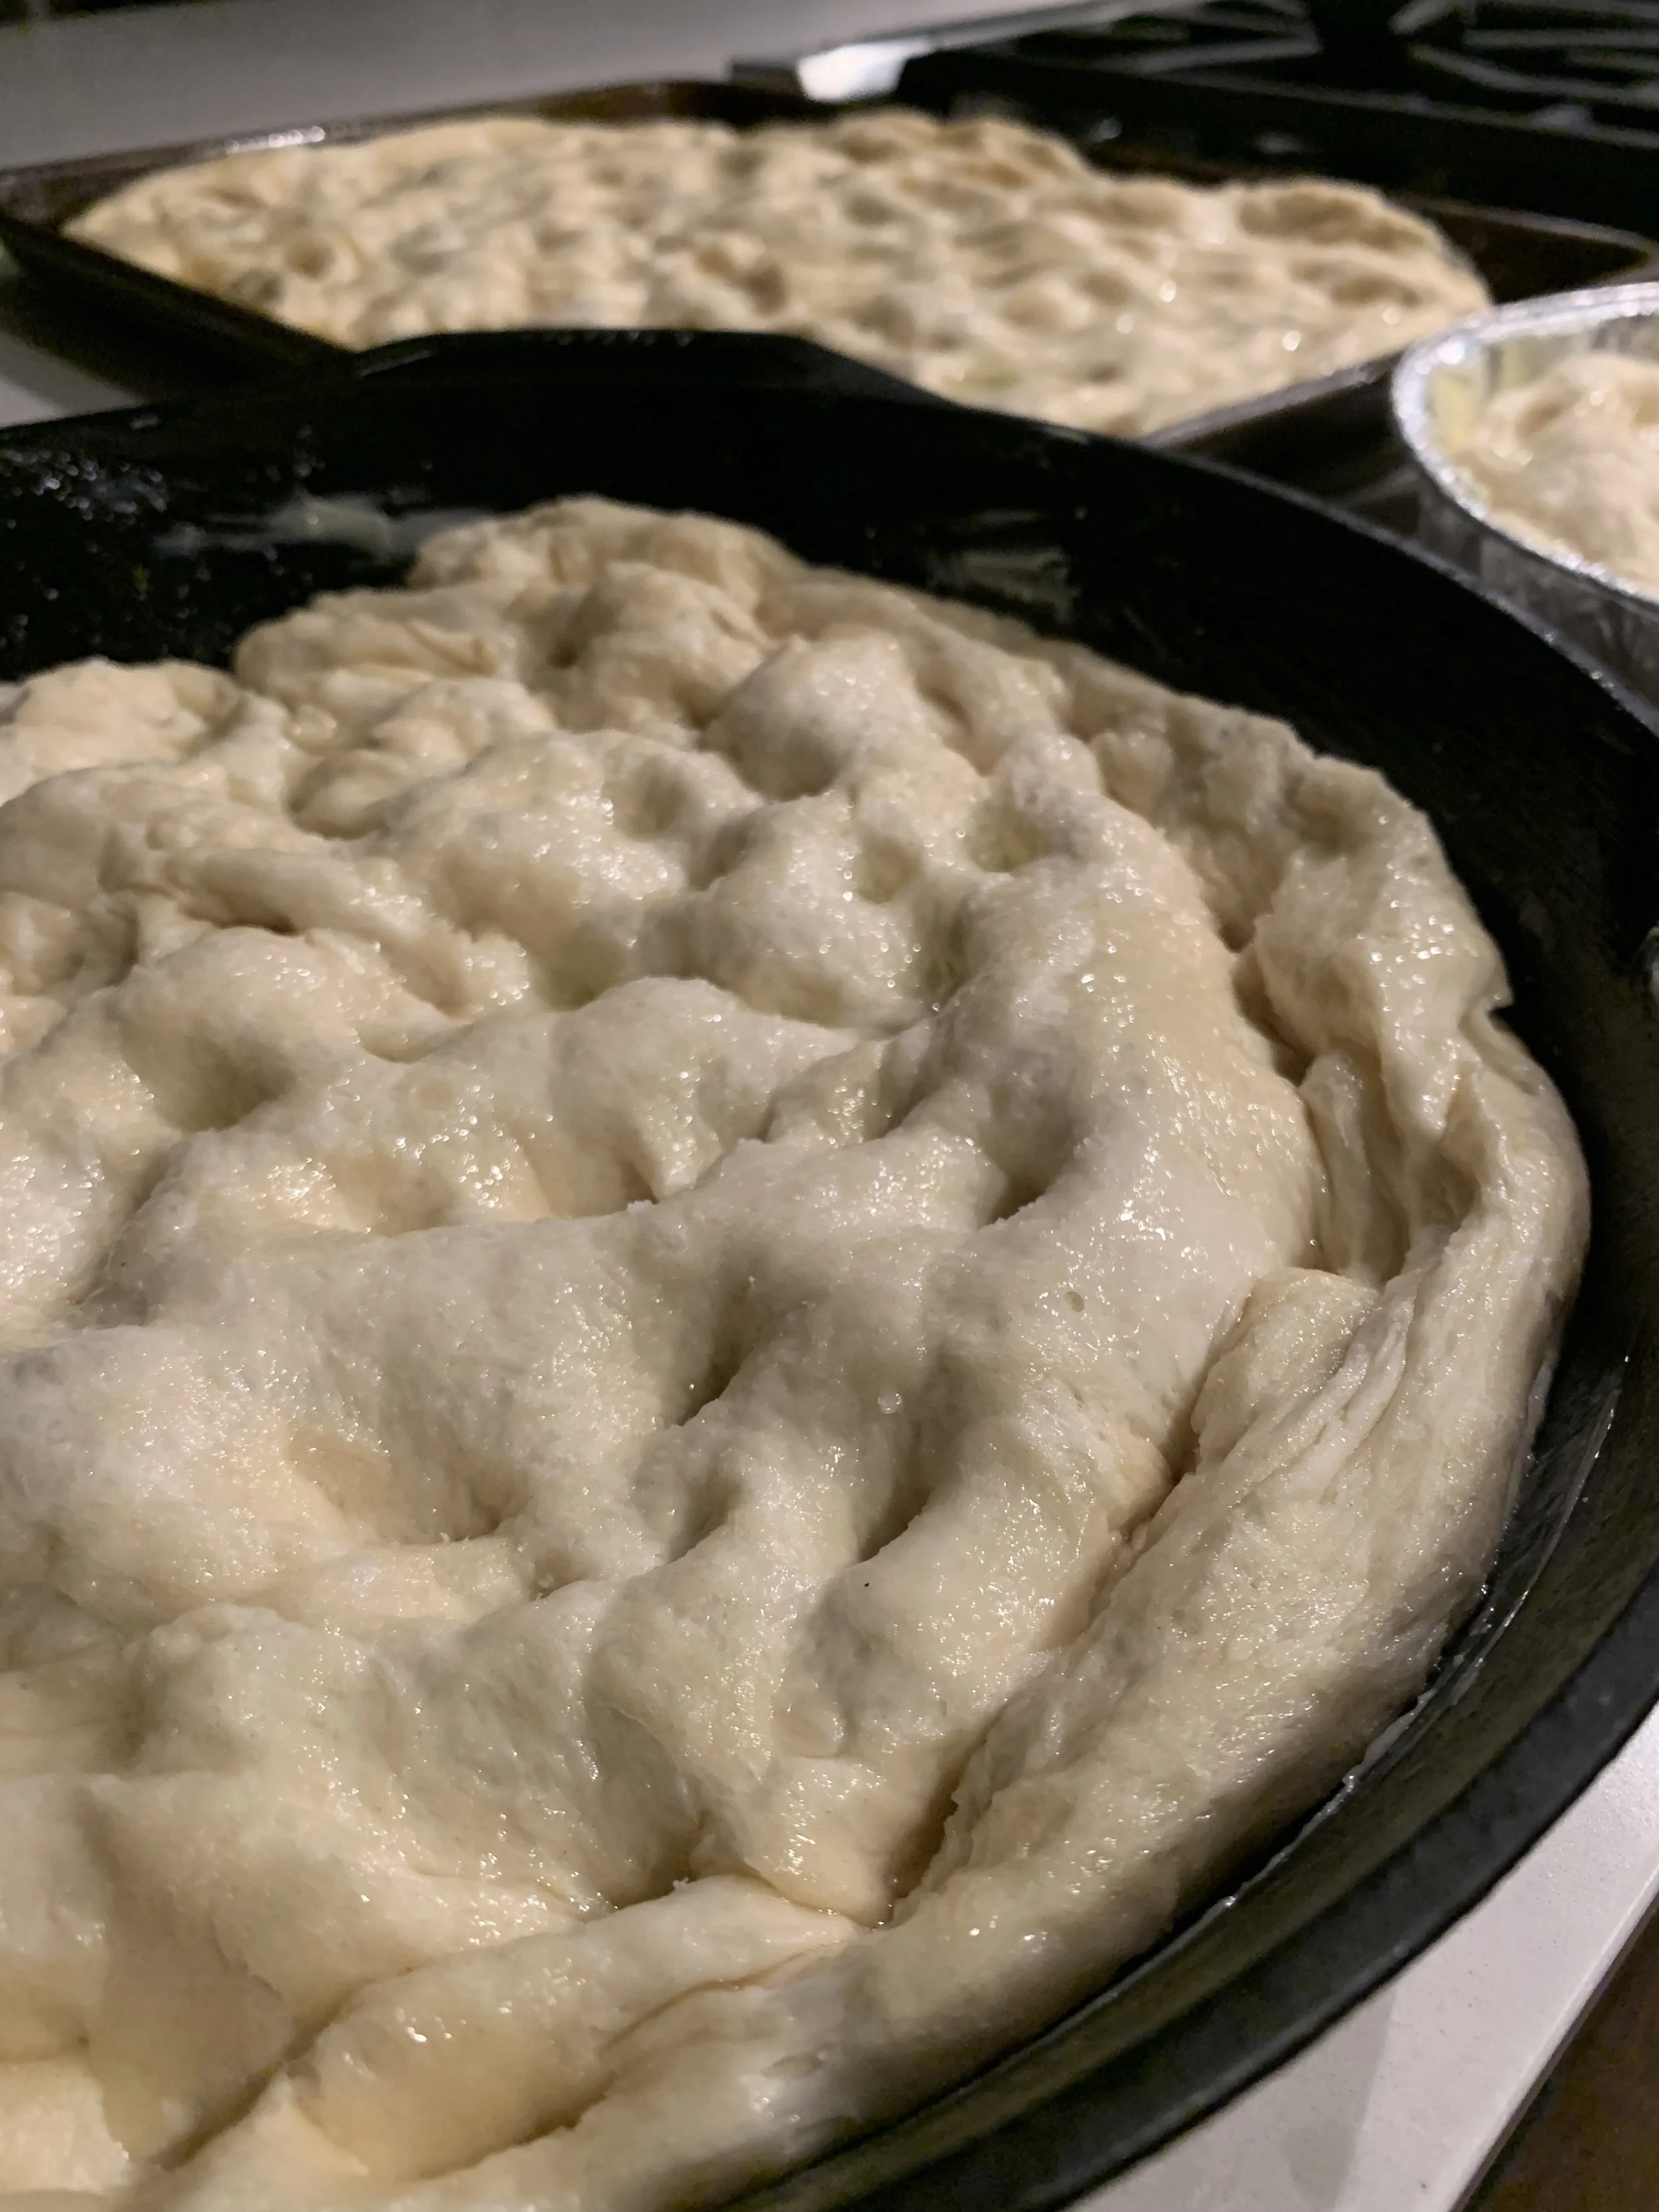
Did I have to remake the dough three separate times? Yes.
Was doing so entirely avoidable? Yes.
But was it worth it every ill conceived second? Also yes. (Learn from my mistakes: test your yeast + and don’t forget to add salt!)
For the bread:
For full instructions, see here.
¼-oz. envelope active dry yeast (about 2¼ tsp.)
2 tsp. honey
5 cups (625 g) all-purpose flour
5 tsp. Diamond Crystal or 1 Tbsp. Morton kosher salt
6 Tbsp. extra-virgin olive oil, divided, plus more for hands
4 Tbsp. unsalted butter, plus more for pan
Flaky sea salt
2-4 garlic cloves
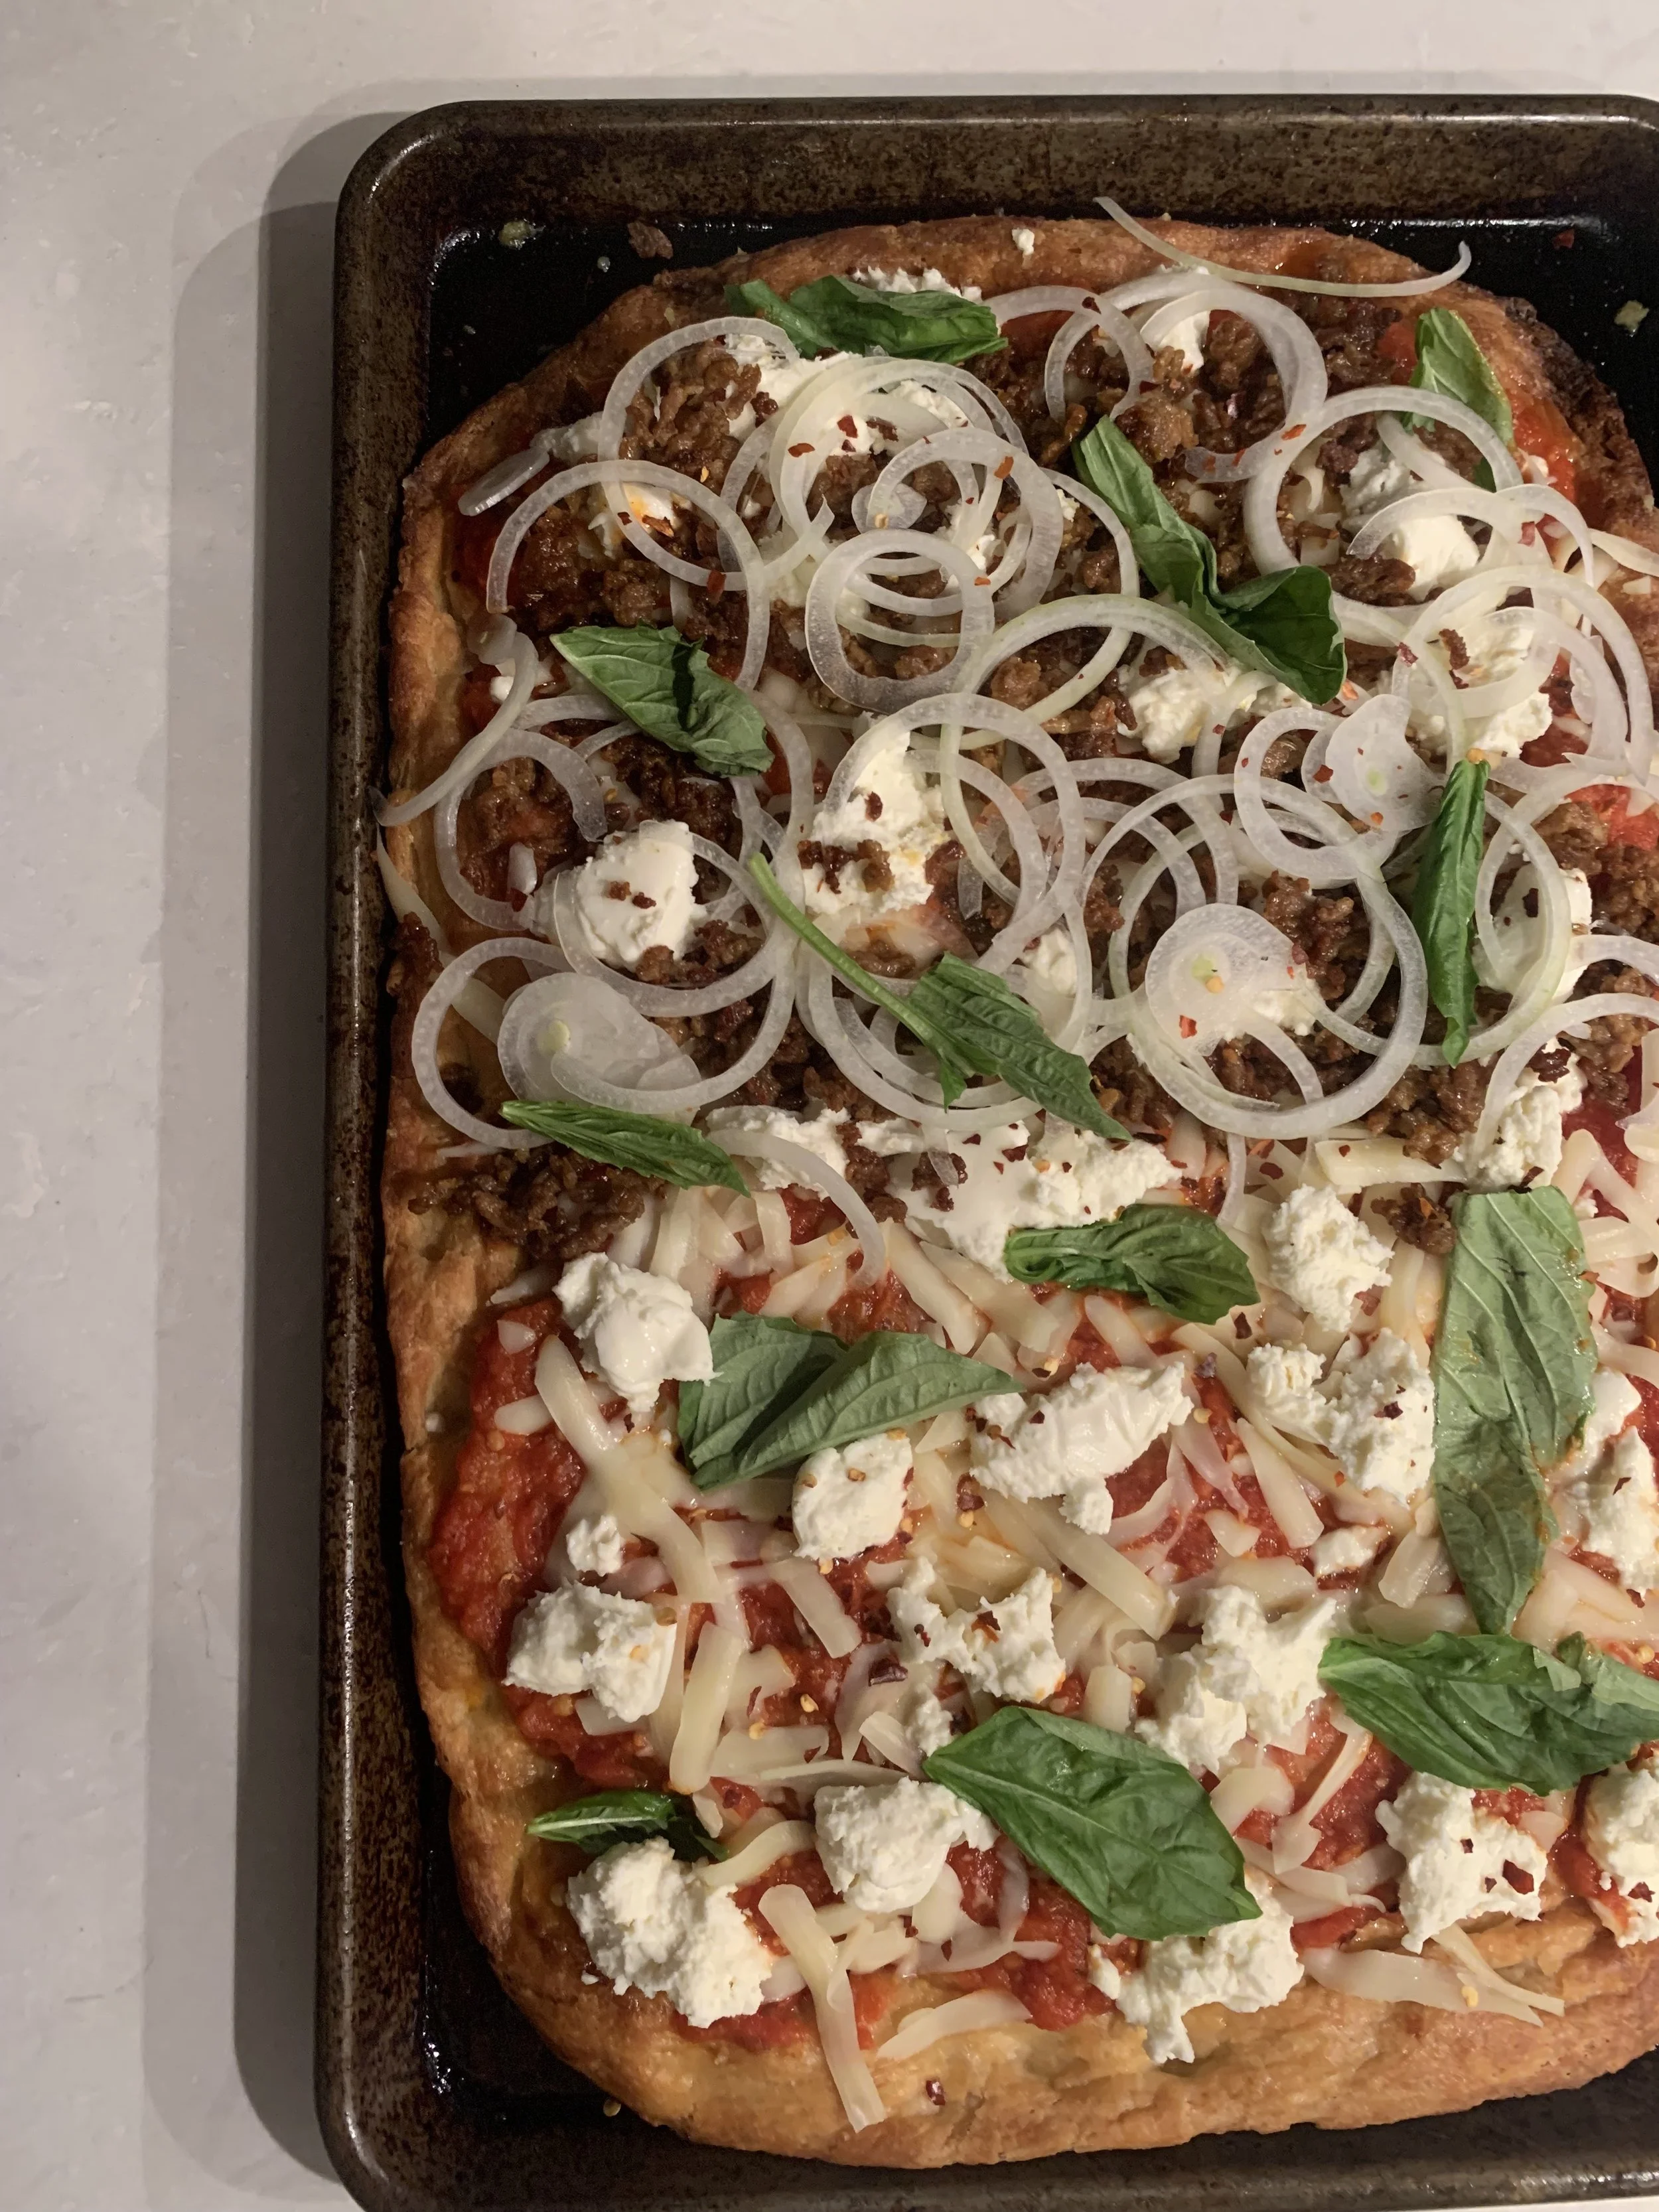
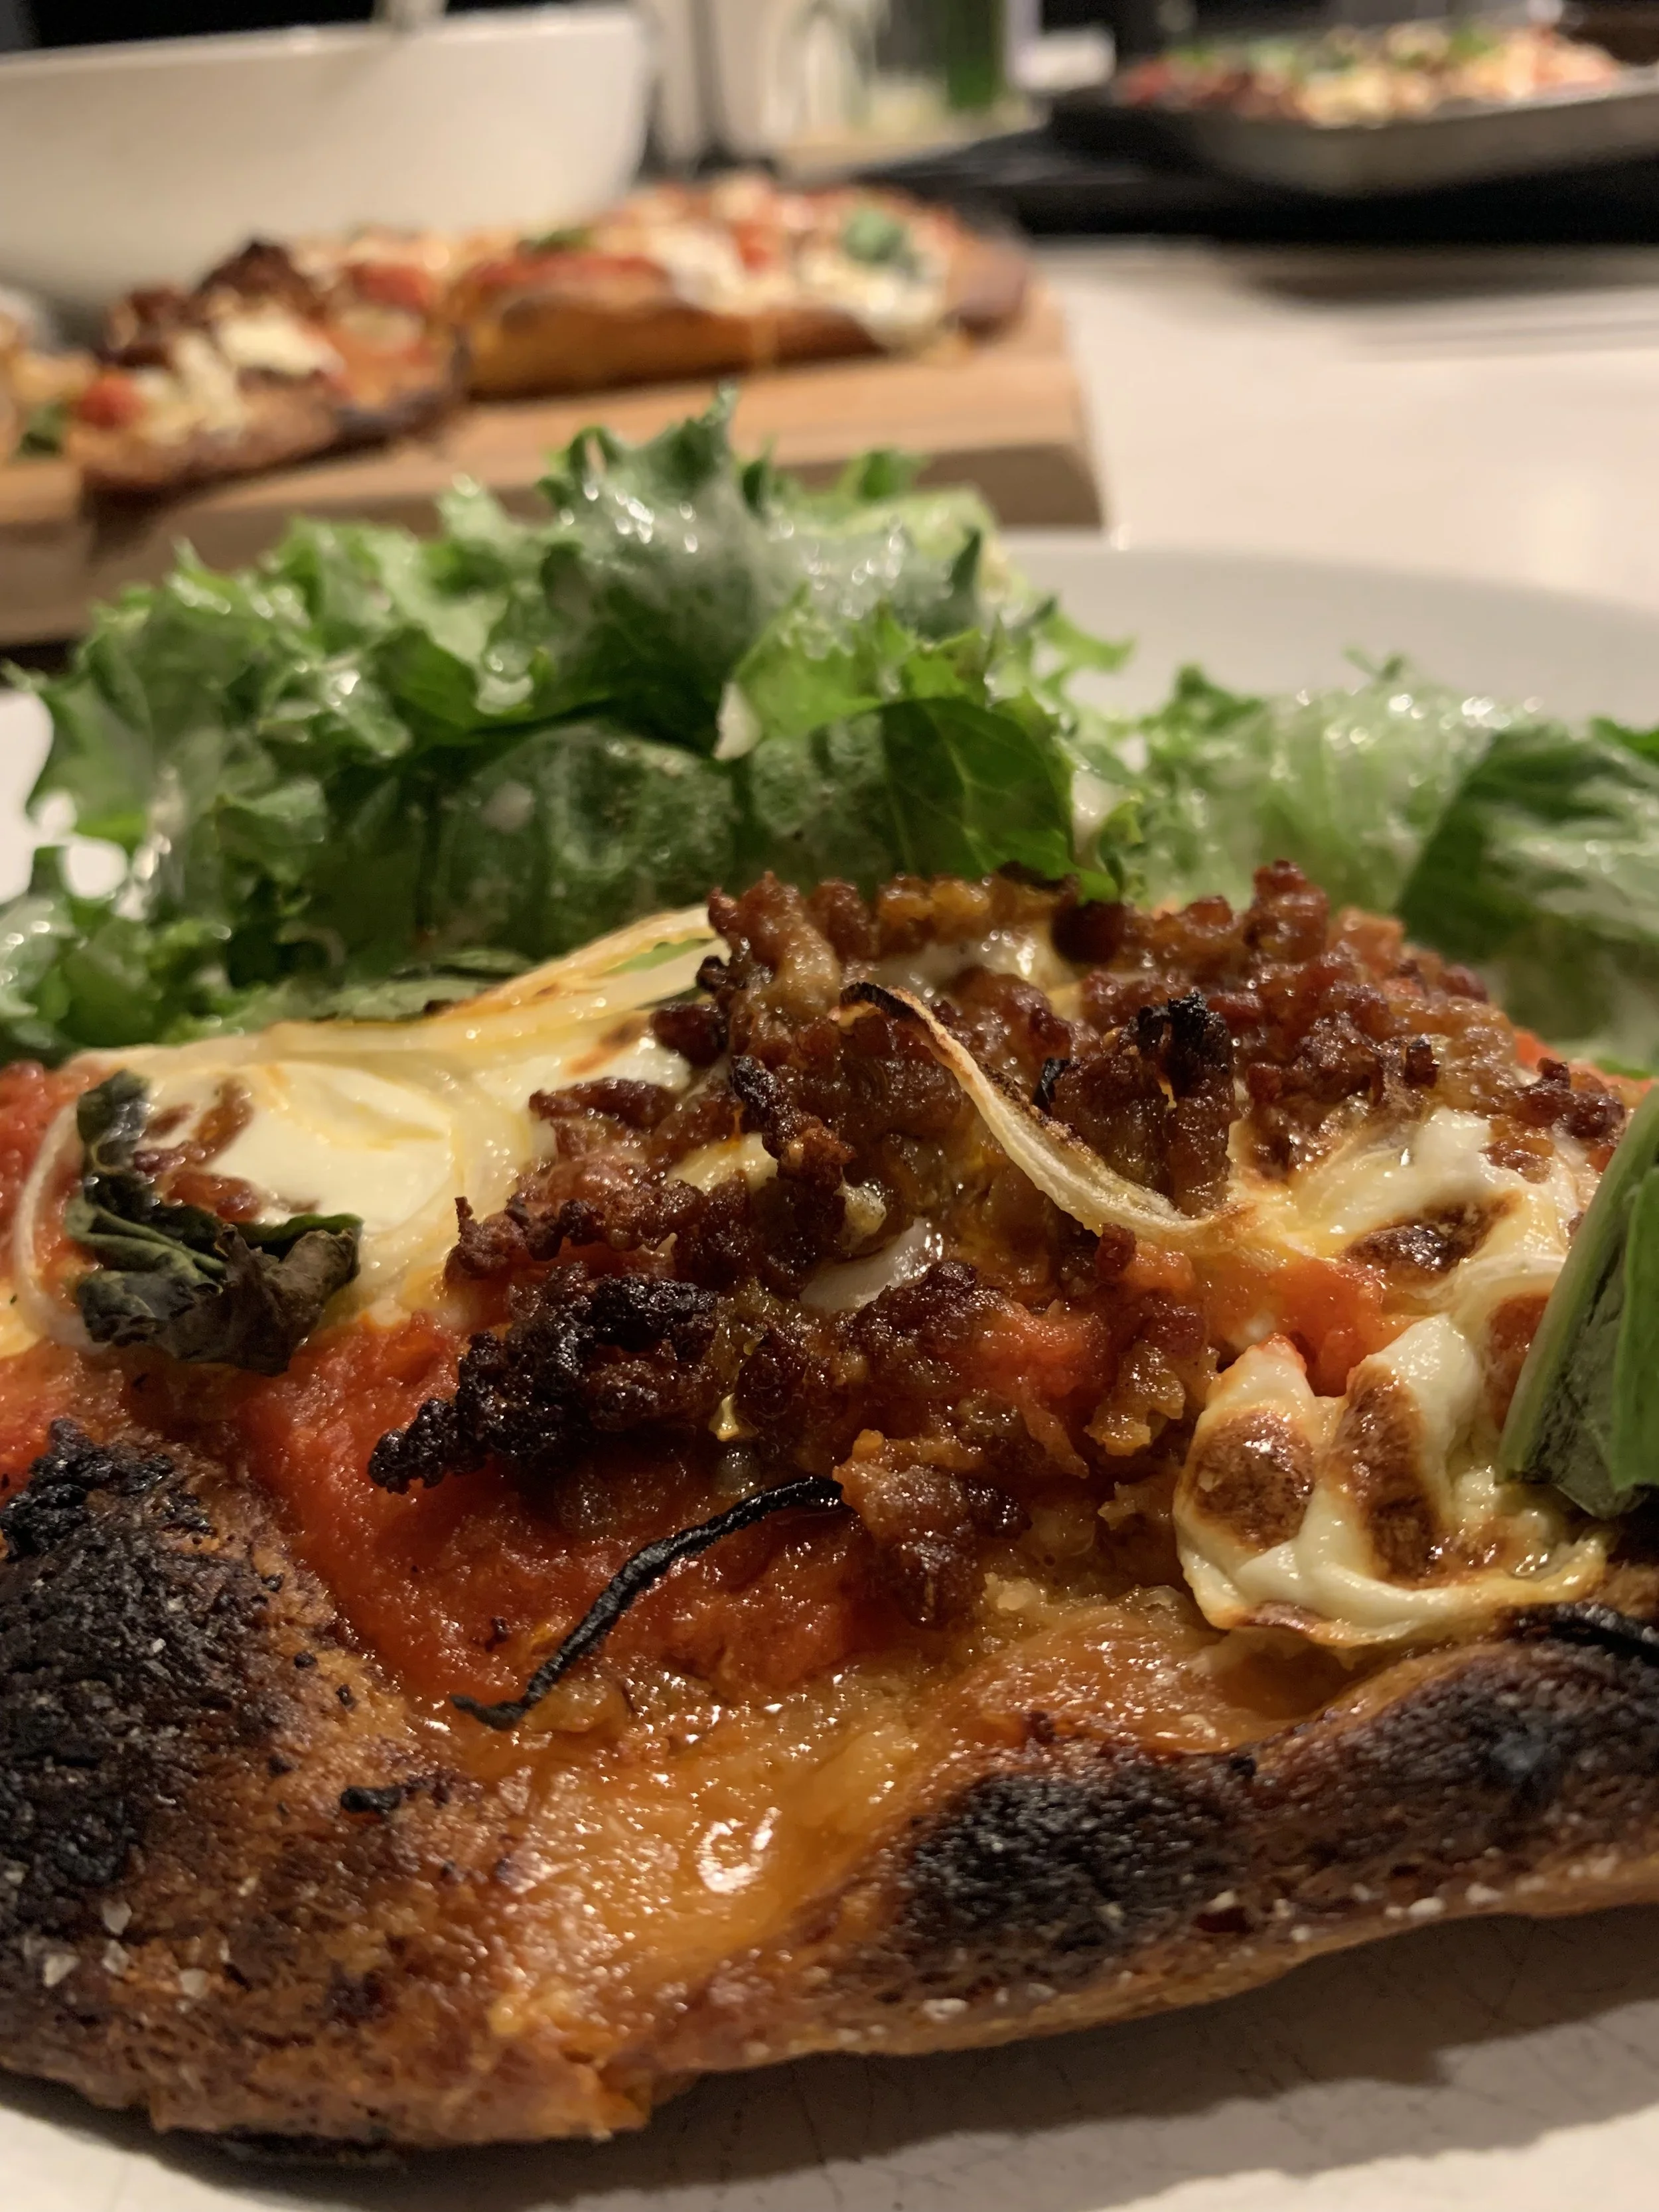
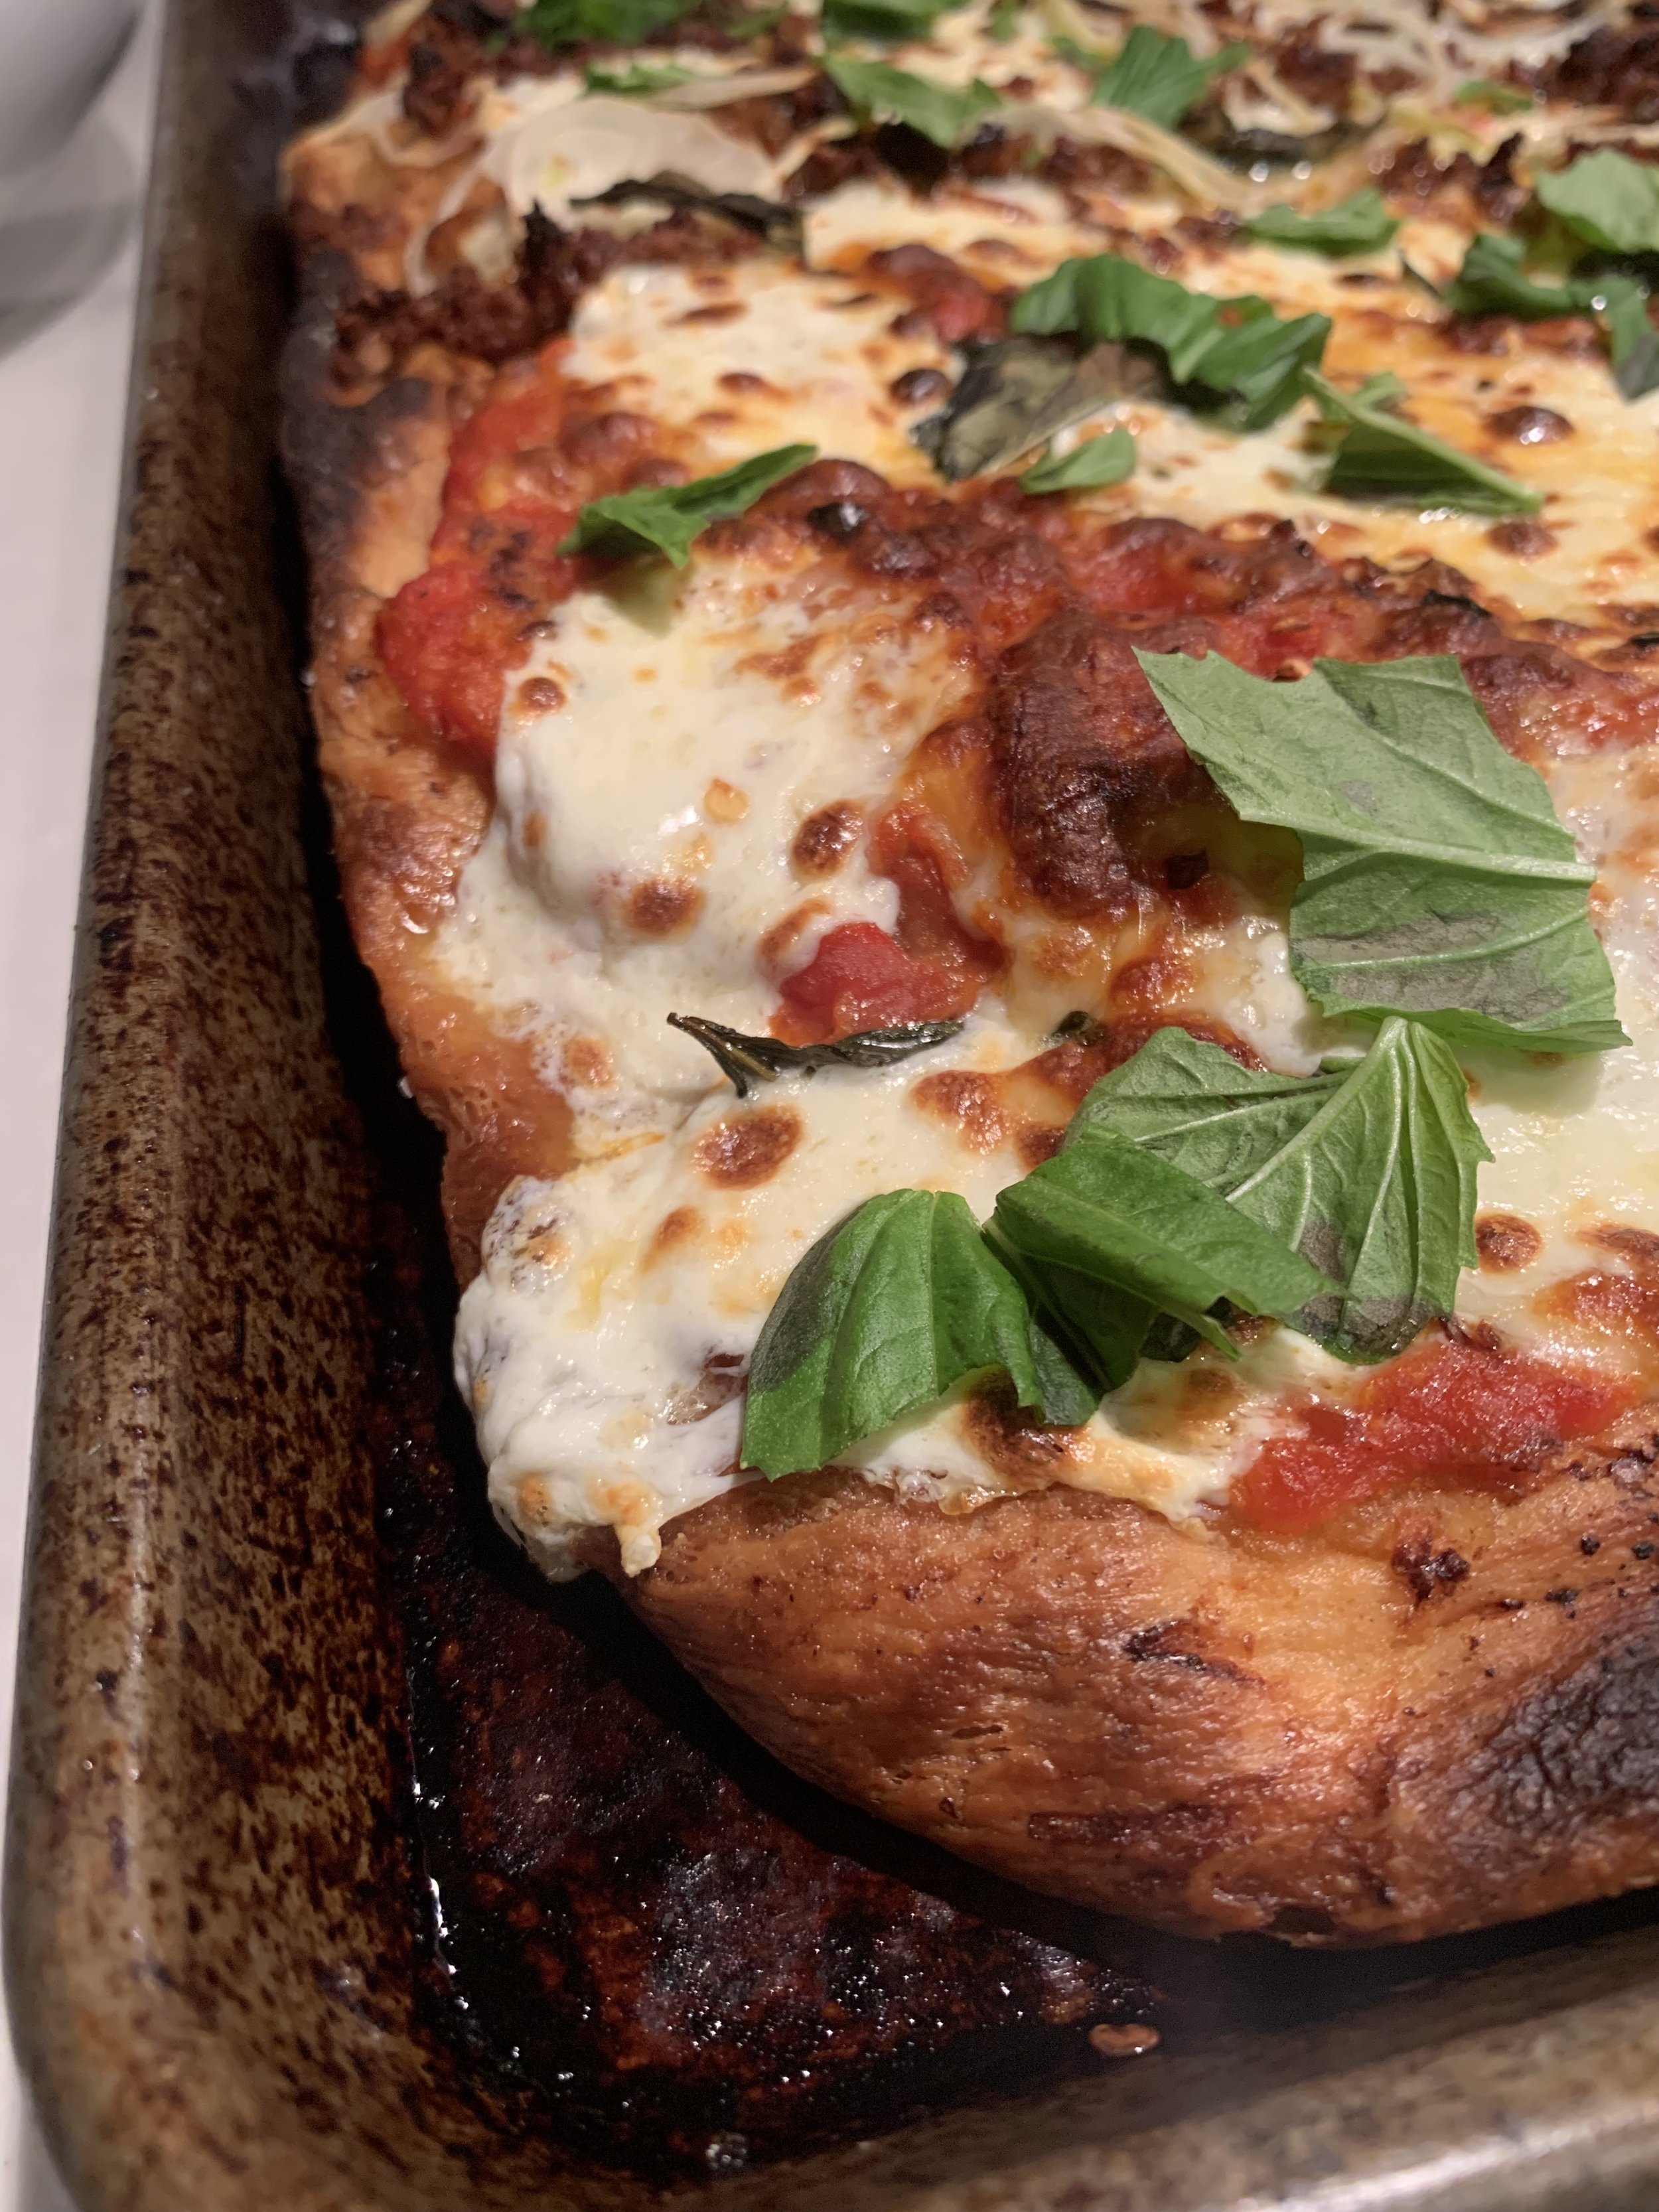
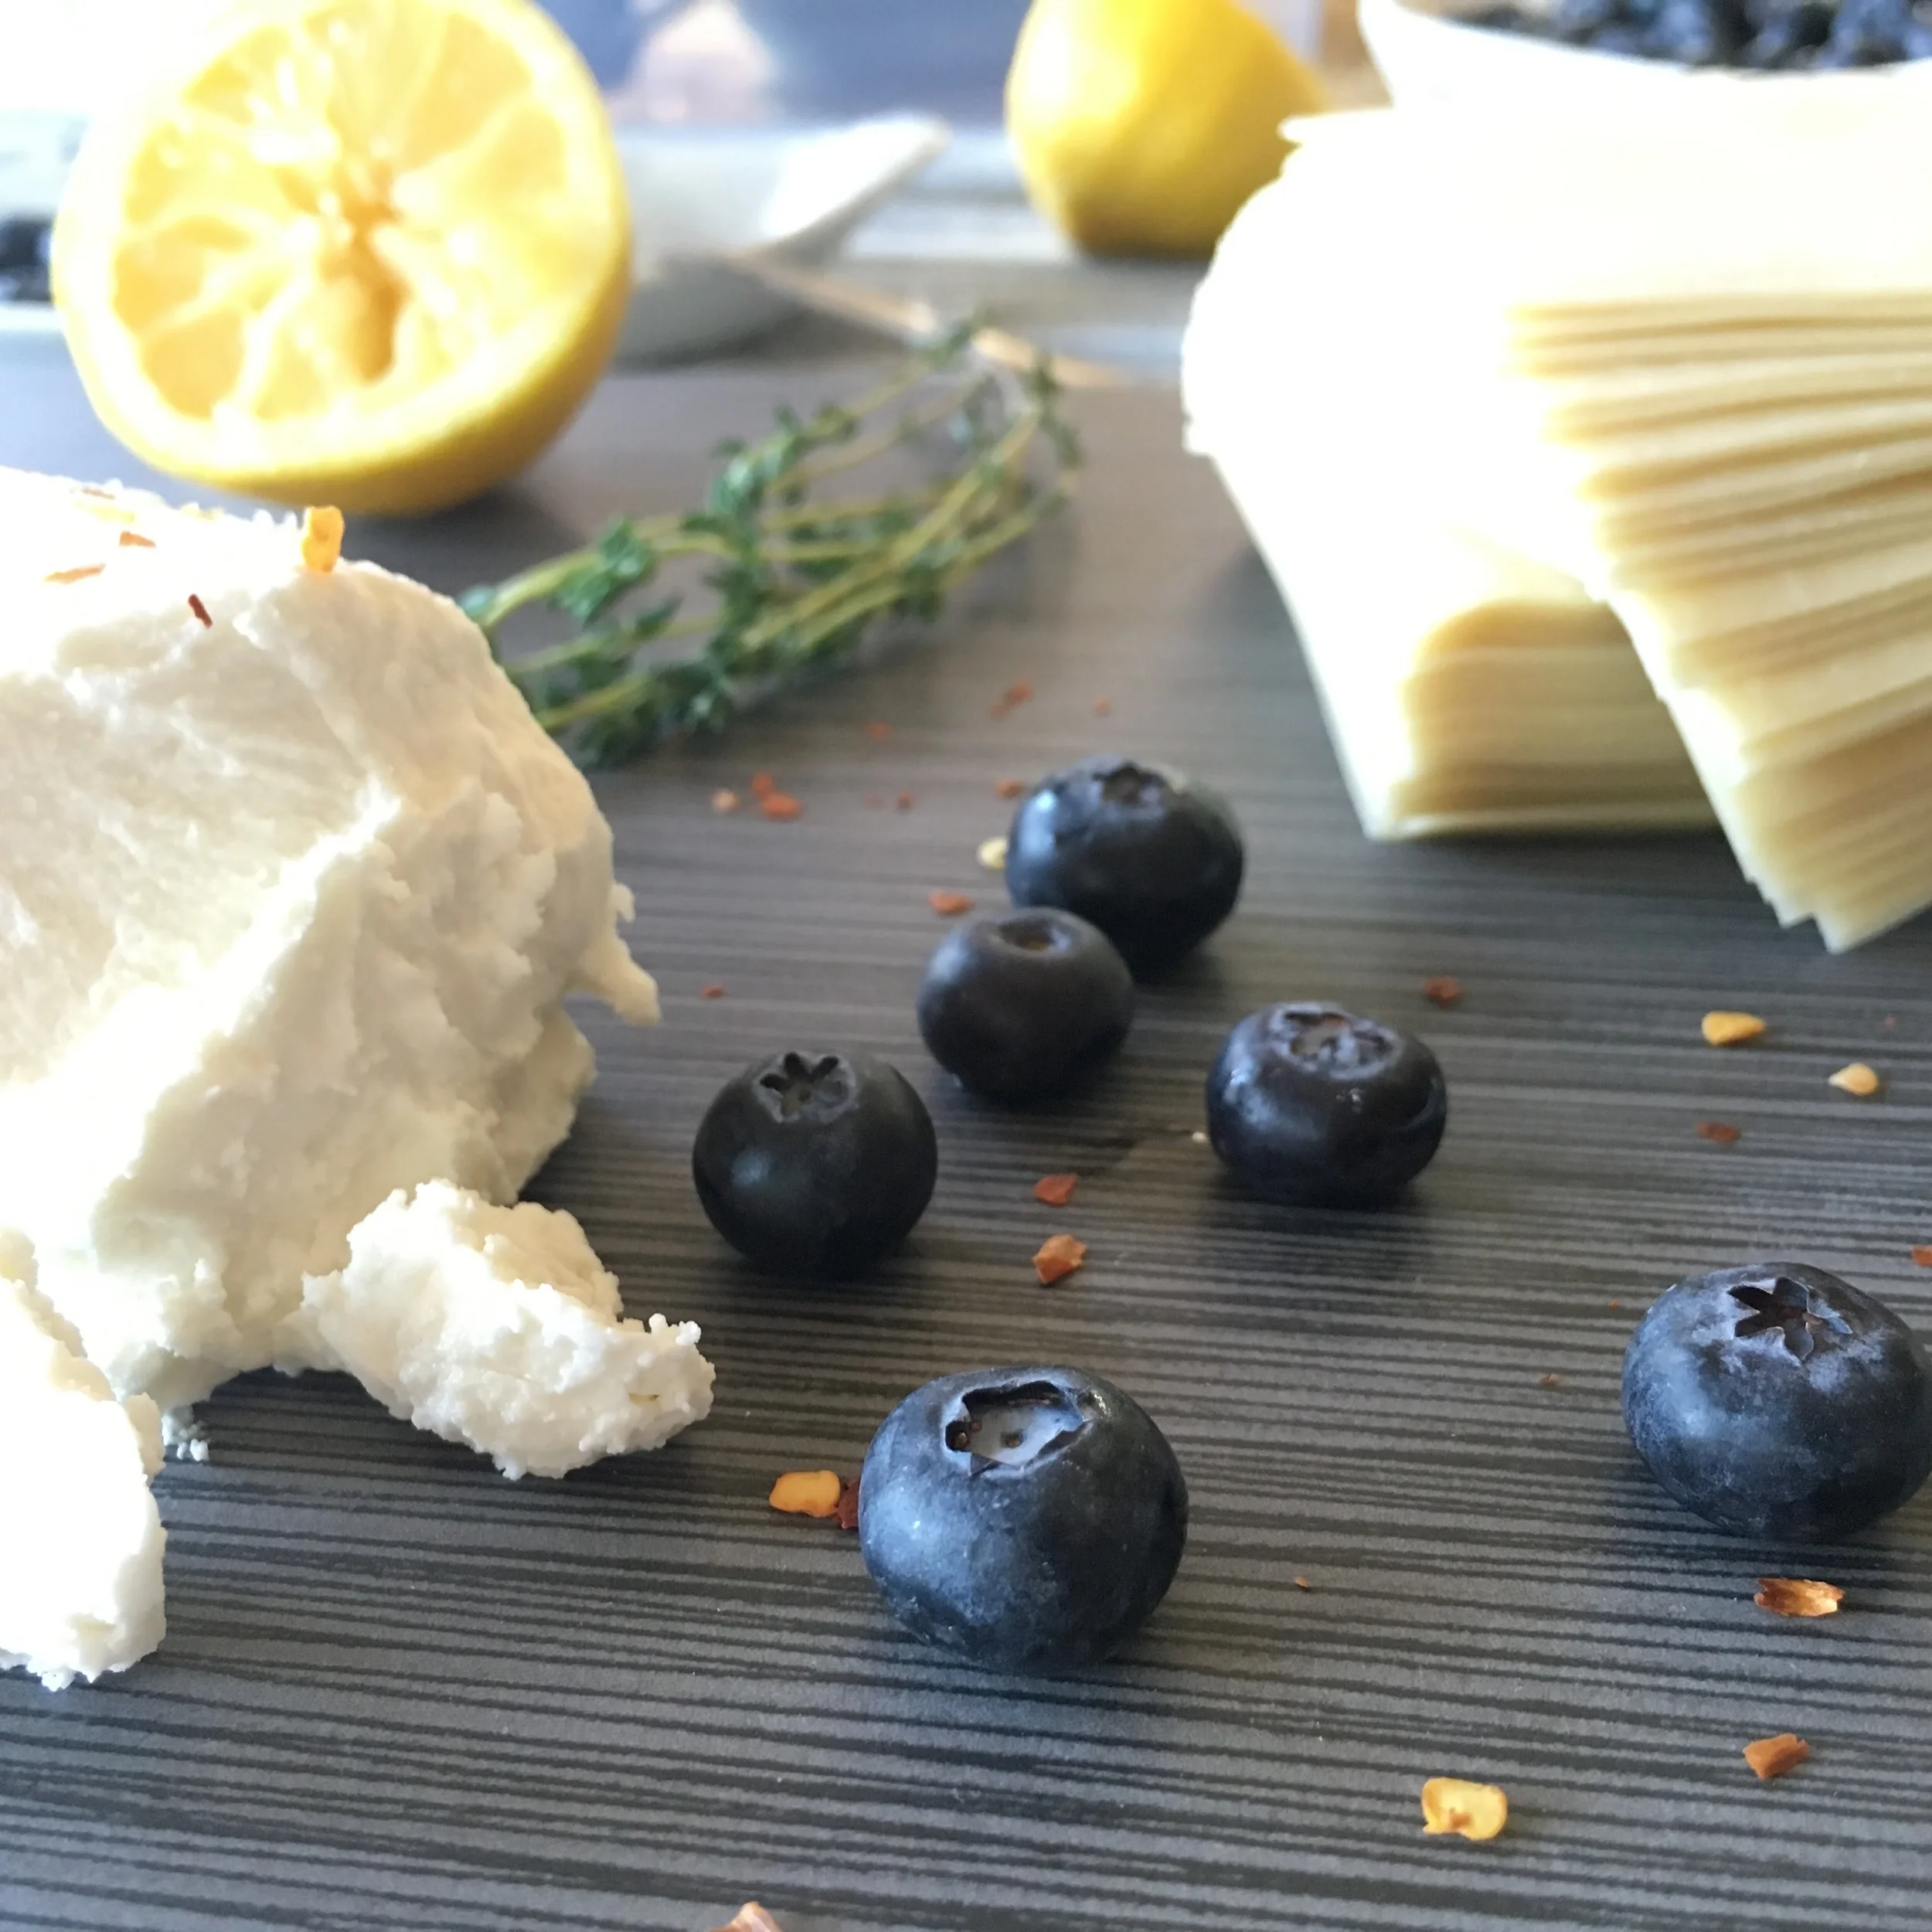
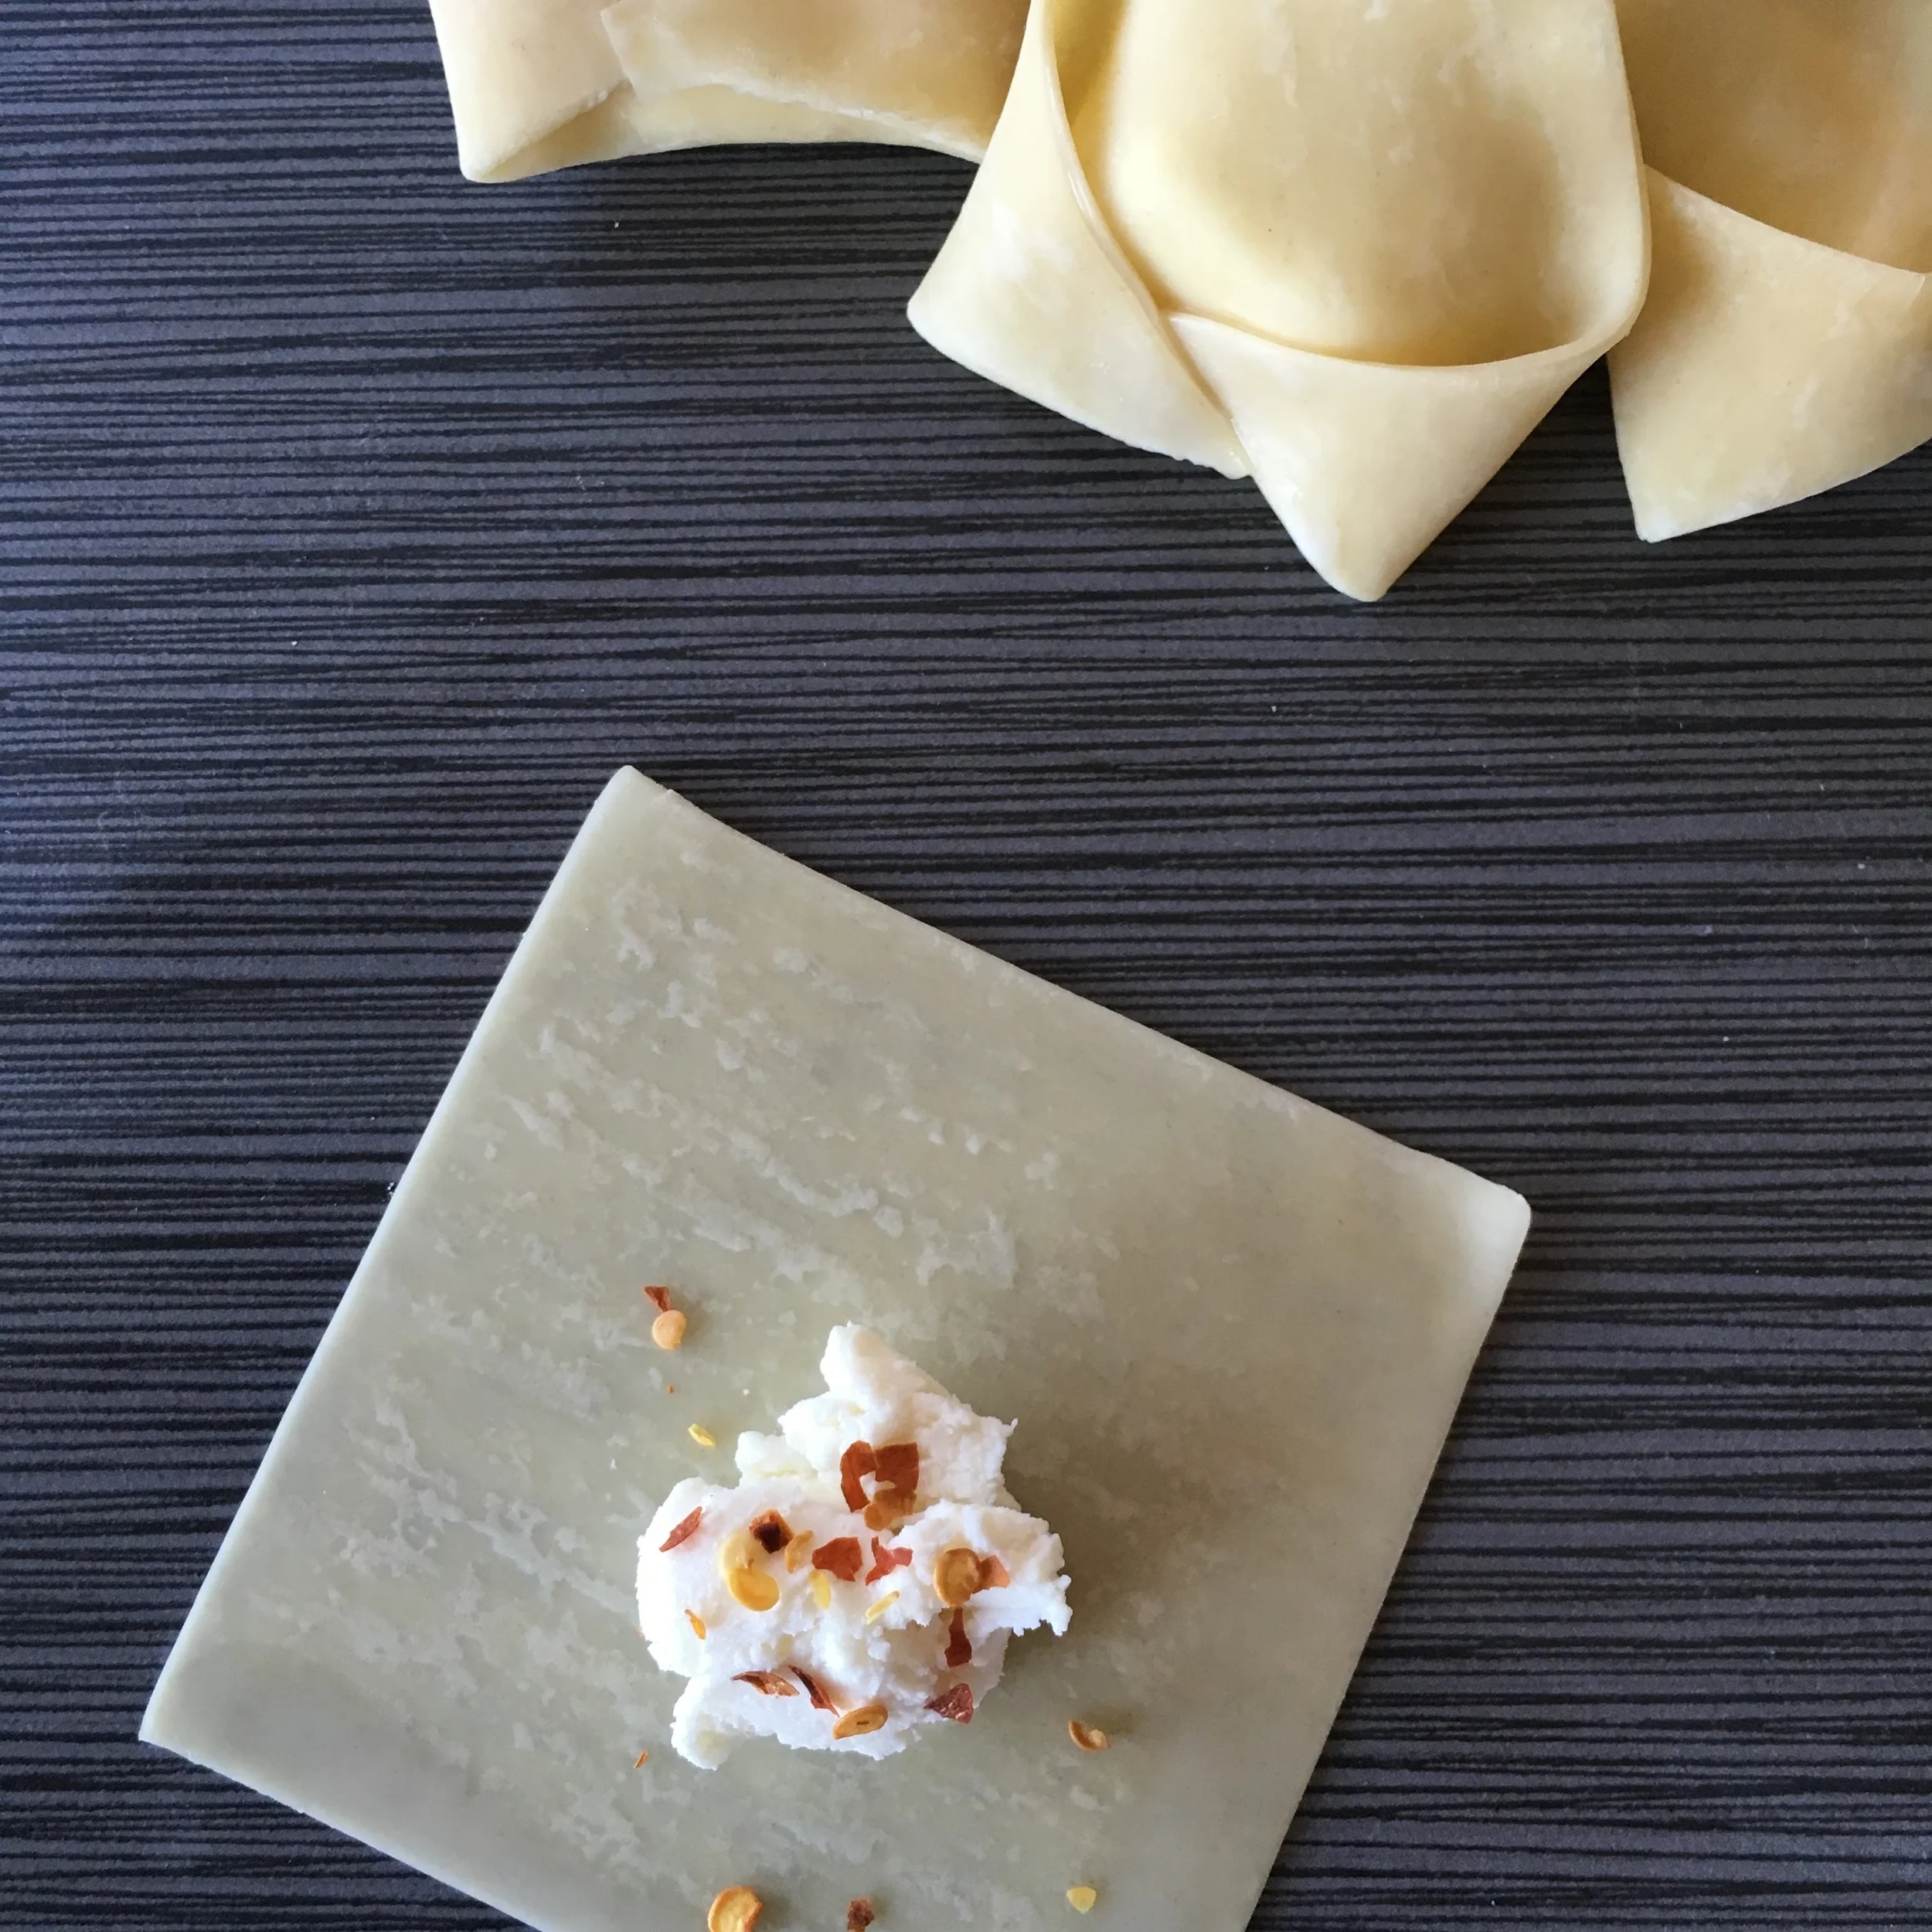
For the toppings:
tomato sauce
shredded mozzarella (I used Tillamook)
fresh mozzarella
thinly sliced onion
basil
cooked hot sausage